Choose your operating system:
Windows
macOS
Linux


Every object that you come into contact with everyday has some level of shininess to it. Inside of Unreal Engine 4, you can simulate the shininess of objects using Metallic, Specular, and Roughness Material inputs. In the following How - To, you will learn everything you need to know about how to introduce Shininess to your Materials.
Shininess
Shininess simply refers to a surface's ability to reflect light. The more light a surface can reflect, the more shiny that surface is. The less light a surface can reflect, the less shiny that surface is. A surface's ability to reflect light can be affected by all sorts of things in the environment from very small specs of dirt landing on the object to the oil on your hands rubbing off when you touch the object, all of this can affect a surface's ability to reflect light.
Roughness & Shininess
Roughness plays a major role in helping to determine the Shininess of a surface. The more rough a surface is, the less Shininess it will have. While the less rough a surface is, the more Shininess it will have. Here is an example of how Roughness can affect Shininess.

The sphere on the far left has a Roughness value of 0, notice how well you can make out the reflections. As the spheres move toward the right, they become less and less shiny. This is because the Roughness value is being slightly increased until it reaches a value of 1.
Metallic & Shininess
The Shininess of Metallic objects is controlled by the Roughness. The more Roughness that is applied to the Material, the less shiny the Metallic will become and the lack of Roughness will make the metal appear to be very shiny. Here is an example of how Metallic is affected by Roughness.

The sphere on the far left has a Metallic value of 1 and a Roughness value of 0 so it appears to be very shiny. The sphere on the far right, however, has a Metallic value of 1 and a Roughness value of 1. This gives the metal a very dull look, like it has been used quite a bit.
Specular & Shininess
In 99 percent of cases, you will never need to adjust the Specular input and the default value of 0.5 will be good enough for most Materials.
Specular can also have an effect on the Shininess of a Material. Pushing the Specular value closer to 1 will make the reflections and Specular highlights in the Material appear stronger and more apparent while lowering that value closer to 0 will weaken the reflections and Specular highlight until they are almost non-existent. Here is an example showing how the intensity of the reflections and Specular highlight are affected as the Specular value is changed from 0 to 1.

The Specular, like with every other input, is also heavily affected by the Roughness. Even with the Specular input set to 1, the effect of the Specular can be canceled out by setting the Roughness to a value of 1 as well. Also adjusting the Specular will have no effect on the Material if Metallic is enabled. Again, in 99 Percent of cases, you will never need to enable this value and using the default value of 0.5 will give best results.
Using Shininess in Materials
Enabling a Material to be shiny is something that can be accomplished in the following few steps.
This tutorial will make use of content that can be found if you included the Starter Content with your project. If you have not included the Starter Content in your project, you can look into the
-
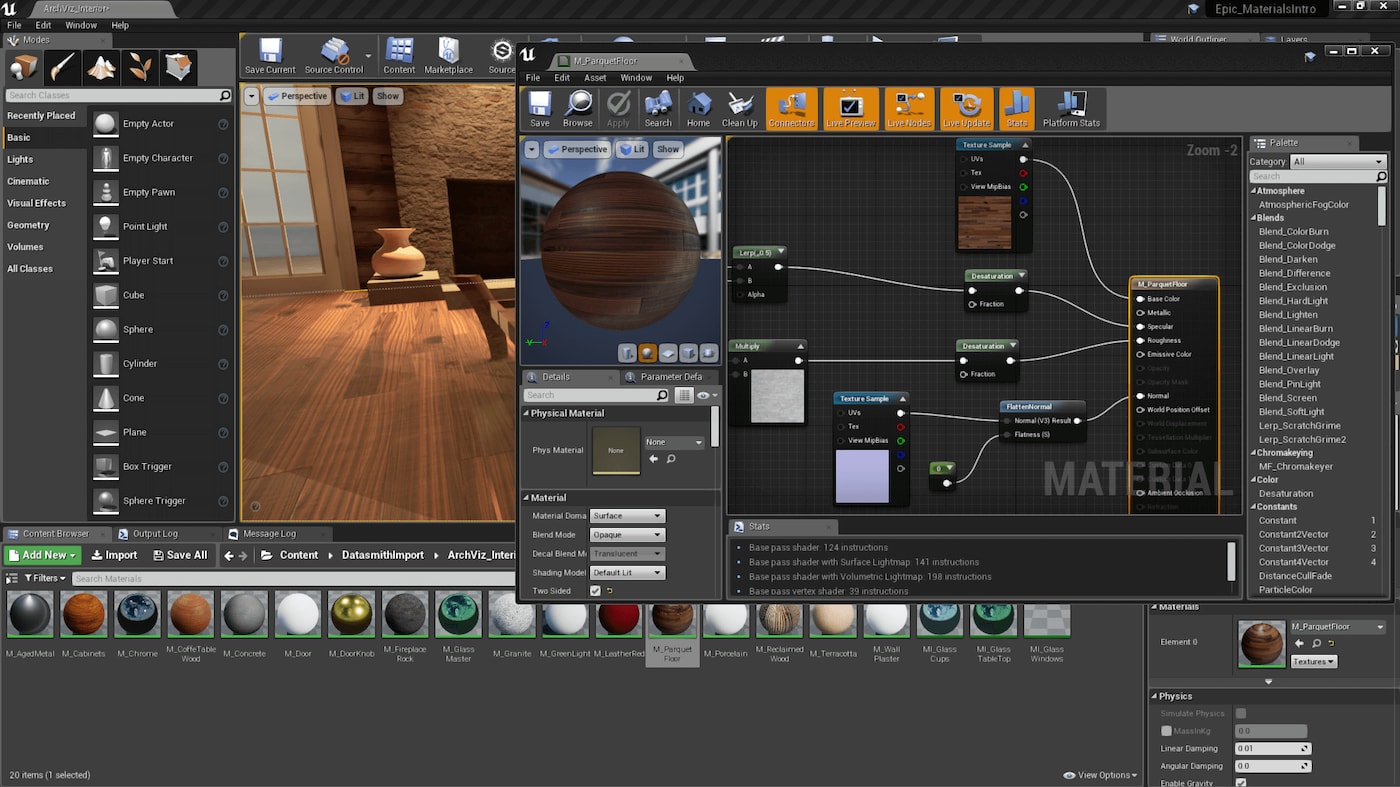
First use the mouse to Right-Click in the Content Browser and then from the Create Basic Asset section of the pop-up Menu, select Material . Once selected, a new Material will be created.
![Create_New_Material.png]()
-
Name the Material Shiny_Material and then open it up by using the Left Mouse Button and Double-Clicking on the Material in the Content Browser.
-
With the Material open add the following Textures and Material Expression Nodes to the Material Graph. Please note that the Texture can be found in the Textures Folder of the Starter Content.
-
Texture Sample: T_Metal_Gold_D x 1
-
Texture Sample: T_Metal_Gold_N x 1
-
Scalar Parameter: x 3
-
Multiple x 1
![Shiny_Required_Nodes.png]()
-
-
Once the Material Expression nodes have been placed, the Scalar Parameters now need to be named and filled in with default values. Here are the names and default values that should be used:
-
Metallic: 0
-
Specular: 0.5
-
Roughness: 0.5
![Shiny_Named_Nodes.png]()
-
-
Now it is time to start to connect all of the Material Expression nodes to their corresponding inputs on the main Material node. When completed, the Material Graph should look something like this:
![Shiny_Connected_Nodes.png]()
-
Next make sure to press both the Apply and Save buttons and then close down the Material Editor.
![R_Apply_&_Save.png]()
-
Now find the Shiny_Material in the Content Browser and Right-Click on it with the mouse and from the menu that is displayed, select the Create Material Instance option.
-
Open the Material Instance up by Double-Clicking on it with the Left Mouse Button in the Content Browser . Once open enable all the Scalar Parameter Values by clicking on the grayed out check mark box with the Left Mouse Button .
![Shiny_Enabled_MI_Properties.png]()


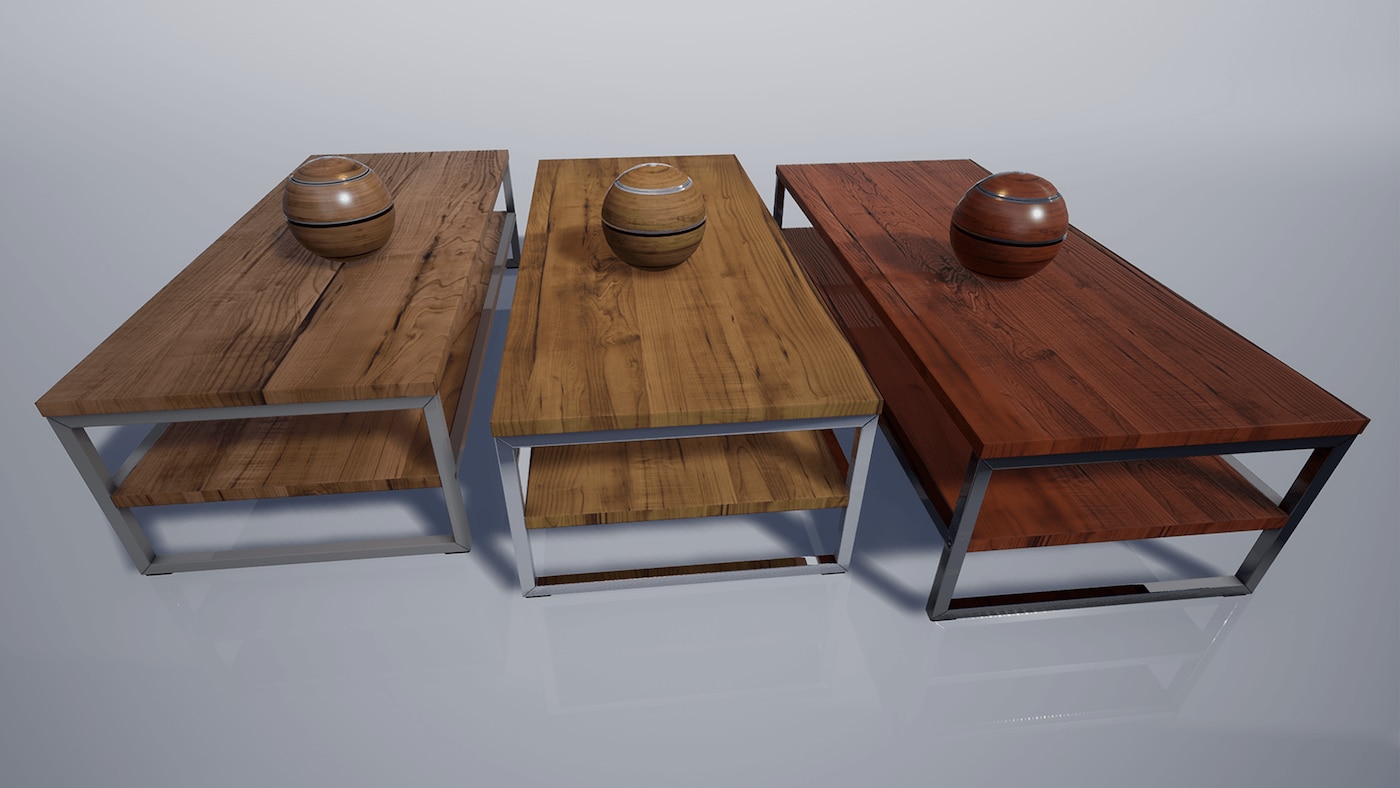
With the Scalar Parameter Values now enabled, setting them to different values can affect how shiny something is. For example, setting Metallic to 1 and then setting Roughness to 0, you will get a very shiny metal that looks like gold.

If you set Metallic to 0 and change the Specular from 0.5 to 1.0, you will notice that you get a very shiny looking yellow plastic.

If you set the Roughness to 1 and the Specular to 1, you will get a slightly reflective yellow paint.

If the reflections are too intense on the yellow paint above, try reducing the Specular till you get something that looks better. Here are some examples of setting the Specular to 0, 0.5, and 1.0 and what it will do to the reflections on the Material.

Conclusion
Using Shiny Materials can really help bring your 3D projects to life. However, like with everything else in 3D, Shiny Materials do come at a price. Keep in mind that having lots and lots of Metallic objects reflecting one another can become very costly performance wise. Also make sure that you do not completely disable Shininess in your Materials as all Materials have some level of Shininess to them.