Choose your operating system:
Windows
macOS
Linux
Whenever you add an Actor to Sequencer, a Transform Track is also added that enables you to move the Actor by changing and keyframing different Transform values. New Transform Tracks are set to Infinite , meaning you can add new Transform data to affect the Actor at any time during the Sequence. While this is the most common method of moving Actors, there may be instances when you want to apply additional changes to a given Actor's location, rotation, or scale. This can be accomplished by creating a new Transform Section within a Transform Track which enables us to define when to apply transform data as well as the ability to blend between multiple transforms.
In this example, we use two different transform tracks that are blended together to generate movement for a box in the level.
Steps
For this how-to guide, we are using the Blueprint Third Person Template with Starter Content enabled.
-
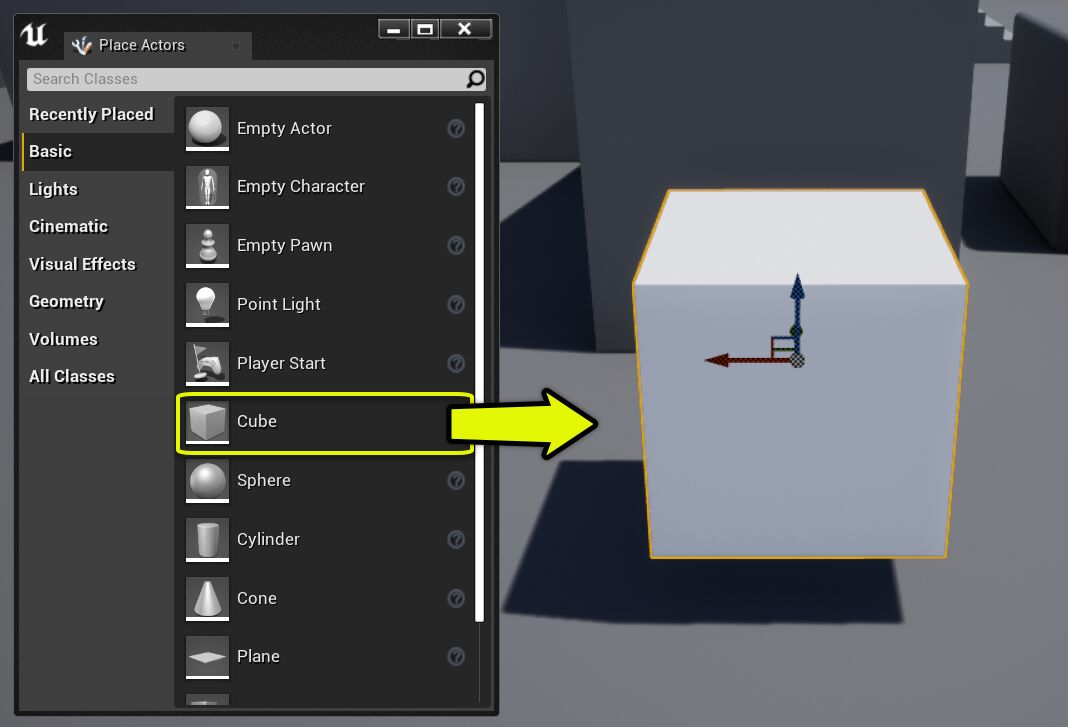
Inside your project, from the Place Actors panel in the Basic tab, drag the Cube asset into the Level.
![MultipleTransform_01.png]()
-
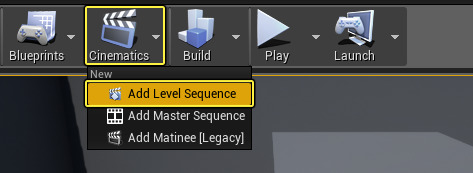
From the main toolbar, click the Cinematics button then select Add Level Sequence and save it with any name.
![MultipleTransform_02.png]()
-
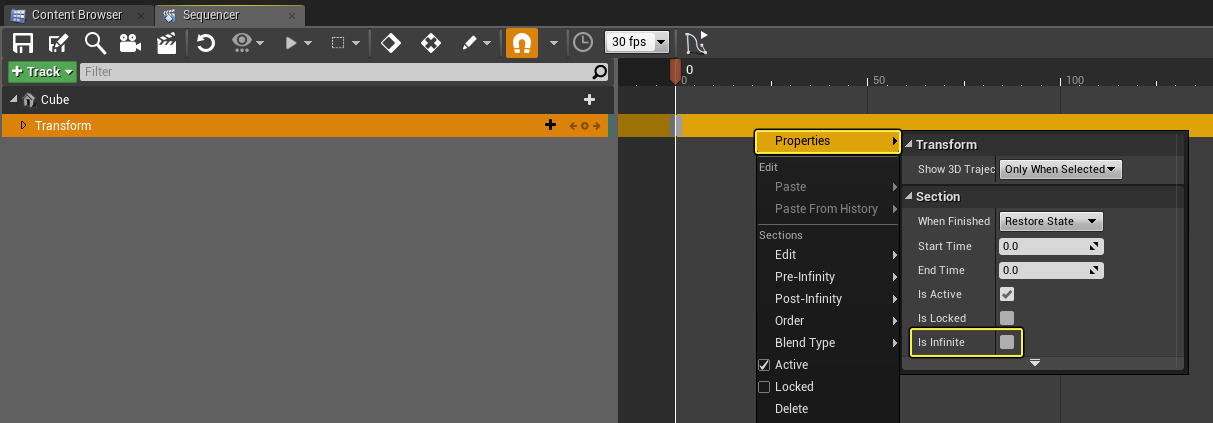
Add the cube in the Level to Sequencer, then right-click on the Transform Track. Under Properties , clear Is Infinite .
![MultipleTransform_03.png]()
By default, Transform Tracks are set to Infinite, meaning they span all time and there is usually only one Transform Track being used. By clearing the Infinite option, we are declaring that the Transform Track will use a section of the Sequence (defined within the keyframes we add).
-
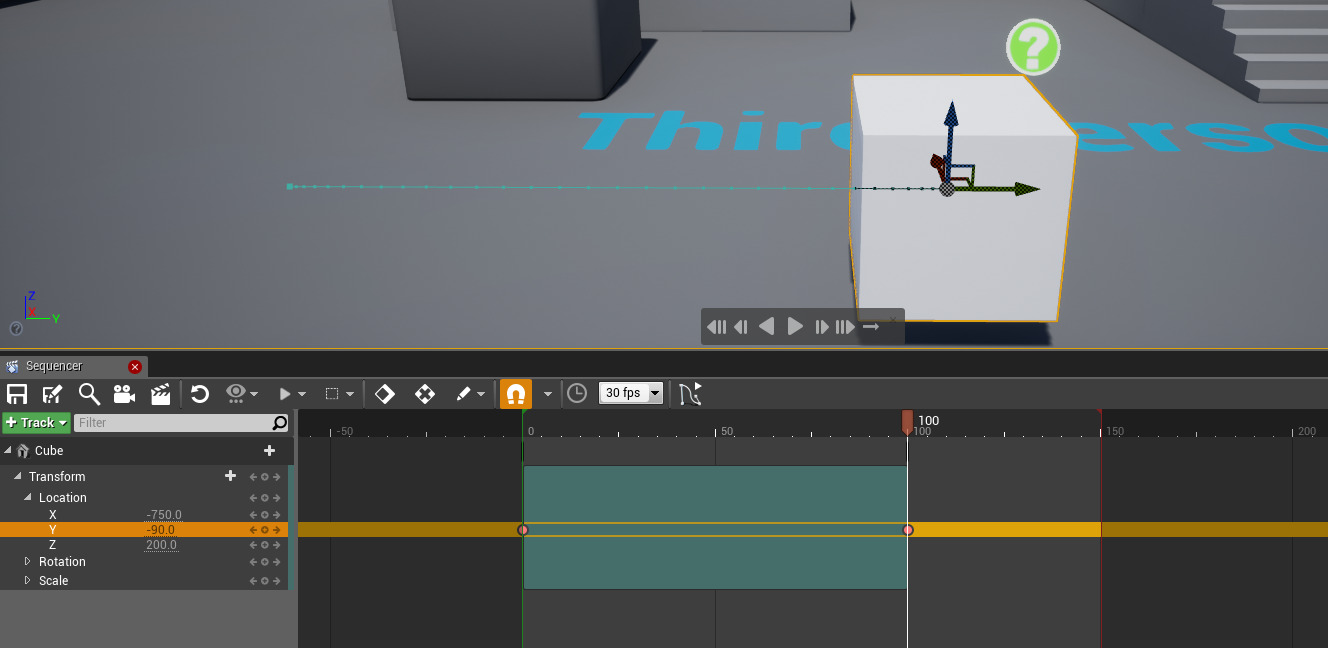
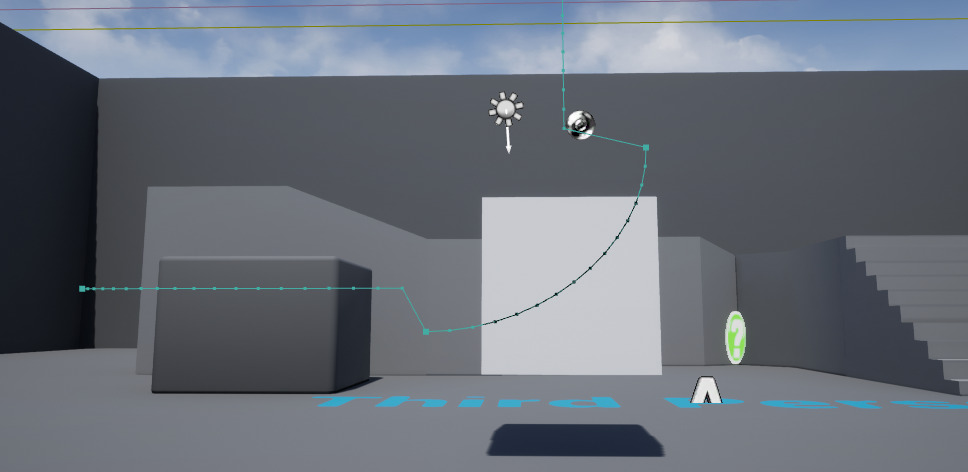
Add keyframes for the Y Track of Location to generate a path of desired movement.
![MultipleTransform_04.png]()
-
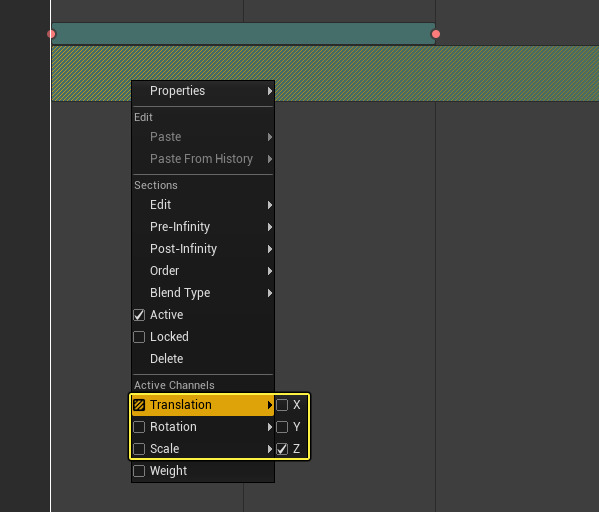
Right-click on the Transform Track in the keyframe window and set only the Y-axis for Translation as the Active Channel .
![MultipleTransform_05.png]()
This will isolate the Translation Y-axis for evaluation, enabling us to move the cube anywhere in the level and maintain our Y-axis keyframe data.
-
On the Transform Track in the Track Window, click the Section button and select Additive .
![MultipleTransform_06.png]()
Here we are adding a new Transform Section that will be applied to the existing Transform Track.
-
On the new additive Transform Track, in the keyframe window, right-click and set only the Translation Z-axis as the Active Channel .
![MultipleTransform_07.png]()
-
For the additive Transform Track, add a keyframe at 0 with its default value, then scrub ahead and add 300 to the Z value and keyframe it.
![MultipleTransform_08.png]()
-
Click the Preview Play button to preview the movement.
End Result
When we play the Sequence, the cube will move along the Y-axis while blending the Z-axis movement in as well, so that the cube moves forward and up.
As displayed in the video above, we can move each Section to change the blending process. In our example, we shift the additive Section to later in the Sequence so that blending starts later and gives us a different type of movement (delaying when the cube starts to ascend).
Additionally, you can change the type of blending by right-clicking on the Transform Section and choosing Blend Type .
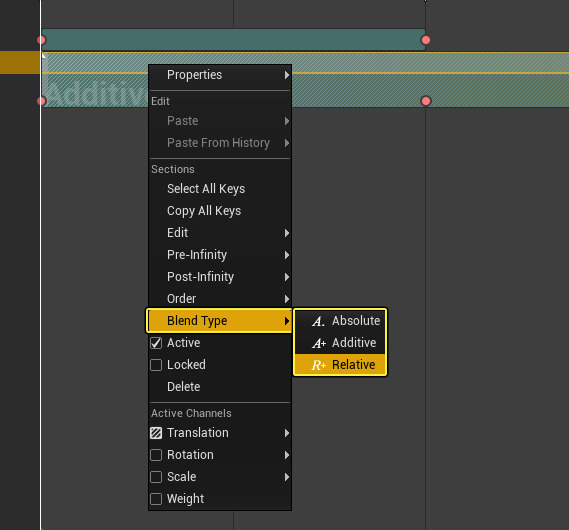
The available options include:
|
Blend Type |
Meaning |
|---|---|
|
Absolute |
Blends all other weighted values together as an average of the total weight. |
|
Additive |
Applies the values as a sum total with all other additives. |
|
Relative |
Applies the values as a sum total with all other additives and the initial value before the animation. |
