Choose your operating system:
Windows
macOS
Linux
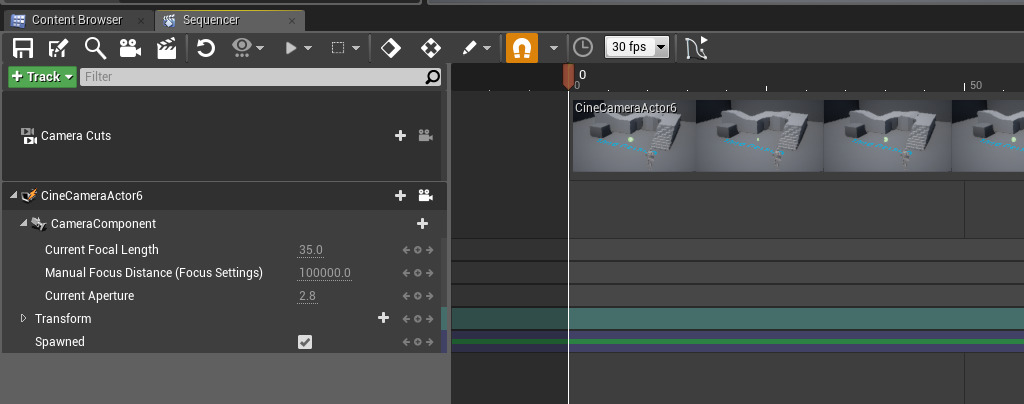
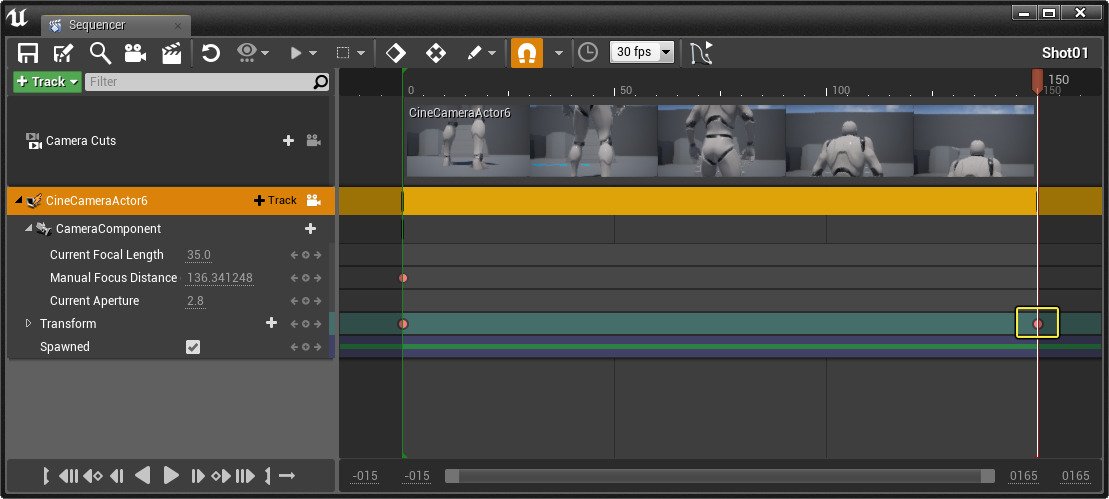
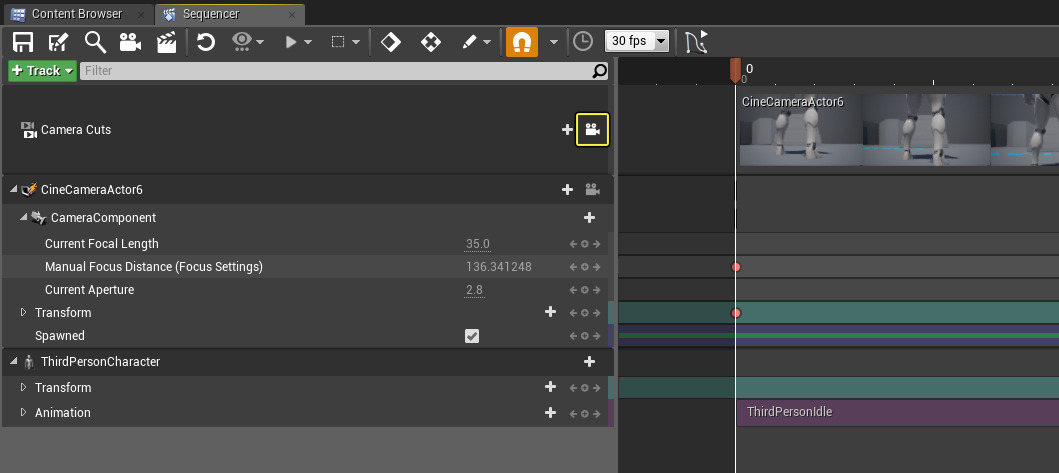
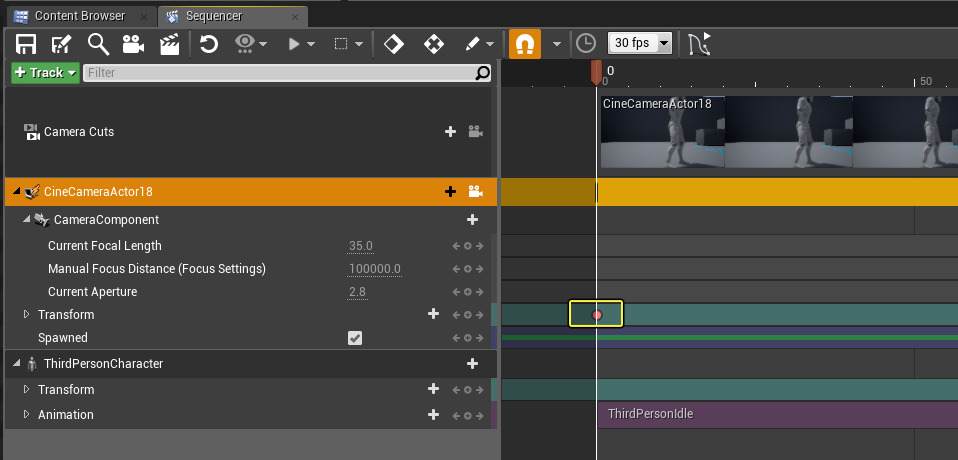
At the end of this guide, you'll have a scene similar to the one above.
Goals
The Sequencer Quick Start Guide aims to quickly get you up and running with the basics to creating cinematics in Unreal Engine 4 (UE4).
Objectives
After going through this tutorial, developers will know the following:
-
How to create Level Sequences.
-
How to enable Cinematic Previews.
-
How to add and move Cameras in a Shot.
-
How to apply animations to a character.
-
How to change the Camera Focus Settings.
-
How to create and use Shots and Takes for a cinematic.
1 - Required Setup
Before we start crafting our scene, we will create some of the assets we'll need as well as set up the Editor UI for previewing our cinematic in real-time. For the Editor Layout, feel free to experiment with the different options and choose the one that you feel most comfortable with. After completing this section, our project will be ready to go and we can start creating our content.
For the duration of this guide, we are using the Blueprint Third Person Template project with Starter Content enabled.
-
Inside your project from the Main Toolbar, click Cinematics then select Add Level Sequence .
![SequencerQS_1_1.png]()
Creating a Level Sequence from the Cinematics drop-down menu will also automatically add it to the Level.
-
In the Save Asset As window, right-click and create a new folder called Cinematics and name your Level Sequence Master .
![SequencerQS_1_2.png]()
The Sequencer Editor will open automatically which you can
[drag-and-dock](Basics/ToolsAndEditors/InterfaceOverview/)to other windows.![SequencerQS_1_2b.png]()
-
In the Content Browser , right-click on the Master Level Sequence and choose Duplicate and name it Shot01 .
![SequencerQS_1_3.png]()
Since Level Sequences are self-contained assets, we can place them in the Level or place them within other Level Sequences. Here we create a Level Sequence called Shot01 which we will add to our Master Level Sequence a little bit later in this guide. You can also add Level Sequences from the Add New button under Animation or through the Right-click context menu in the Content Browser.
![SequencerQS_1_4.png]()
-
In the Viewport window, click the Viewport Options button and under Layout then select the Vertical Two Panes option.
![SequencerQS_1_5.png]()
-
In the right Viewport, click the View Mode button then select Perspective .
![SequencerQS_1_6.png]()
-
In the right Viewport, click the View Mode button then select Cinematic Viewport .
![SequencerQS_1_7.png]()
This will enable us to use a Cinematic Preview and see a near-final result of what our scene will look like as we edit it.
-
In the right Viewport, press the G key then press Ctrl+Shift+T .
![SequencerQS_1_8.png]()
Pressing the G key enters Game View which hides all editor icons and represents what the game (or cinematic) will look like. Pressing Ctrl+Shift+T toggles the display of the Viewport Toolbar across the top of the Cinematic Viewport. This will hide things like the grid snapping, view modes and transform gizmo options which you may not need for a cinematic preview.
You can press the G key again to re-enable the editor icons or press Ctrl+Shift+T again to display the Viewport Toolbar.
Section Result
Our project is set up and ready for us to start authoring our sample cinematic. We have created our Master Level Sequence and our first Shot as well as set up our Editor Interface to include a Cinematic Viewport which will allow us to preview what our cinematic will look like in real time.
Up next we will work on our first shot, add a camera and adjust focus as well as generate movement for the camera.
2 - Your First Shot - Cameras
In this step, we'll create our first shot, add a camera to the shot and add camera movement, and see how to adjust the focus of a camera through Camera Settings .
-
Left-click in the Cinematic Viewport to make it the active viewport.
-
Open your Shot01 Level Sequence in the Content Browser , then in Sequencer , click the Add Camera button.
![SequencerQS_2_1.png]()
This will create and add a camera to the Level Sequence as well as a Camera Cuts track and updates the Cinematic Viewport .
![SequencerQS_2_1b.png]()
This type of track is used to define the perspective (or camera) to shoot the scene from at any given time. When using the Add Camera button, the camera that is created is automatically assigned as the camera cut to use for you inside a newly created Camera Cuts Track .
Even if you do not plan to switch between multiple cameras, you will still need a Camera Cuts Track pointing to your single camera in order to shoot the scene.
-
In the right Viewport, hold the right-mouse button and use the W , A , S , and D keys to fly the camera to a position similar below.
![SequencerQS_2_2.png]()
Our Cinematic Viewport is currently in Pilot Mode which allows us to position the Camera while viewing the angle it will shoot from.
-
In Sequencer, click the Unlock/Lock Camera button toggle.
![SequencerQS_2_3.png]()
This will exit Pilot Mode.
-
Click anywhere in the left Viewport to make it the active Viewport, then click the Unlock/Lock Camera button toggle again.
![SequencerQS_2_4.png]()
Notice that the left Viewport enters Pilot Mode. This is because the active Viewport is the one the camera is locked to when clicking the Unlock/Lock Camera button.
-
Exit Pilot Mode in the left Viewport and re-enter Pilot Mode in the Cinematic Viewport (the right Viewport).
-
Inside Sequencer , select the CineCameraActor then press the S key.
![SequencerQS_2_5.png]()
This is a Workflow Shortcut that can be used to add a keyframe for the currently selected Actor's Transform (Location, Rotation, and Scale). Since the Timeline is at 0 by default, we have initialized the position of the camera by adding the keyframe. When we scrub ahead and add another keyframe with the camera at a different position, the camera will move from one keyframe to the next over time.
-
With the CineCameraActor selected in Sequencer , go to the Details panel in the Main Editor.
-
Under Current Camera Settings in the Details panel, expand Focus Settings and click the Eye Dropper icon.
![SequencerQS_2_6.png]()
This will enable us to set the focus depth based on the scene sample location we provide.
-
In the Cinematic Viewport , move the Eye Dropper icon over the Character in the Level and left-click to select it.
![SequencerQS_2_7.png]()
After clicking, the Character will come into focus.
-
With the scene sampled, click the Add Key button next to the Manual Focus Distance property.
![SequencerQS_2_8.png]()
This will add a key for the value of the property to the open Level Sequence. Any properties that have an Add Key icon next to them, you can click on with a Level Sequence open to keyframe the value of the property in Sequencer.
-
In the Cinematic Viewport , click the To End button to move the timeline to the end of the Sequence.
![SequencerQS_2_8b.png]()
-
In the Cinematic Viewport , move the camera up by holding right-mouse and pressing the Q or E keys to move up or down.
![SequencerQS_2_9.png]()
-
In Sequencer , with the CineCameraActor selected press the S key to add a keyframe for the new position.
![SequencerQS_2_9b.png]()
If you move the camera around in the left Viewport, you can see the camera movement path indicated by the dotted line below.
![SequencerQS_2_11.png]()
-
In the Content Browser click the Save All button.
Section Result
The camera work for our first shot in our cinematic is complete! We added a camera to our shot with an assigned a Camera Cuts track to indicate what camera to shoot from. We also added some camera movement for the shot and adjusted camera settings so our Character is in focus.
In the next step, we will add and animate a Character and preview the end result of our first shot.
3 - Your First Shot - Character Animation
In the previous step, we added a camera and provided a path for our camera to take and adjusted some of the Camera's settings. In this step, we replace the Character Blueprint that is used with the template project with a Skeletal Mesh Actor that we can apply animations to, completing our first shot.
-
In the Content Browser , navigate to the Content/Mannequin/Character/Mesh folder and click on SK_Mannequin .
![SequencerQS_3_1.png]()
-
In the left Viewport, right-click on the Character in the Level and choose Replace Selected Actors with and choose SK_Mannequin .
![SequencerQS_3_2.png]()
This will replace the default Character Blueprint used for gameplay with a Skeletal Mesh Actor.
-
In the left Viewport, use the Transform Tools to move the Skeletal Mesh down to the ground and rotate it forward.
![SequencerQS_3_3.png]()
You can click the icons at the top of the viewport to switch between Location and Rotation options and can disable Grid Snapping to get more precise movement.
-
With the Skeletal Mesh still selected, in Sequencer click the Track button, then select Actor To Sequencer and Add ThirdPersonCharacter .
![SequencerQS_3_4.png]()
This will add a reference to the Skeletal Mesh in the Level to Sequencer so that we can control it within Sequencer.
-
For the ThirdPersonCharacter Track, click the + Animation button then search for and add the ThirdPersonIdle animation.
![SequencerQS_3_5.png]()
The Skeletal Mesh in the Level will assume an Idle pose and the Track will be added to Sequencer.
-
Left-click and drag the end of the ThirdPersonIdle animation to the right so it loops and fills the entire 150 frames.
![SequencerQS_3_6.png]()
-
On the Camera Cuts track, click the Unlock/Lock Camera button.
![SequencerQS_3_6b.png]()
Locking the Camera on a Camera Cuts Track, will only affect Cinematic Viewports .
![SequencerQS_3_6c.png]()
-
Jump to the beginning of the Sequence, then click the Preview Play button in the Cinematic Viewport to play the sequence.
Section Result
The focal point of our cinematic has been added and we have applied and looped an animation for the Character to use.
In the next step, we will work on another shot for our scene before we add both shots to our Master track.
4 - Your Second Shot
Now that you have completed your first shot, let's take what we have learned and create another!
This time we will push the camera in from the front of our Character in on their face.
-
In the Content Browser , select the Shot01 Level Sequence and press Ctrl+W to duplicate it.
![SequencerQS_4_1.png]()
This will automatically take all the content from Shot01 and add it to Shot02 and name it for us.
-
Inside Shot02 , delete the existing CineCameraActor and click the Add Camera button.
![SequencerQS_4_2.png]()
Here we are replacing the first camera with a new camera that we will cut to from our Master track a little later in this guide.
-
Move the camera around in the Cinematic Viewport to the front of the Skeletal Mesh Actor in the Level.
![SequencerQS_4_3.png]()
The name of your Cine Camera Actor may differ from above which is perfectly fine.
-
Select the CineCameraActor track in Sequencer and press the S key to add a keyframe for the Camera's Transform.
![SequencerQS_4_3b.png]()
-
In the Details panel for the Camera, use the Eye Dropper on the Character in the Level then add a keyframe for the new value.
![SequencerQS_4_4.png]()
Your value might be different from above based on where you placed the camera.
-
Click the To End button in the Cinematic Preview to jump to the end of the Sequence.
-
Move the camera in on the Character then add a keyframe ( S key) for the position.
![SequencerQS_4_5.png]()
-
In the Details panel for the camera, use the Eye Dropper on the Character in the Level then add a keyframe for the new value.
![SequencerQS_4_6.png]()
You should have keyframes at the start for the initial position and focus value as well as at the end.
-
Click the Camera Lock toggle button on the Camera Cuts track to enable the Cinematic Preview.
![SequencerQS_4_7.png]()
-
Move to the start of the Sequence, then click the Preview Play button in the Cinematic Viewport .
Section Result
We have set up our second shot of our sequence where the camera starts from far away and pushes in on the Character.
In our next step, we tie our shots together using the Shot Track in our Master Level Sequence. We also create a Take (or variation) of one of our shots that we can quickly swap in or out. You will also see how we can arrange or re-arrange the order of shots in our scene as we get a little bit closer to finishing our sample scene.
5 - Finishing Up - Shots & Takes
In the previous steps, we created our shots. In this step we tie them together using the Shot Track which enables us to add Level Sequences along the timeline for playback. We also create a Take of one of those Shots, which enables us to create a variant of that shot or use it as an additional Shot in the cinematic. At the end of this step, you will have your own multi-shot cinematic!
-
In the Content Browser , open the Master Level Sequence.
![SequencerQS_5_1.png]()
-
Inside the Level Sequence, click the Track button and select the Shot Track .
![SequencerQS_5_2.png]()
-
Click the + Shot button and add Shot01 to the track.
![SequencerQS_5_3.png]()
-
Move the Timeline Marker to frame 150 then add Shot02 to the Shot Track .
![SequencerQS_5_4.png]()
You will notice that Shot02 extends past the red maker (which is the end of playback range) and is grayed out and is not being evaluated for playback.
-
Click the Playback Options button and select Keep Playback Range in Section Bounds .
![SequencerQS_5_5.png]()
This will automatically push the Timeline End Marker out for us anytime we add content, ensuring that everything is within playback evaluation range.
-
Left-click and drag Shot02 down to a new track within the Shot Track .
![SequencerQS_5_6.png]()
You can drag shots around to arrange the playback order or for organization purposes. A typical best practice is to alternate between tracks within a Shot Track to illustrate where cuts occur rather than leaving them all on the same single track. Below we have an example with multiple shots that are staggered and alternate between tracks, which makes the distinction of where the cut appears, easier to spot.
![ShotCuts.png]()
In the example below, we have the same number of shots without using an additional track to stagger each of our shots and the cuts are not as easily identifiable.
![ShotCutsB.png]()
-
Click the Camera Lock toggle button to lock the camera to the Shot Track .
![SequencerQS_5_7.png]()
Like the Camera Cuts Track, the Camera Lock button on the Shot Track will only affect the Cinematic Viewport.
-
Right-click on Shot02 and select the New Take option.
![SequencerQS_5_8.png]()
Takes are a way to quickly create variations of a particular Shot in your cinematic.
-
A Duplicate Asset As window will appear, click Save .
![SequencerQS_5_9.png]()
Takes are automatically named. You can change the auto naming convention in the
[](Basics/Projects/ProjectSettings)under Level Sequences . -
Right-click on the newly created Shot and choose New Take again.
![SequencerQS_5_10.png]()
When creating a Take, it does not delete the Level Sequence but creates a duplicate of it which you can then alter. Currently, when creating a Take for the first time, it replaces the existing Shot with the new Take (the original Shot still exists in the Content Browser but is not listed as a "Take" in the Takes Menu).
-
Right-click on the newly created shot and highlight Takes .
![SequencerQS_5_11.png]()
We are currently using Take 3 in our cinematic. We can switch to Take 2 by selecting it from this menu.
-
Double-click on the Shot0002_003 inside Sequencer to open it, then select and delete all the keyframes.
![SequencerQS_5_12.png]()
We are going to supply new keyframes from this Take and new camera movement.
-
Move the Camera in front of the Character's face, then in Sequencer for the Camera, add a key for Transform by pressing the S key.
![SequencerQS_5_14.png]()
-
In the Details panel for the camera, use the Eye Dropper and select the Character then add a keyframe for the new Manual Focus Distance value.
![SequencerQS_5_15.png]()
-
Move to the end of the Sequence, then move the Camera away from the Character and press the S key to add a key for the new Transform value.
![SequencerQS_5_16.png]()
For this take, we will leave the Camera out of focus as it pulls away from the Character.
-
Click the Master breadcrumb to return to the Master Track, lock the Viewport to the Shots Track and play your scene. You can also right-click on the second shot and change to a different Take.
-
Return to the Content Browser and drag your Master Level Sequence into the Level.
![SequencerQS_5_17.png]()
-
In the Details panel for the Master Level Sequence, enable the Auto Play option.
![SequencerQS_5_18.png]()
When you play in the Editor, this will automatically load and start playing your Master Level Sequence which includes your two shots.
-
Click the Play in Editor button.
End Result
You now have a two-shot cinematic, however, you can use different Takes from the Take Menu.
You can re-arrange the Shots by dragging them to new locations on the Shot Track or add a Take as an additional Shot, giving you three Shots. While this is only a small fraction of what is possible with Sequencer, it highlights some of the core aspects of the tool that you can use to craft your scenes.
In the next and final step, there are some "On Your Own" challenges you can attempt to add to this scene and links to additional documentation.
6 - On Your Own!
Now that you have created a sample cinematic with Sequencer, you can try several of the How-to's to add to this scene.
Try some of the following on your own:
-
Try to fade the scene in/out using a Fade Track .
-
Make the Character in the level walk using Character Animation .
-
Add Music from the Content/StarterContent/Audio folder with an Audio Track .
-
Cause the scene to enter slow motion with the Play Rate track.
Try to re-create a similar scene:
Optionally, you can Render out your cinematic as a video file:
-
Click the Render Movie option.
![ExportMovie.png]()
-
Under General , define the Output Directory then click Capture Movie to start rendering.
![ExportMovieB.png]()
A preview window will appear while rendering and will close when complete.


