Choose your operating system:
Windows
macOS
Linux
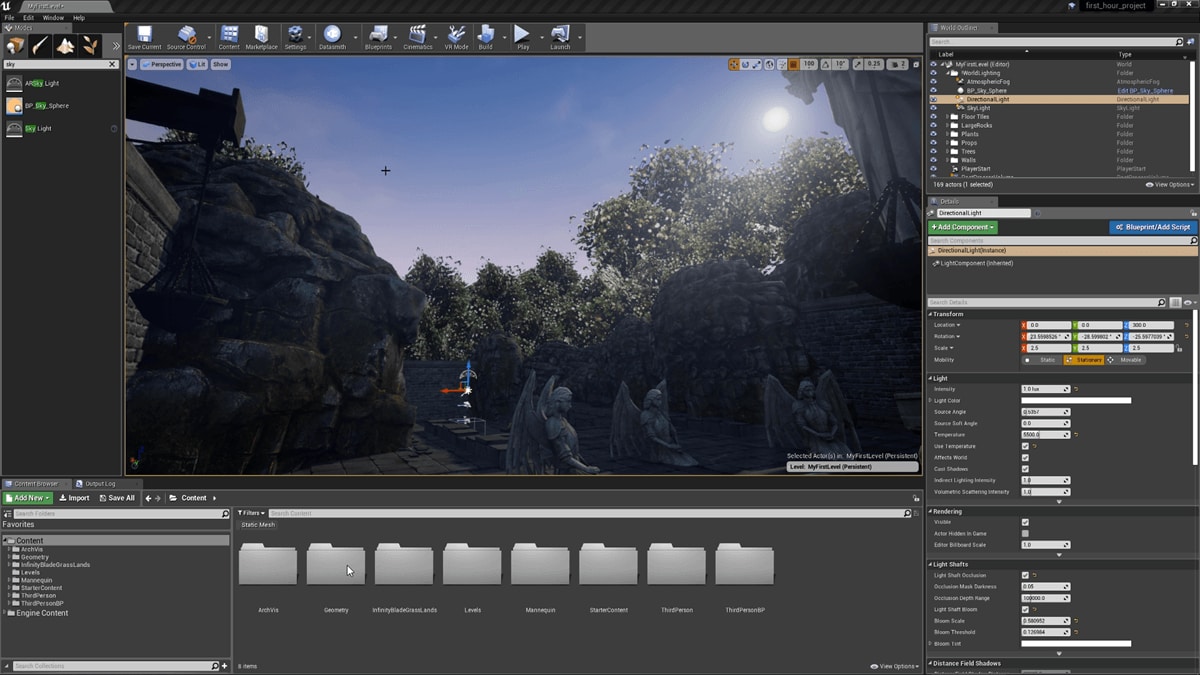


Once you place an Actor in your level, you may want to modify the way it looks or functions in your level. With the Actor selected in the level, inside the Details panel you will find information about the Actor that can be modified. This How to will show you some sample use cases for accessing the Details panel and modifying an Actor's properties.
Over the course of this guide we will change several properties that will affect an Actor in our level such as scaling the Actor to increase its size, applying a Material, turning on Physics for the Actor, as well as tweaking Collision Settings so that it registers when it hits other Actors during gameplay.
1. Working with Actor Transforms
An important part to working with Actors is to understand the process of Transforming Actors which includes the moving, rotating and scaling of an Actor as well as defining its Mobility (whether an Actor will be allowed to move or change in some way during gameplay). In this step we will focus on using the Details panel to adjust transformations for a selected Actor to set its Location, Scale and Moblity in the level.
For this How To guide, we will be using a new project using the Blueprint Third Person template with Starter Content enabled. If you have not created a project based off a template before or are not sure how to enable Starter Content, refer to the Create a New Project page for information on creating/opening projects, templates, and project settings.
Steps
-
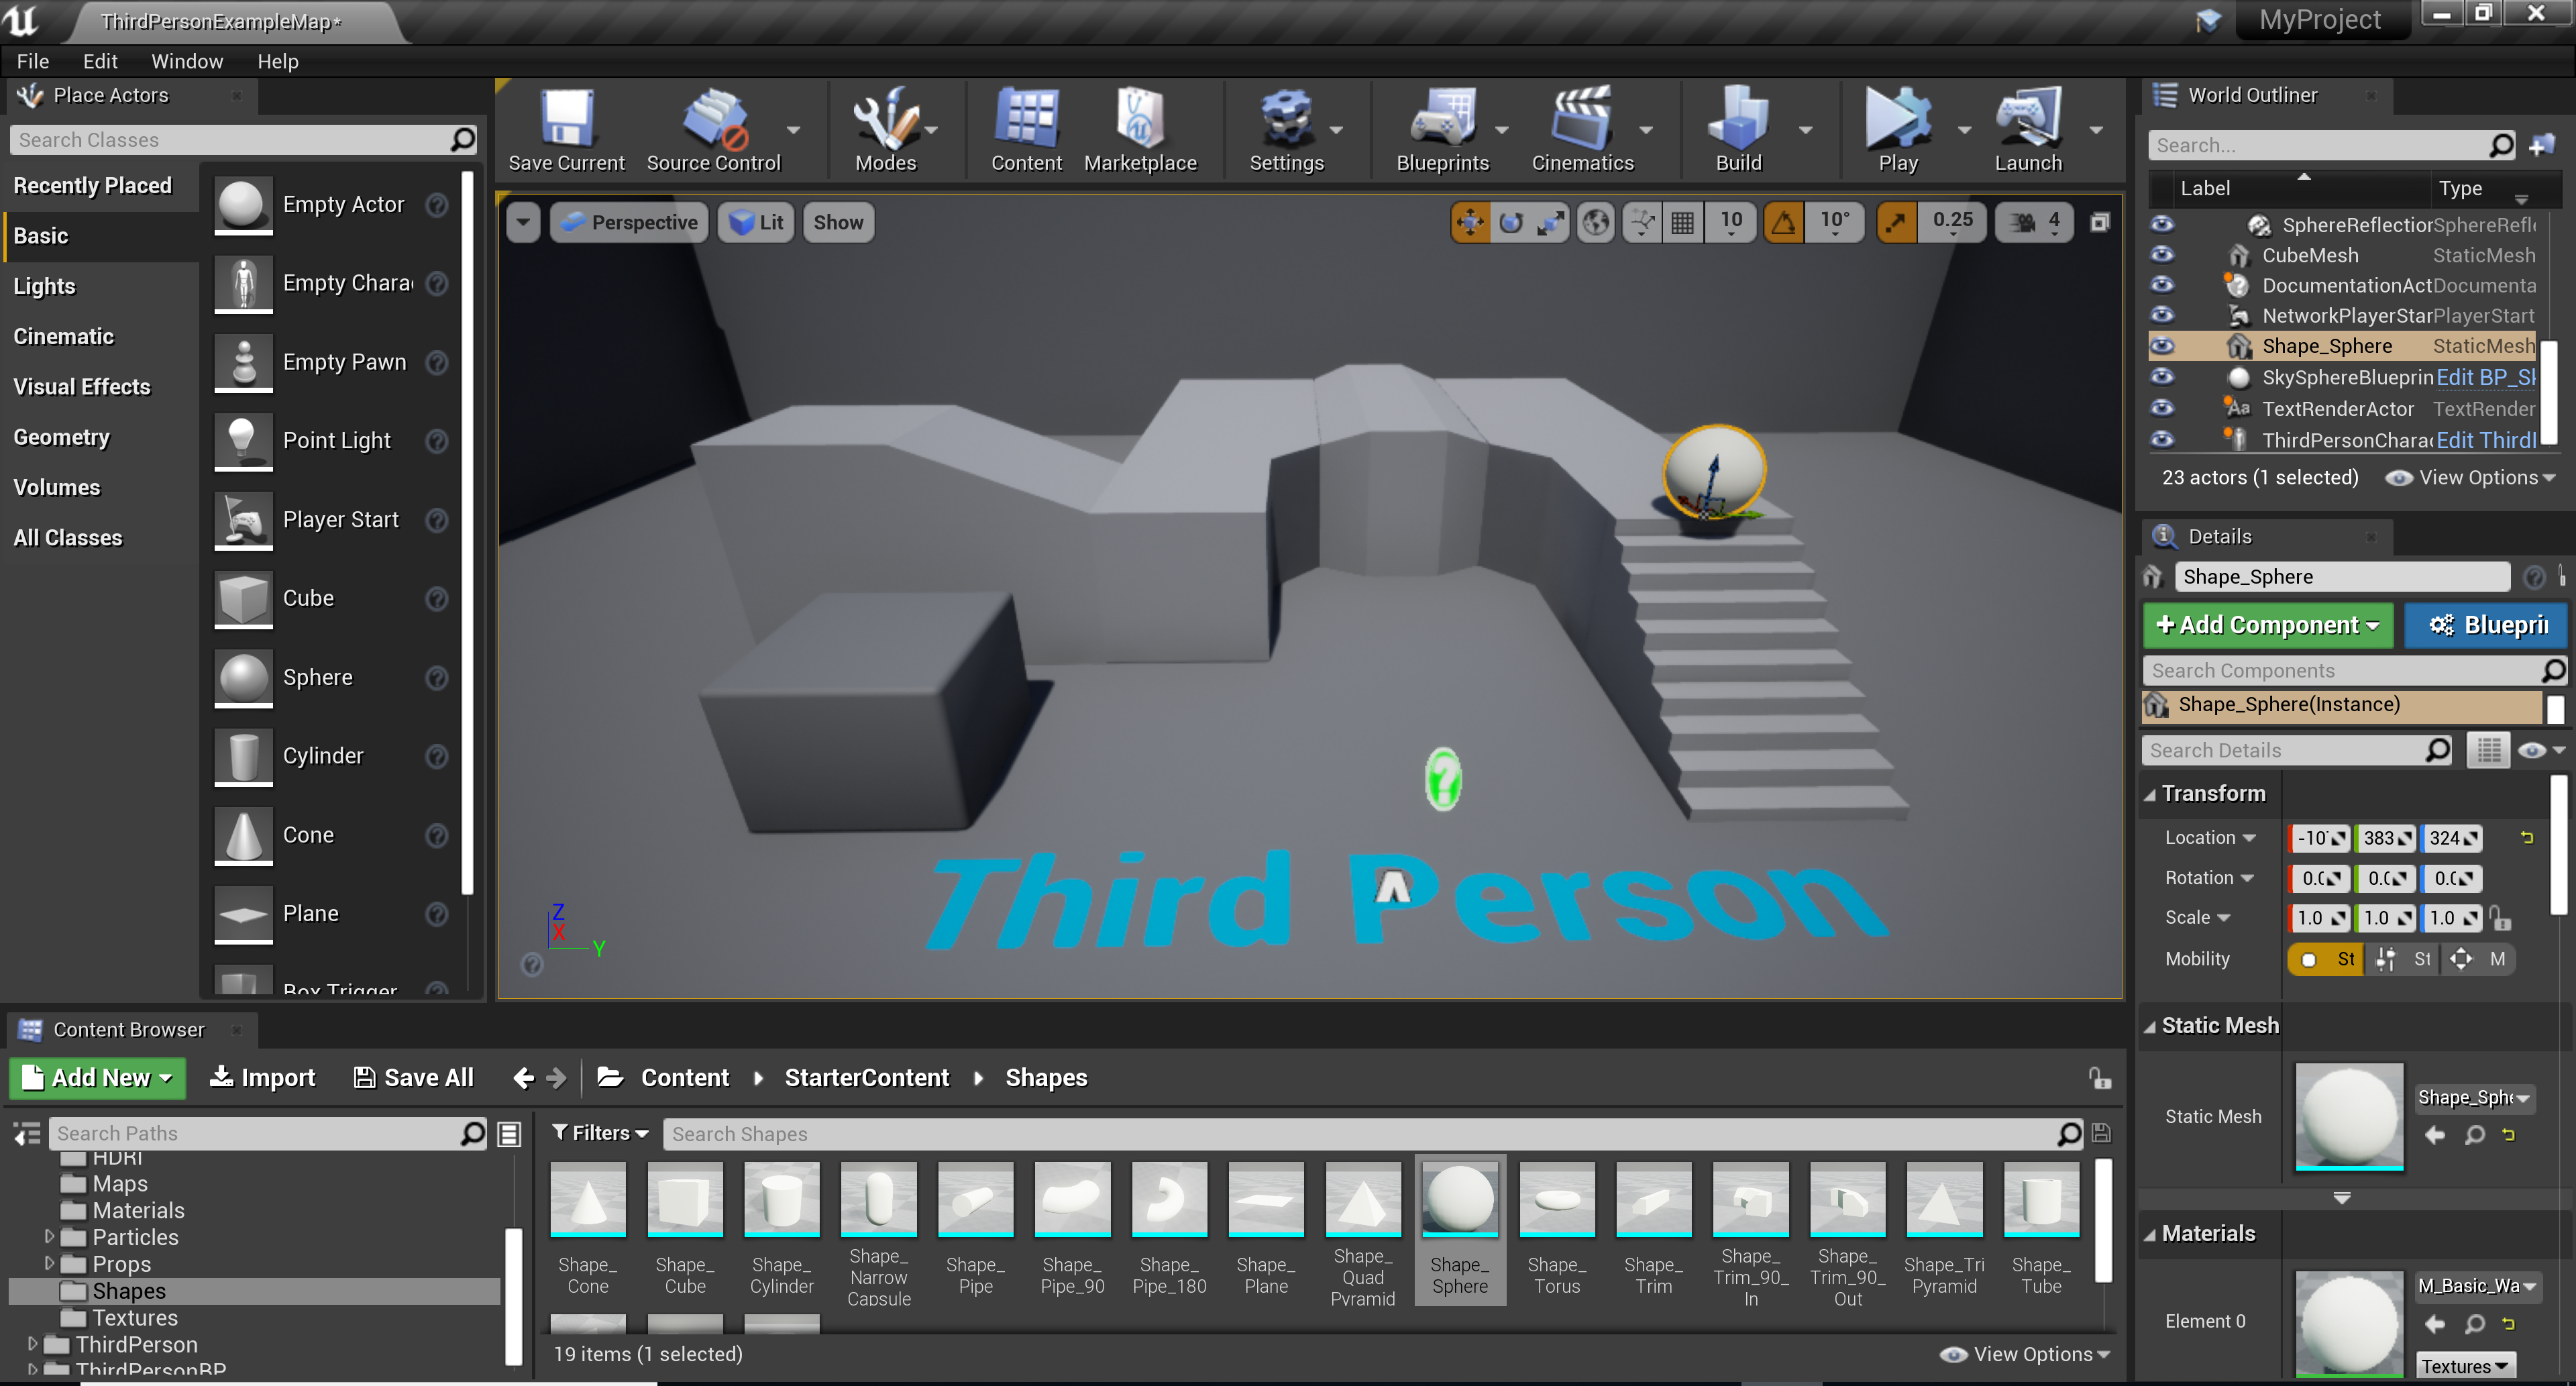
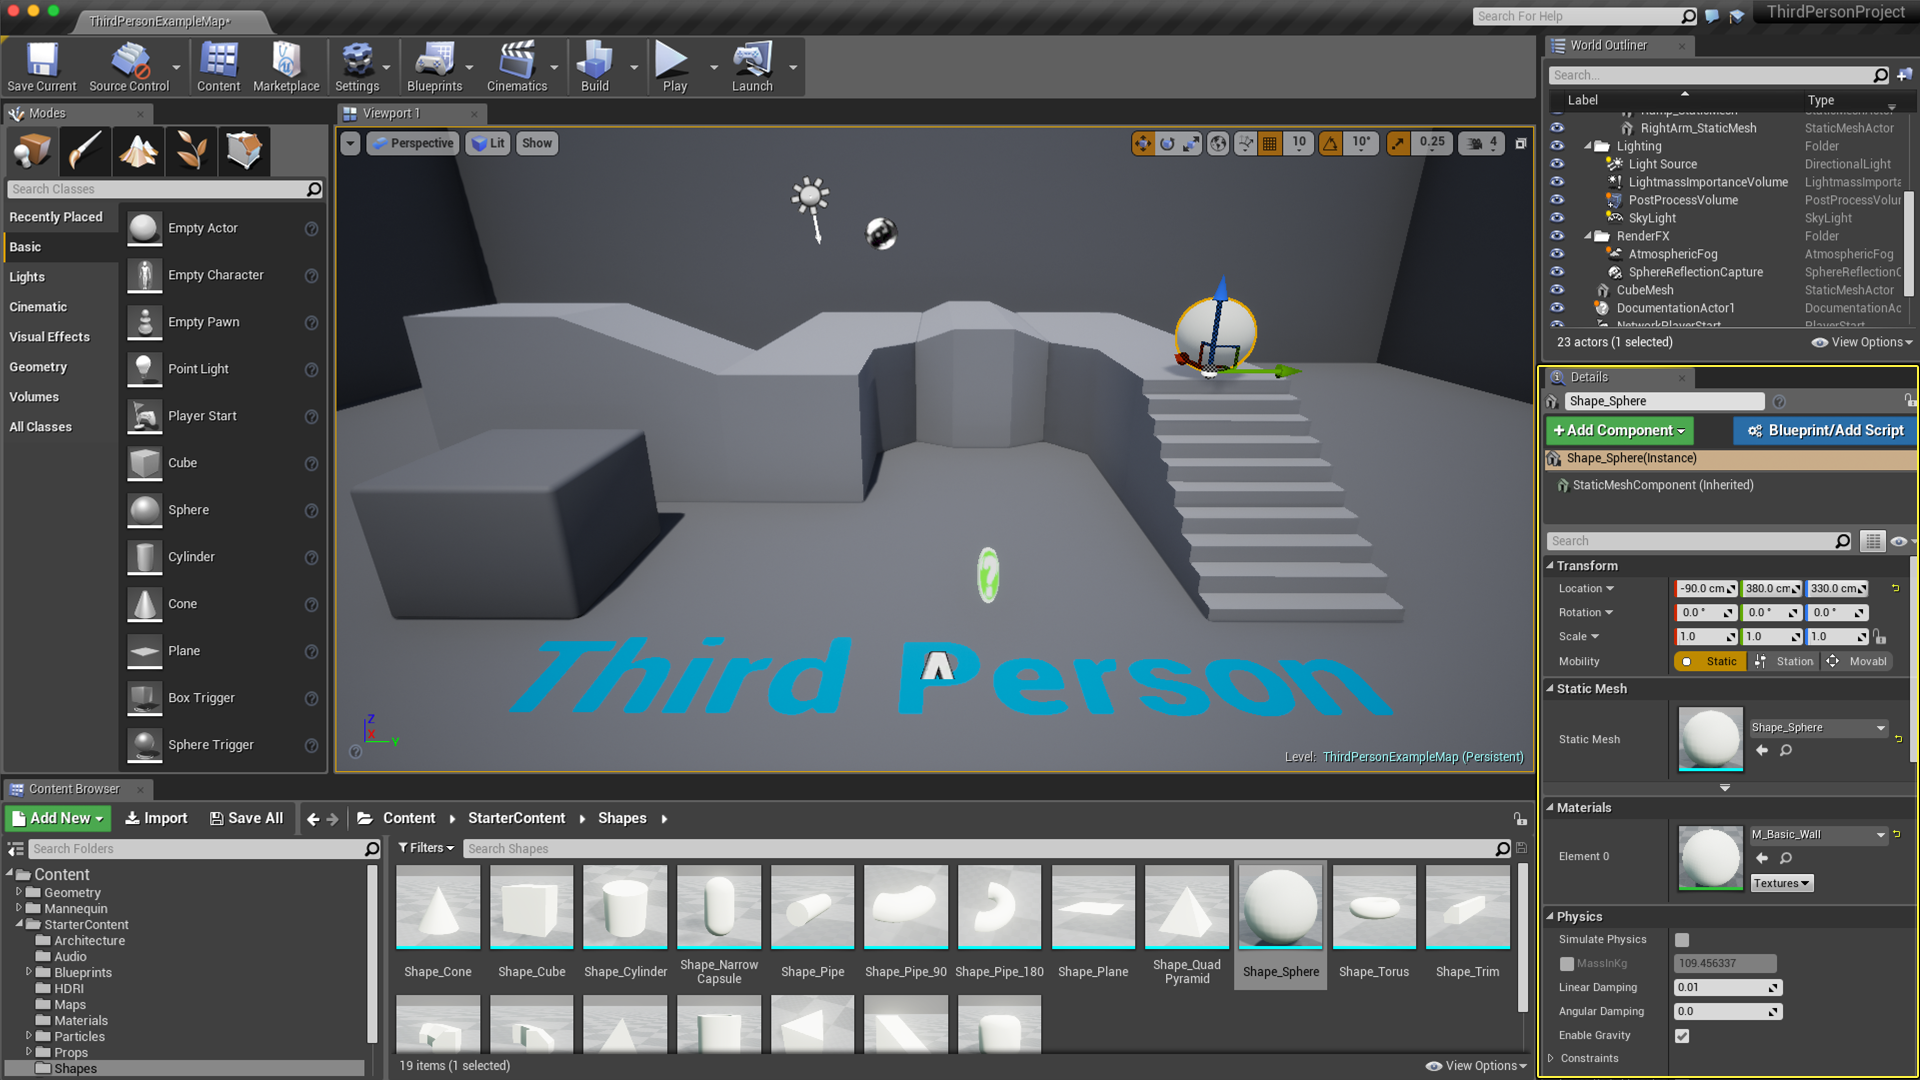
With your project open, inside the Content Browser open the Content/StarterContent/Shapes folder.
-
Left-click-drag the Shape_Sphere into the viewport just above the stairs in the level.
![Details1.png]()
-
When the Actor is placed, the Details panel in the lower-right porition of the editor will become populated.
![DetailsPanel_Windows.png]()
![DetailsPanel_Mac.png]()
-
Inside the Details panel under Transform , click the lock icon for Scale and set the XYZ values to 3.0 .
![Details3.png]()
Clicking the lock icon will ensure that the X, Y and Z values scale uniformly rather than independatly of one another.
As you make the changes, the sphere in the level will update to the new values entered.
![Details4.png]()
-
Set the Location values for XYZ to -140.0 , 380.0 , and 350.0 respectively and set the Mobility to Movable .
![Details_Add.png]()
This will move the Actor up in the air slightly above the stairs and enable its ability to change during gameplay.


End Result
We've set the Location, Scale and Moblity for our Actor via the Details panel directly however you can also manipulate Actors inside the viewport using the Transform tools . Using the Details panel properties is very useful when you need things to line up percisely or need exact numerical values.
Next up we will update the Material applied to our Actor through the Details panel.
2. Applying Materials to Actors
Once you have an Actor in your level to work with, you can quickly alter the appearance of the Actor by changing its Material through the Details panel. In this step we will assign a Material through the Material property in the Details panel as well assign a Material from the Content Browser .
Steps
-
Scroll down in the Details panel to the Materials section and click the Select Material dropdown box.
![Details5.png]()
-
In the menu that appears, the currently selected Material will be highlighted. Select any new Material .
![Details6.png]()
When you select a Material, the dropdown box will be updated with your selection and the sphere in the level will be updated.
-
Click the magnifying glass icon next to the Select Material dropdown box.
![Details7.png]()
Clicking this icon will automatically find and select the Material inside the Content Browser .
![Details8.png]()
This is useful for finding assets in the Content Browser when you do not know where they are located.
-
In the Details panel, click the yellow arrow icon.
![Details9.png]()
Whenever you click this icon, it will reset the option back to its default value.
![Details10.png]()
-
In the Content Browser , select another Material .
![Details11.png]()
-
In the Details panel, click the arrow icon next to the Select Material dropdown box.
![Details12.png]()
Clicking this icon will automatically assign the asset selected in the Content Browser to the option's setting.
![Details13.png]()
When you see this icon next to a property, you can select something in the Content Browser then click it to assign it to the property.


End Result
We learned how to assign a Material to an Actor through the Actor's Material property value in the Details panel as well as a way to locate items in the Content Browser that are assigned to a property. We also saw how to assign items from the Content Browser directly to a property by clicking the assign short-cut.
In the next step we will take a look at the Physics & Collision properties of an Actor to enable physics simulation on our sphere so when we launch the game, the ball will drop and roll down the stairs and collide with our playable character killing them in the process.
3. Adjusting Actor Physics & Collision
Here we will adjust the Physics for our Actor as well as the Collision properties inside the Details panel. By adjusting these settings we can define how an Actor responds to other Actors in the game world. We can set our Actor to simulate physics which will allow us to bump into and push the Actor around in the world as well as define how it responds to collision with other Actors.
Steps
-
With the Shape_Sphere selected, in the Details panel under Collision , check the Simulation Generates Hit Events checkbox.
![Details18a.png]()
With this option checked, we can determine if the sphere hits something.
-
Also in the Collision section, click the Collision Presets drop down and select Physics Actor .
![Details18b.png]()
Since we are going to simulate physics, this setting will handle the physics responses for us.
-
In the Physics section, check the Simulate Physics checkbox.
![Details18c.png]()
There are additional options you can set here such as the Damping or Contraints which can affect how physics for the Actor are simulated however for this tutorial all we are going to do is simulate physics so it can be affected by physics during gameplay.
If you play in the editor now, you will see the sphere roll down the stairs and you can walk into it and push it around since it is a Physics Actor. In order to test the Hit Events, we will use a little bit of Blueprint Visual Scripting to kill the player when hit by the sphere.
-
With the sphere selected in the level, on the Main Toolbar click the Blueprints button then select Open Level Blueprint .
![Details19.png]()
-
Right-click in the graph window, then under Add Event for Shape Sphere and Collision , select the Add On Actor Hit event.
![Details20.png]()
This will now fire an event when the sphere hits something.
-
Off the OnActorHit node, drag off the Other Actor pin and search for Cast To ThirdPersonCharacter then select it in the window.
![Details21.png]()
Here we are checking to see if the Other Actor we hit is the ThirdPersonCharacter (or Player used with this template).
-
Drag off the As Third Person Character pin of the Cast node and search for and add the Destroy Actor node.
![Details22.png]()
If ThirdPersonCharacter was the Other Actor hit, then destroy ThirdPersonCharacter (killing the player character).
-
Click the Compile button in the upper-left corner of the window to finalize the Blueprint, then close the window.
![Details23.png]()
-
From the Main Toolbar , click the Play button to play in the editor.
![Details24.png]()


End Result
When you play in the Editor now, you can use WASD to move the character around and the Mouse to manipulate the camera. You should see that the sphere now rolls down the stairs and if you walk into it, it should kill the character making them disappear (press Esc to exit the play session after you have been "killed").
This should give you a brief understanding of how to edit the properites of Actors through the Details panel of the main Level Editor. For more information, please see the related topics below.