Choose your operating system:
Windows
macOS
Linux
Unreal Editor allows you to spawn a player anywhere and instantly preview your game from within the editor without waiting for files to save. There are two preview types available: Play In Editor (PIE) which is directly accessed via the Play button located on the Main Toolbar and Simulate In Editor (SIE) which is accessed via the Play dropdown menu ( Alt+S ). The in-editor preview system supports toggling between Play In Editor and Simulate In Editor sessions, so that you can quickly iterate on gameplay and asset tweaks and see how your game changes as a result.
For this How To guide, we have created a new project using the Blueprint Third Person template with Starter Content enabled. If you have not created a project based off a template before or are not sure how to enable Starter Content, refer to the Create a New Project page for information on creating/opening projects, templates, and project settings.
Play In Editor (PIE)
This section will show you how you can use Play In Editor to play your game.
-
With the Blueprint Third Person Template Project open, from the Main Toolbar , click the Play button.
![PIE1.png]()
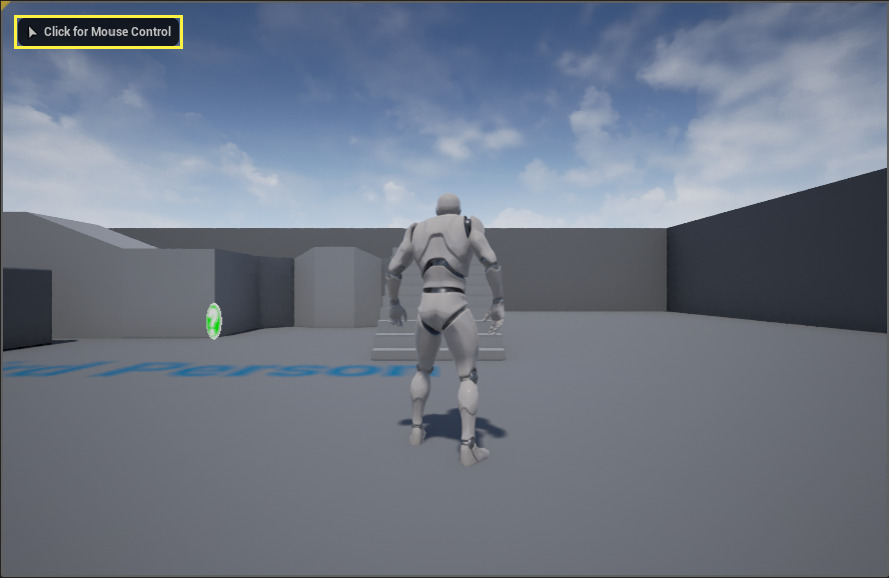
When clicking the Play button, the game should start and you should see the character in the Level Editor Viewport.
You will also see text appear in the upper left corner of the Level Editor Viewport.
![PIE2.png]()
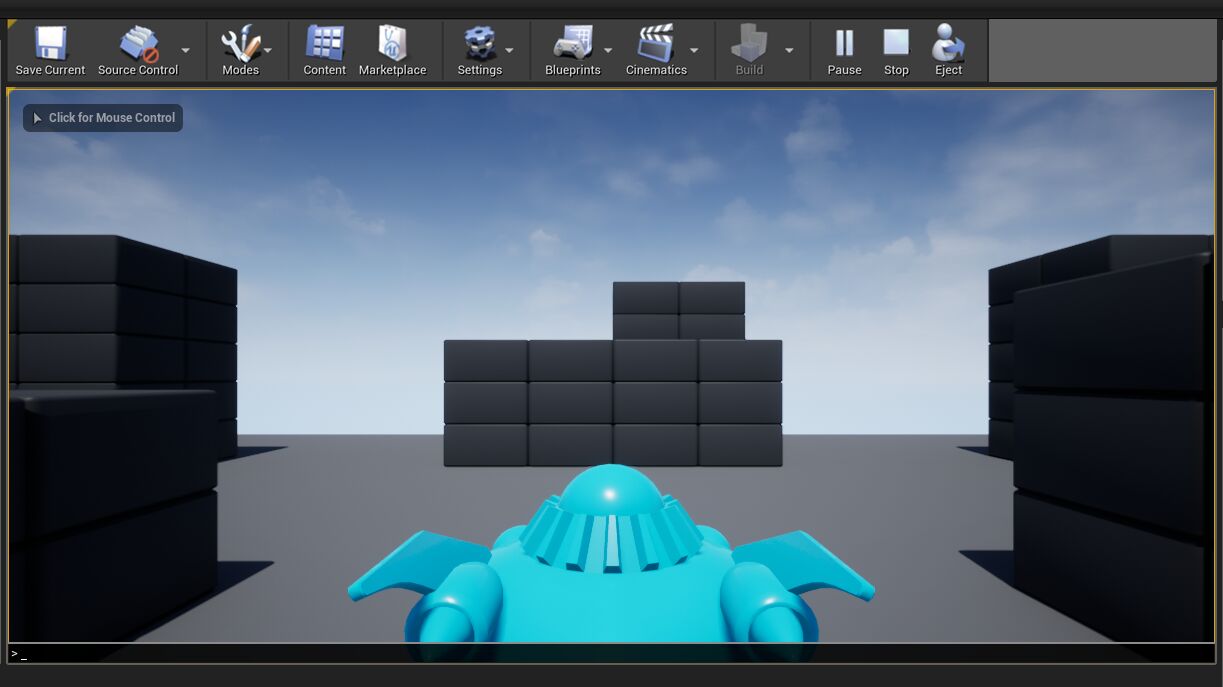
When playing inside the Level Editor Viewport, you must click in the window to assign mouse control to the playable character.
-
Left or Right-click in the Level Editor Viewport.
![PIE3.png]()
When doing so, the text will change to Shift+F1 for Mouse Cursor (this allows you to give mouse control back to the Editor itself).
You can use the WASD keys for movement, Spacebar to jump and Mouse movement to move the camera.
-
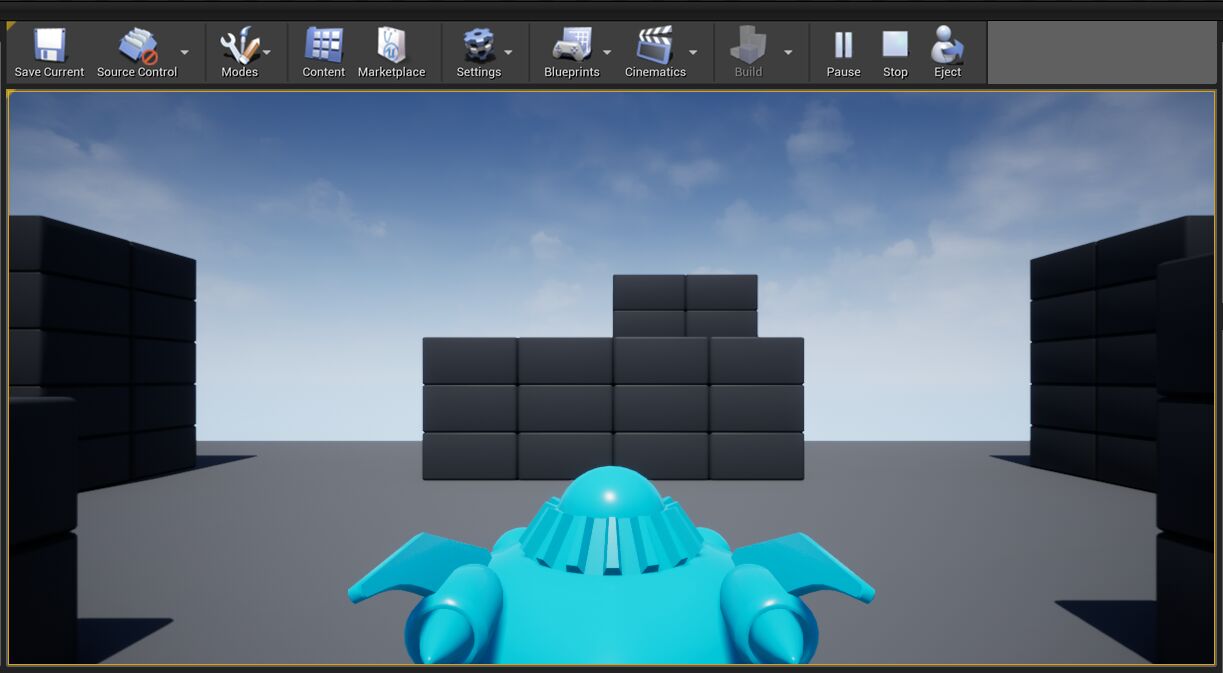
During the Play session, the Main Toolbar will change to provide additional controls.
![PIE4.png]()
In the yellow box above from left-to-right, options to Pause (which will pause the game), Stop (which will end the Play session) or Eject (which will release control of the playable character and switch to mouse cursor controls) are available.
The Eject option is only available when using the Selected Viewport option. See Play Mode for more information.
-
Press Shift+F1 then, click Pause to pause the game.
![PIE_5.png]()
You will notice that the Main Toolbar will update to provide additional control options.
![PIE_6.png]()
From left-to-right above, the Resume button will resume gameplay normally while the Frame Skip button will advance gameplay ahead by 1 frame, each time it is pressed. The Stop and Eject buttons function the same and allow you to end the play session or eject from character.
-
Press the Eject button from the Main Toolbar .
-
Left-click on the text in the Level Editor Viewport, then in the Details panel, change its Text value.
![PIE_7.png]()
When you press Enter , the text will be confirmed and changed in the Level Editor Viewport window.
-
Click the Possess button, then Resume from the Main Toolbar .
![PIE_8.png]()
The text in the level has changed from its default value. This is useful for changing and testing different values for the Actors in your level during gameplay, allowing for quick iteration and playtesting times.
-
Press F8 to Eject from the player character.
-
Right-click on the text in the Level Editor Viewport, then in the pop-up menu select Keep Simulation Changes .
![PIE_Add.png]()
By default, any values that you change for Actors in your level during a play session will be reverted when the session ends (to prevent you from accidently overwriting your values). By choosing the Keep Simulation Changes option, this will keep the changes that you have made to the Actor and carry them over to the Editor when the Play session ends.
Instead of using the context menu, you can select the Actor and press the K key to Keep Simulation Changes.
-
Press Esc to stop the play session and notice your changes have been saved.
Play Modes
There are different Play Modes that you can use when starting a play session.
-
Click the down-arrow next to the Play button from the Main Toolbar .
![PIE_9.png]()
-
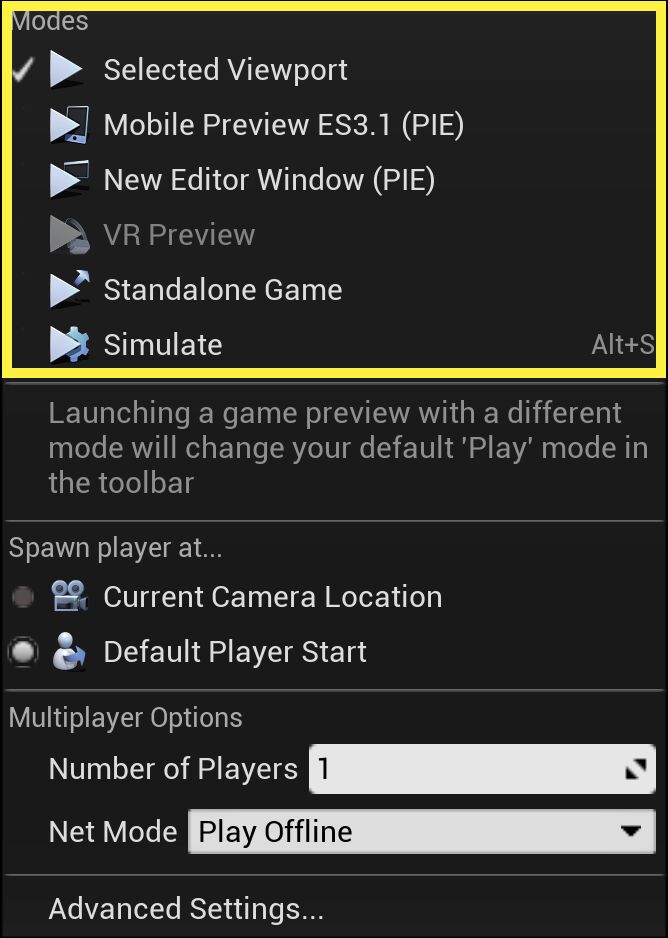
This will open the Play Options menu as seen below.
![PIE_10.png]()
-
Choose Selected Viewport , Mobile Preview , New Editor Window , or Standalone Game .
The Selected Viewport is the default setting and launches the game within the Editor inside the currently selected Viewport . New Editor Window also launches the game within the Editor however it creates a new standalone window, leaving the Level Editor Viewport the same. Mobile Preview and Standalone Game will launch the game in a standalone version outside of the Editor (with the Mobile Preview providing additional tools used to mimic devices as closely as possible).
For the other options in this menu, refer to the Related Topics section at the bottom of this page for more information.
PIE Console
The PIE Console is an in-game console that enables you to enter commands displaying performance data, enabling or disabling engine features, and much more.
-
To open the PIE Console in minimum view, press the tilde (~) key while playing the game in PIE mode.
![Min_PIEConsole.png]()
PIE Console Minimum View
-
To show the PIE Console in full view, press the tilde key twice (or once more if the PIE Console is already being displayed in minimum view).
![Full_PIEConsole.png]()
PIE Console Full View
-
While the PIE Console is in full view, press the tilde key to close it.
![Closed_PIEConsole.png]()
Close PIE Console
Profiling a project's performance is a great use case for the PIE Console, read about Stat Commands to learn more.
Simulate In Editor (SIE)
In this section, we will take a look at Simulate In Editor and how to simulate your game.
-
With your project open, inside the Content Browser , open the Starter Content then Props folder.
-
Left-click and drag the Material Sphere prop into the level, just above the stairs.
![Sim1.png]()
-
Click on the arrows of the Move Tool widget to move the Sphere up above the stairs, similar to below.
![Sim2.png]()
-
In the Details panel for the Sphere, scroll down to the Physics section and check the Simulate Physics checkbox.
![Sim3.png]()
When we start to simulate (or play), the Sphere now has physics and should fall to the ground.
-
Press Alt+S to Simulate in the Editor.
![Sim4.png]()
You should see that although there is no playable character in the level, the game proceeds as if there is and the sphere falls.
-
Press Esc to stop the session, notice in the Editor that the Main Toolbar has been updated.
![SIM5.png]()
The Play button will change to reflect the most recently selected Play Mode, in this case we just simulated.
-
Press the Simulate button (or Alt+S ) to simulate again, then immediately press the Pause button.
-
From the Main Toolbar , click the Frame Advance button to step through the simulation.
![SIM6.png]()
When clicking the Frame Skip , you should see that the Sphere slowly starts to fall while simulating physics.
