Choose your operating system:
Windows
macOS
Linux
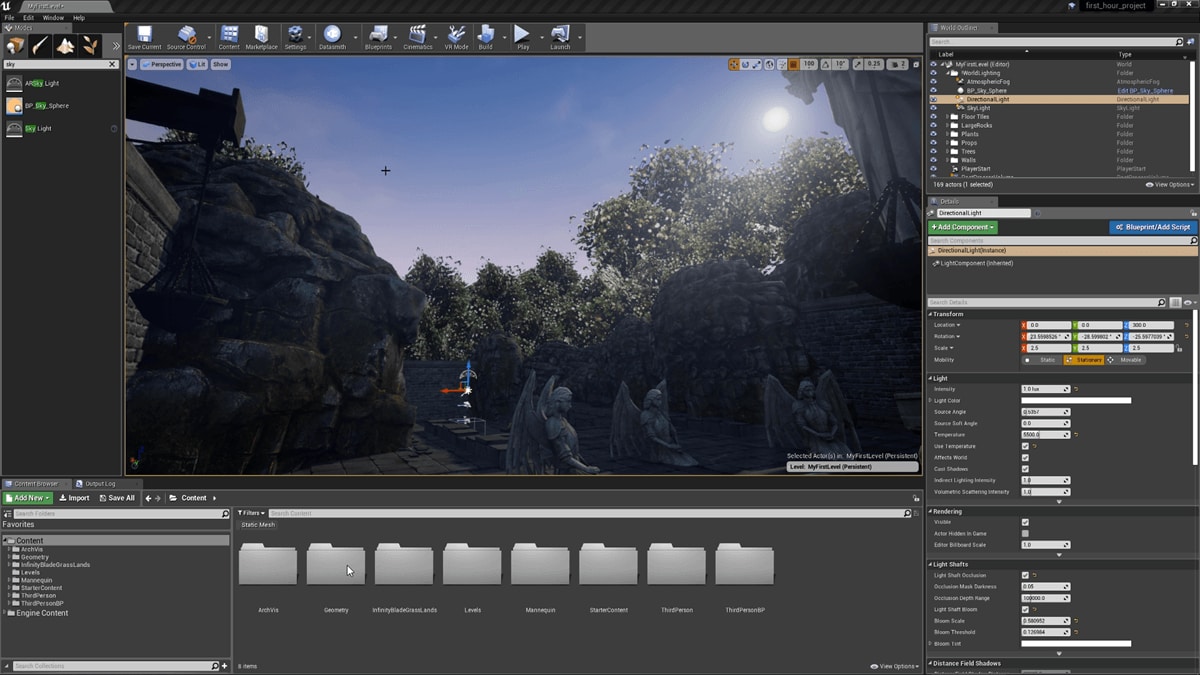


Across the various editor windows for your Static and Skeletal Meshes, you can now setup your own preview scenes to be used when inspecting your assets. This enables you to quickly assess what your assets would look like in multiple environments and lighting scenarios without having to set up these scenes within your level.

The Preview Scene Settings panel enables you to adjust the following in your preview scene:
-
Directional Lights: Color, Intensity, and Rotation
-
Sky Lights: HDRI Environment Map, Intensity, and Rotation
-
Post Process Volumes: All Settings
Using Scene Profiles
The Preview Scene Settings enable you to set up any number of environments and lighting scenarios to emulate your game levels. These scenes can be saved as any number of separate profiles that can be shared between the various editor windows.
Adding Profiles
-
When you open your Static or Skeletal Mesh from the Content Browser, locate the panel on the right for Preview Scene Settings in the editor window.
![StaticMeshEditor.png]()
![SkeletalMeshEditor.png]()
Static Mesh Editor
Skeletal Mesh Editor
Click for Full Image
Click for Full Image
-
Adjust the various settings until you have something that emulates the environment lighting and Post Processing settings you would like to use.
-
In the text box for Profile Name , give it a name that will be useful, like "Nighttime Environment" or "Daytime Environment".
![ProfileName.png]()
-
Click on the button for Add Profile .
![AddingProfile.png]()
-
You have now created and saved your profile and can select it from the drop-down next to Scene Profile Settings .
![ProfileSelection.png]()


Removing Profiles
-
Select a profile from the drop-down menu next to Scene Profile Settings .
![RemoveProfileSelection.png]()
-
Click on the button for Remove Profile to permanently delete the currently selected profile.
![RemoveProfileButton.png]()
-
You will now see that profile has been removed leaving only the default profile and any other previously set up profiles.
![RemoveProfileSelection1.png]()


Rotating the Environment
In this section, you will adjust the environment rotation which will rotate the skybox and the Directional Light around the mesh. This setting can be used to simply rotate the environment around the mesh manually or to set a speed for the environment to rotate continually.
-
Enable environment rotation by placing a checkbox next to Rotate Sky and Directional Lighting .
![RotatingEnvironment.png]()
-
Next, set a value for Rotation Speed for the environment to start rotating.
![RotationSpeed.png]()
You can manually rotate the environment by holding down the K key and left-click drag and the Directional Light by holding down the L key and left-click drag to rotate.


Toggle Environment and Floor Visibility
In this section, you will learn how to hide and show the Environment and Floor mesh for your preview scene.
-
Click the check box next to Show Environment and Show Floor to hide/show these features.
Assigning an Environment Cube Map
In this section, you will learn how to assign a skybox for the environment for your preview scene.
-
Click the selection drop-down next to Environment Cube Map to select from the available HDRI cube maps.
Use the View Options for Show Engine Content to see additional cube maps that are included in the Engine Content folder.

Post Process Settings
Like the Post Process Volume settings available in your game viewport, you have full control over all available Post Process settings for your preview scenes under the advanced rollout. You can toggle the post processing on and off for the Preview Scene by using the checkbox for Post Processing Enabled .

For a full breakdown of the various settings you can check out the Post Process Effects page.