Choose your operating system:
Windows
macOS
Linux


When creating scenery and characters for your application, there are times when you'll want to add visual depth to the rendering. Adding Contact Shadows is a great way to improve the visual depth and fidelity of your scene because they provide a more accurate approximation of shadowing, allowing you to add a contoured shadow that might not be achieved with other shadowing algorithms.
Adding Detail to your Characters
One use case for enabling Contact Shadows for a given Point Light is to render an additional Level of Detail (LOD) for your characters. The following images should give you a good idea of what Contact Shadows can add to a character. As you drag the comparison slider from right to left, you'll notice that the character located within the radius of a Point Light with enabled Contact Shadows exhibits additional details that aren't present when Contact Shadows are turned off.


When you turn on Contact Shadows, you're directing the renderer to execute a per-pixel screen space algorithm on a per-light basis. This means that the Contact Shadow algorithm is executing a light computation pass, performing scene depth buffer ray marching so as to determine whether the queried pixel is to be occluded from the Point Light source that has Contact Shadows enabled.
Scenes with Contact Shadows
Another use case for enabling Contact Shadows is to eliminate the need for computing parallax occlusion mapping shadows within a material's pixel shader that only supports one light. The following image provides a comparison of parallax occlusion mapping materials with and without Contact Shadows enabled.

It's important to note that your parallax occlusion mapping materials should output the pixel depth offset.
The following is an example of Contact Shadows interacting with a parallax occlusion mapping material.

Contact shadow length = 0.1 on both lights.
Enabling Contact Shadows
By default, Contact Shadows are disabled on Point Lights, whereby the Point Light's Contact Shadow length is initialized to 0. To enable Contact Shadows, perform the following steps:
-
First, drag a Point Light into your scene.
![CastShadows_Step1.png]()
-
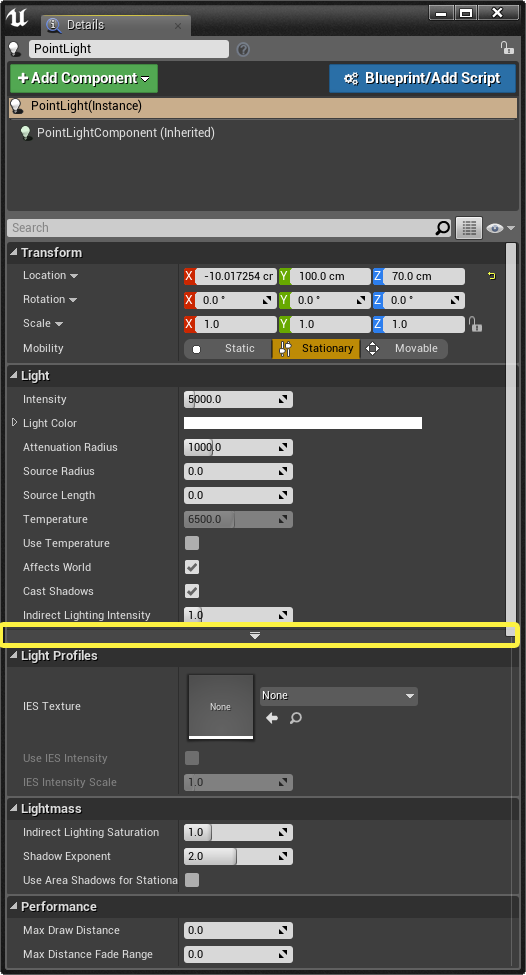
Now, expand the Light section of the Details panel for your newly created Point Light Component by clicking on the expansion arrow.
![CastShadows_Step2.png]()
Click for full image.
-
To enable contact shadows, set the Contact Shadow Length to a value greater than 0.
![CastShadows_Step3.png]()
Click for full image.


By setting the Contact Shadow's length to a value greater than 0, you're directing the renderer to trace rays from a pixel's position toward the light source through the scene's depth buffer. Typically, you'll want to set the Contact Shadow's length to a maximum value of 1, where 1 means that the ray traverses the entire screen. Whereas, setting the Contact Shadow's length to a value of 0.5 means that the ray traverses only half of the screen. Note that the number of samples taken in the scene depth buffer remain constant, which means that you'll see more noise (artifacts) as you increase the Contact Shadow's length. Basically, a Contact Shadow length of 0.75 generates more noise than a length of 0.1.