Choose your operating system:
Windows
macOS
Linux


In most games, you will want to communicate some information to your players through your game's User Interface. This can range from things like Main Menus, in-game Pause Menus, HUD elements like Health or Experience, Inventory Items, or help text to instruct players what to do in a given situation.
With Unreal Motion Graphics (UMG) , you can create a Widget Blueprint to handle the display of UI elements in your project. The Widget Blueprint uses Blueprint Visual Scripting to design the layout as well as script functionality for UI elements such as what happens when a button is clicked or if a value changes.
In this how-to, we will create a Widget Blueprint and add some Text to it, then through the Level Blueprint display it when a key is pressed.

1 - Setting Up the UI Widget Blueprint
First, we need to set up our User Interface (UI) Widget Blueprint.
For this how-to, we are using the Blueprint Third Person Template . However, you can use any project you wish.
-
In the Content Browser click the Add New button, and under User Interface select Widget Blueprint .
![CreatingWidgets01.png]()
All UMG UI elements are created inside a Widget Blueprint.
-
Enter the name SampleUI for the name of the Widget Blueprint, and double-click to open it.
![CreatingWidgets02.png]()
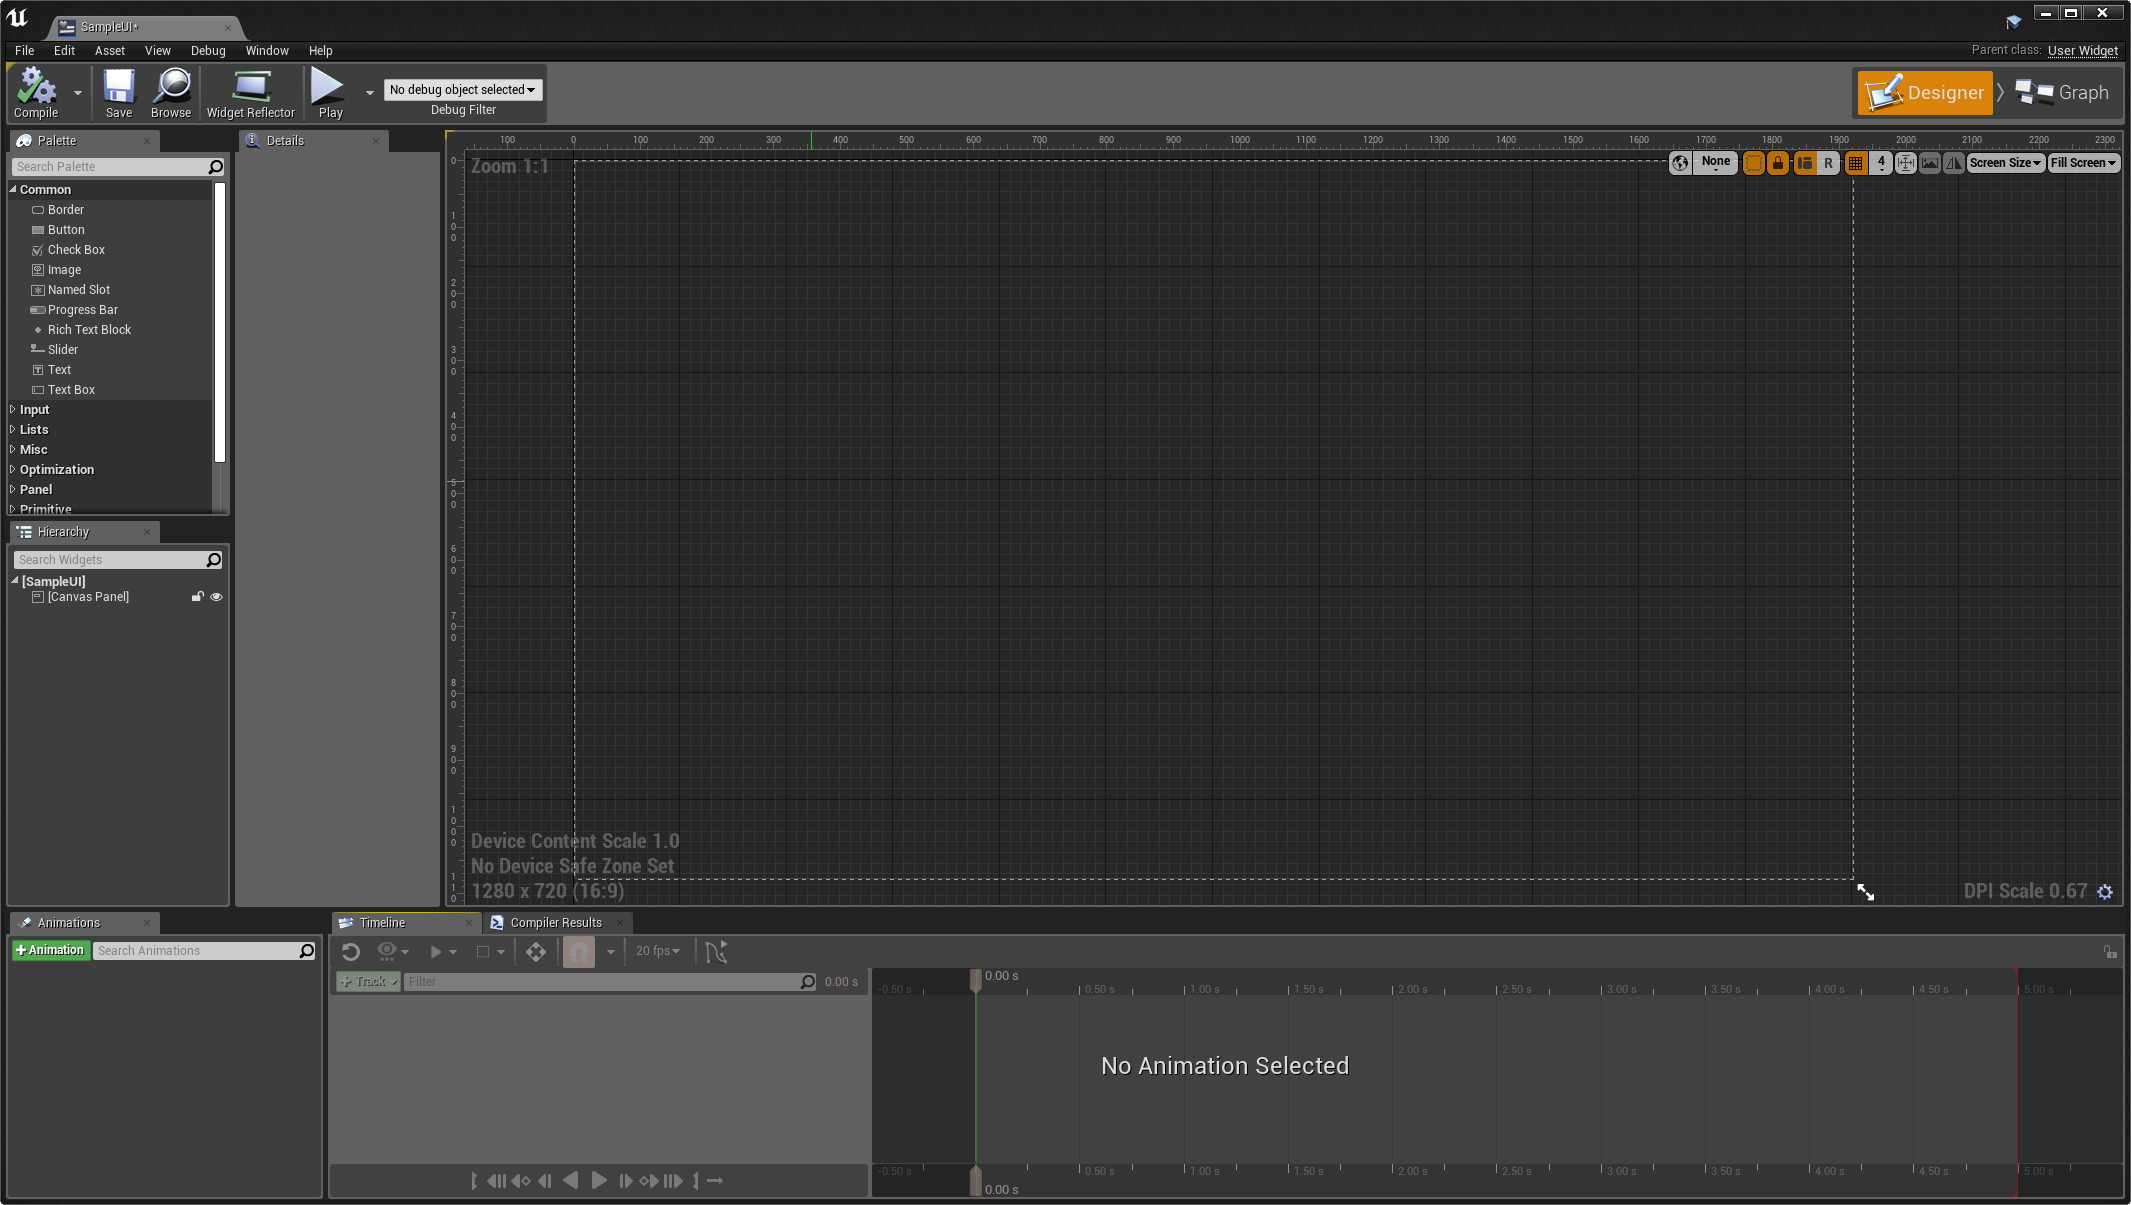
When you open the Blueprint, the UMG Editor Interface appears.
![CW03_UMGEditor.png]()
Click for full view.
The Widget Blueprint opens by default to the Designer tab, which is where you set up the visual layout of your UI elements. To script functionality for the Widget Blueprint, select Graph in the top right corner of the editor.
-
Inside the Palette window, drag a Text widget into the Visual Designer graph.
![CW04_textblock.png]()
The Palette window contains several different types of widgets that you can use to construct your UI elements.
-
In the Details panel for the Text Widget, click the Anchors dropdown and select to Anchor to the center.
![CreatingWidgets05.png]()
This ensures that as the viewport size changes, the Text widget will stay anchored relative to the center of the screen.
-
Set the following properties for the Text widget in the Details panel:
-
Text Widget Name : We suggest you change this so it's easier to quickly differentiate between the different elements you create.
-
Size to Content : Check this so the widget auto-adjusts to the size of the widget.
-
Text : This is the text inside the widget that appears in the UI.
-
Color and Opacity : Select a color for your text.
-
Font Size : Open the Font group and adjust the size to 56. In this section, you can also change the Font Family and Typeface .
![CW06_details.png]()
-
-
After making your adjustments, select Compile then Save . Then, close the Widget Blueprint.
![CreatingWidgets09.png]()


2 - Adding the UI Blueprint Widget to your Level
In order to see the text you just created in-game, you need to add the Blueprint Widget to your level. This involves adding some scripting to tell the level that when you press Enter the text should display in-game.
-
From the Main Toolbar, select the Blueprints dropdown and then Open Level Blueprint .
![CreatingWidgets10.png]()
-
Right-click in the graph and search for the Create Widget node.
![CreatingWidgets11.png]()
-
On the node, click the Class drop-down menu and search for the Widget Blueprint we just made, SampleUI .
![CreatingWidgets12.png]()
-
Right-click on the Return Value pin and select Promote to Variable . Rename the variable to SampleUI .
![CreatingWidgets13.png]()
![CW10.5_promotevariable_sampleuiname.png]()
Whenever you create the Widget Blueprint (your UI), it's a good idea to promote that to a variable so you can access it later through Blueprint script.
-
Drag off the out pin on the Set node and search for the Add to Viewport node.
![CreatingWidgets14.png]()
This is how we tell the Widget Blueprint to display in-game.
-
Right-click in the graph and search for the Enter Keyboard Event.
![CreatingWidgets15.png]()
-
Connect the Pressed pin to the executable pin of the Create Sample UI Widget node.
![CreatingWidgets16.png]()
This tells the viewport when we press Enter to create and store the widget as a variable, and then show the SampleUI widget in-game.
-
Hold Ctrl and drag the SampleUI variable into the graph from the My Blueprint panel.
![CreatingWidgets17.png]()
-
Drag off the pin of the new node and search for and add the Remove from Parent node.
![CreatingWidgets18.png]()
The Remove from Parent node tells a Blueprint when an element should be removed from the viewport.
-
Connect the Release pin of the Enter node to the Remove from Parent executable pin.
![CreatingWidgets19.png]()
Now when we press the Enter key during gameplay, the text will be displayed. When we release Enter, the text will disappear.
-
Select Compile and Save before closing the Level Blueprint . Then click the Play button from the Main Toolbar. Press and release Enter to see the SampleUI widget in action!
![CreatingWidgets20.png]()


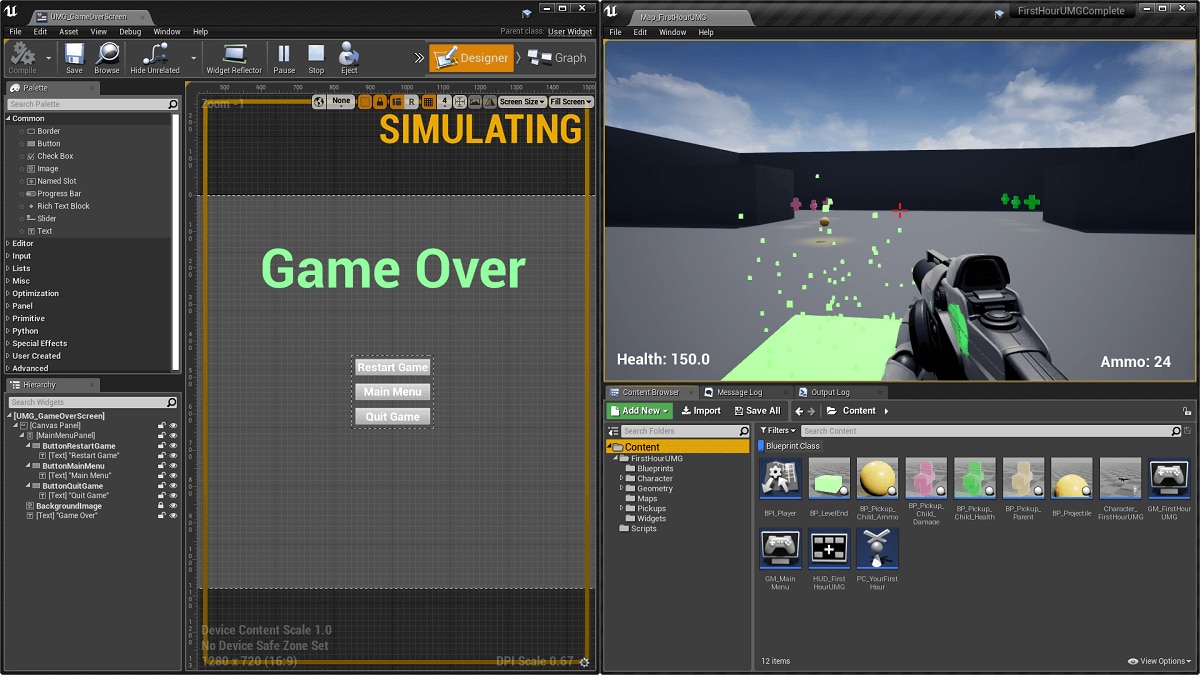
End Result
When you play in the Editor, you will have something similar to below whenever you press and release the Enter key.