Choose your operating system:
Windows
macOS
Linux


Previewing and applying your Materials is something that you will have to do quite often to make sure that you are getting the exact results you want. Unreal Engine 4 (UE4) makes both previewing and applying materials a very straight forward process. In the following How - To, we will cover all you need to know about how to preview and apply your Materials in UE4.
Previewing and Applying Materials
Previewing and Applying your Materials is of critical importance to the Material creation process because this is how you will be able to see and apply the results of what was created in the Material Graph. When you are Previewing a Material, you are seeing what the changes would look like. If you want what the changes you are previewing to be applied to the Material, you need to compile the Material by pressing the Apply or Save button. This will then update the Material to include the changes you were just previewing.

How to Preview your Materials
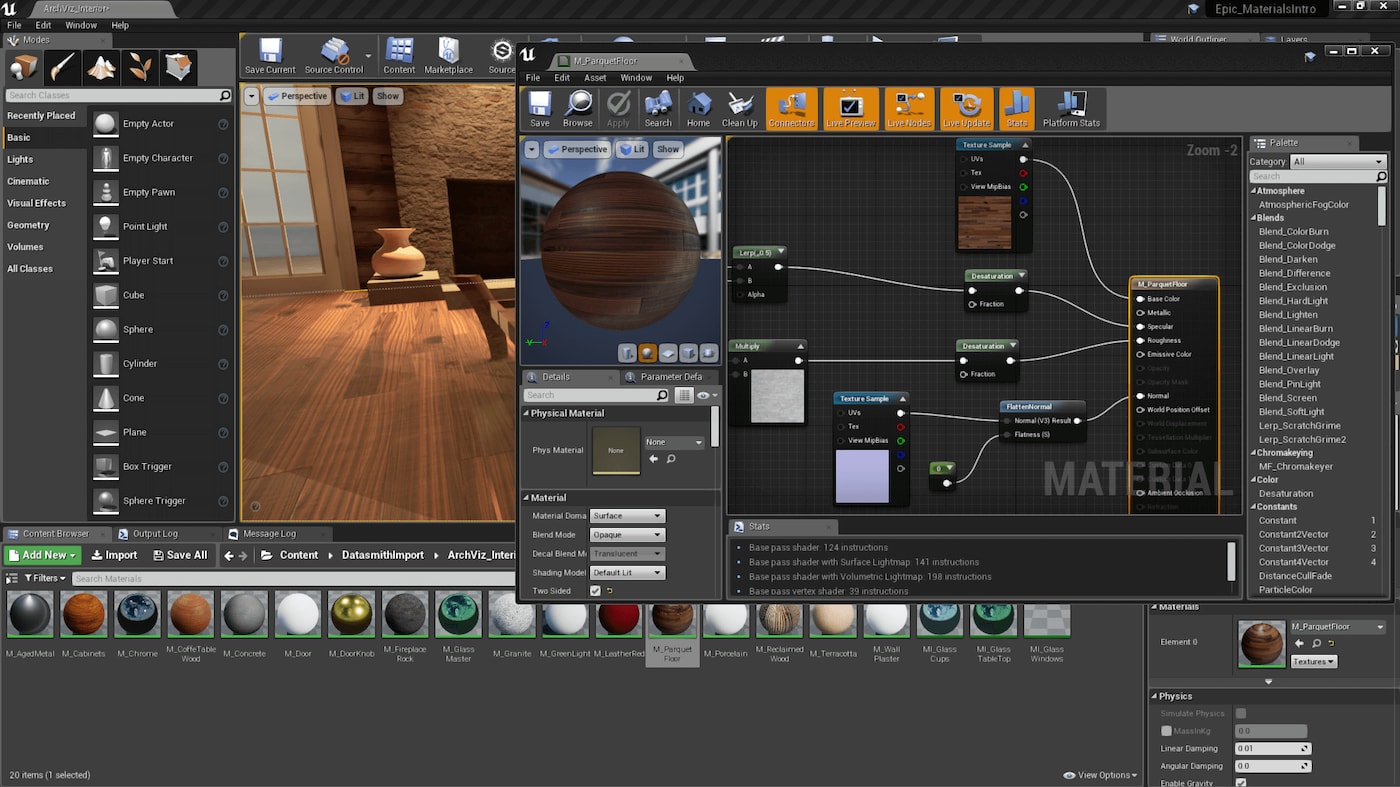
You can preview your Materials a number of different ways inside of UE4, but the easiest way to preview your Materials is via the Material editor Viewport window. The Viewport window has a number of different options that make previewing your material very easy and straight forward. The image below shows a breakdown of the window and what its various options do.

|
Number |
Property |
Description |
|---|---|---|
|
1 |
Preview Object |
This is a preview mesh that you can use for previewing how your material will look on different objects. |
|
2 |
Cylinder Preview Mesh |
This will change your preview mesh into a cylindrical mesh. |
|
3 |
Sphere Preview Mesh |
This will change your preview mesh into a sphere mesh which is the default preview mesh. |
|
4 |
Plane Preview Mesh |
This will change your preview mesh into a plane mesh. |
|
5 |
Cube Preview Mesh |
This will change your preview mesh into a cube mesh. |
|
6 |
Teapot Preview Mesh |
This will change your preview mesh into whatever mesh you currently have selected inside the Content Browser. |
|
7 |
Grid Icon |
This will turn on or off the preview grid. |
|
8 |
Watch Icon |
This will enable real time rendering of the material allowing you to see how this material would work during a running game. |
While inside of the Material Editor, if you use your mouse cursor to hover over the icons, you will get a little description about what each of the properties does if you forget.
While you are creating your materials in the Material Editor, the Viewport window will update with your changes in real time if you have real time enabled (Real time is enabled by default). To see the changes happen, all you have to do is adjust any parameter that is currently hooked up to any of the Main Material Nodes like in the following example.
When making any changes to your Material Network, it could take some time for the changes to be rendered correctly. The more complex your material becomes, the longer it could take for the preview window to update. If you find that you really need a quicker update, you should look into making your Material into a Material Instance .
Previewing in the Level
The following feature will only work in Unreal Engine version 4.6 or later.
In Unreal Engine version 4.6 and later, you can adjust Scalar or Vector parameters inside Materials and see the results instantly in all 3D Viewports. This is especially useful for Material Functions that implement layers, as you can see the results of a tweak to the layer on all the Materials in the scene that use that function instantly instead of having to wait for the Material to re-compile. To enable this functionality, you need to make sure that the Material meets the following requirements.
-
First make sure that the Material that you want to preview is applied to something in the level.
-
Inside of the Material, make sure that you are using Scalar or Vector Parameters as inputs for the properties you want to change. Previewing like this will not work with Constant Material Expression nodes, you have to use or convert the Material Expression nodes you want to tweak into Parameter nodes. It is very important that the Material Expression inputs that you convert to preview have unique names or this will not work.
-
To see the changes happen in real time in the level viewport, adjust the value of the Scalar or Vector parameters inside the Material. The adjustments that you make should then be displayed, in real time, in the level viewport.
How to Apply your Materials
There are two main ways that you can apply Materials to objects inside of UE4.
-
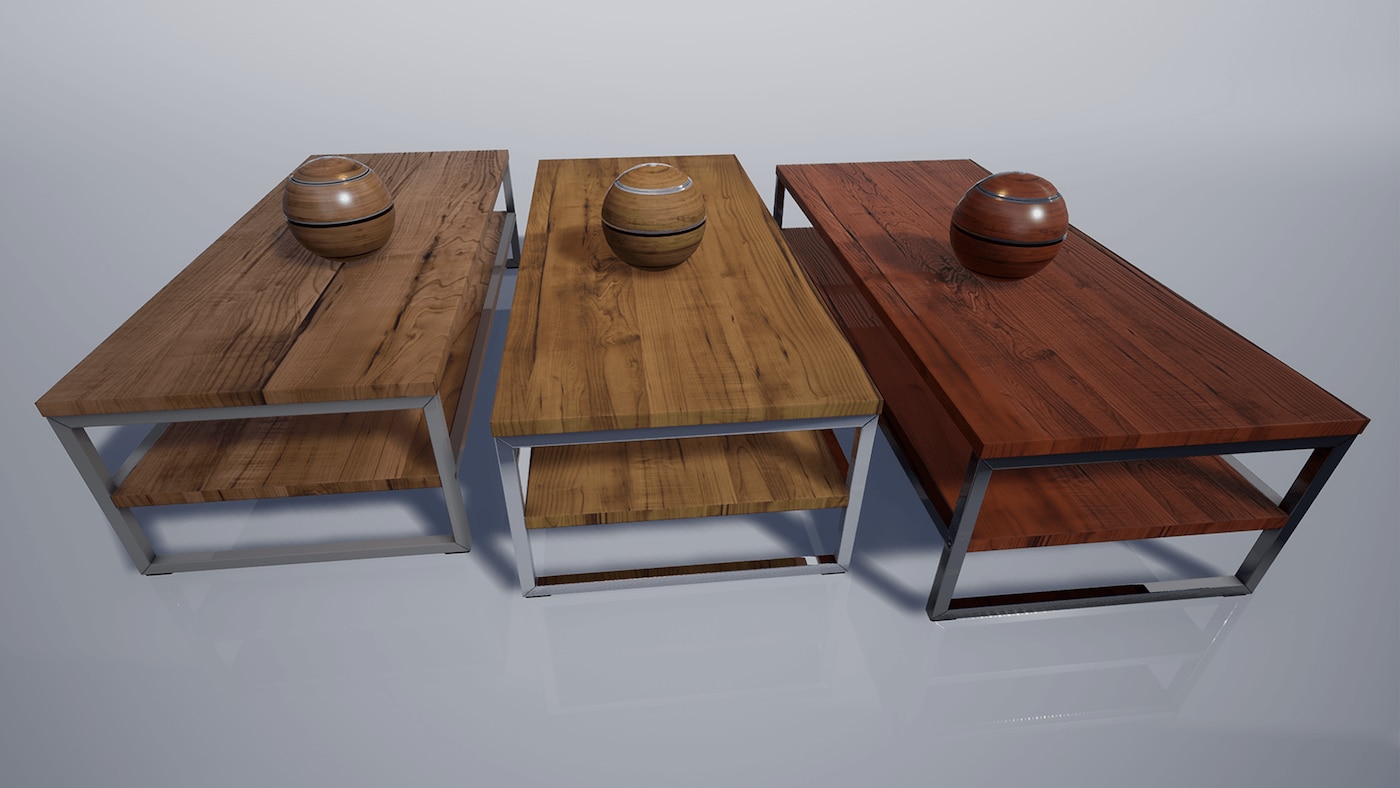
Drag and Drop - You can drag any Material from the Content Browser and then drop it on any object in the level to change its material like in the following example:
-
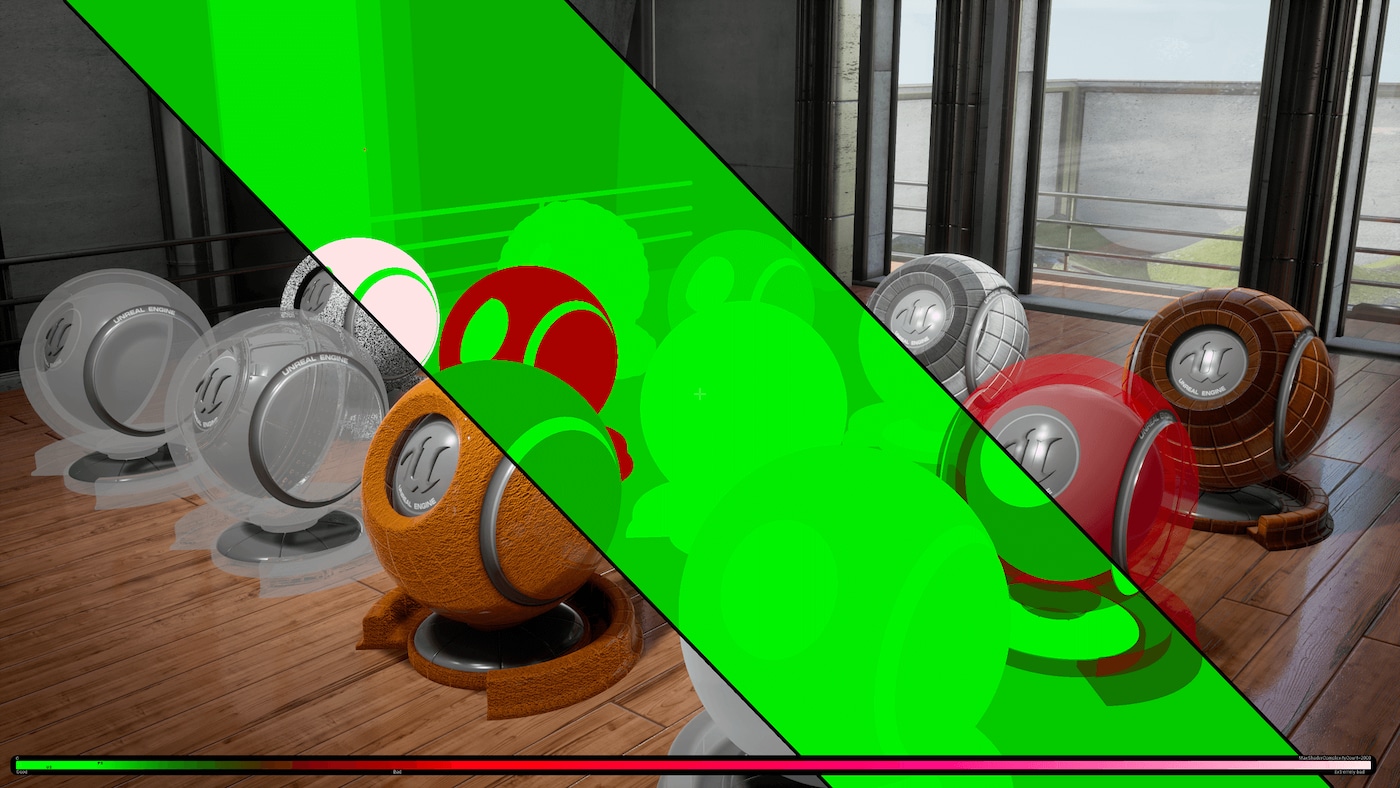
Apply via Object's Details Panel - You can also apply materials via the object's Details panel by using the Use selected asset from Content Browser button like in the following example.
Conclusion
As you can see, there are a number of different ways you can Preview and Apply your Materials in UE4. The method that you choose to Preview and Apply your Materials is whatever method works best with your work flow. Remember that if you are previewing something, make sure to press the Apply and Save buttons when completed or you run the risk of losing / not seeing your work.