Choose your operating system:
Windows
macOS
Linux
Prerequisite Steps:
This How-To uses the M_smoke_subUV Material, which can be found with the Starter Content. If you have not done so already, make sure that your project includes the Starter Content. This how-to also uses the FX_Smoke emitter created in Create a Sprite Particle Effect in Niagara .
Create the Steam Emitter and System
Niagara emitters and systems are independent. The current recommended workflow is to create a system from existing emitters or emitter templates. However, since you are duplicating an existing emitter, the process will be slightly different.
-
Create a new folder for this How-To in the Content folder for your project.
-
Locate the FX_Smoke emitter you saved when working through Create a Sprite Particle Effect in Niagara . Right-click on the emitter, and select Duplicate Emitter .

Click image for full size.
-
Drag this duplicate emitter to the folder you created in step 1. In the popup context menu, select Move .
-
Rename the copied emitter FX_Steam .


-
Now create a system for your steam effect. Right-click on your new steam emitter, and select Create Niagara System .

Click image for full size.
There are multiple ways to create new Niagara systems. Because you are starting with an emitter you have already created, the method used here quickly creates a system containing that emitter. However, as you saw in the Create a Sprite Particle Effect how-to, there are emitter and system wizards that give you many other options for creating and setting up a Niagara system.
-
Name the system Steam .

-
Open your Level in the Level Editor, if it isn't open already. Drag the Steam system into your level.

Click image for full size.
When you make a particle effect, it is always a good idea to drag your system into your level. This gives you a chance to see every change and edit in context. Any changes you make to the system automatically propagate to the instance of the system in your level.


Edit the Emitter Update Settings
First you will edit the modules in the Emitter Update group. These are behaviors that apply to the emitter itself, and that update each frame.
-
In the System Overview , click the Emitter Update group to open it in the Selection panel.

Click image for full size.
-
Expand the Emitter State module.This module controls time and scalability for this emitter. Because you used the Simple Sprite Burst template, the Life Cycle Mode is set to Self . Normally this is used for complete customization of emitter life cycle logic for this specific emitter, but it is not needed for this effect. Click the dropdown and set the Life Cycle Mode to System . This enables your system to calculate life cycle settings, which usually optimizes performance. By default, the system loops infinitely on a 5 second interval.

Click image for full size.
-
Expand the Spawn Rate module. Change the Spawn Rate setting to 30 .
![Open Spawn Rate]()
Click image for full size.


Edit the Particle Spawn Settings
Next, you will edit the modules in the Particle Spawn group. These are behaviors that apply to particles when they first spawn.
-
In the System Overview , click the Particle Spawn group to open it in the Selection panel.

Click image for full size.
-
Open the Initialize Particle module. Under Point Attributes , expand Lifetime . Change the Minimum and Maximum values to the following:

Click image for full size.
Parameter
Value
Minimum
3.0
Maximum
7.0
-
Expand Color . Change the RGB values to the following:

Click image for full size.
Parameter
Value
Red
1.0
Green
1.0
Blue
1.0
-
Under Sprite Attributes , expand Sprite Size . Change the Minimum and Maximum values to the following:

Click image for full size.
Parameter
Value
Minimum
100
Maximum
200
-
Open the Add Velocity module. Change the Velocity Minimum and Maximum values to the following:

Click image for full size.
Parameter
Value
Minimum
X: 16, Y: -5.0, Z: 35
Maximum
X: 32, Y: 5.0, Z: 50
-
Open the Sphere Location module. Change the Sphere Radius value to 20 .

Click image for full size.


Edit the Particle Update Settings
Now you will edit the modules in the Particle Update group. These behaviors apply to particles and update each frame.
-
In the System Overview , click the Particle Update group to open it in the Selection panel.

Click image for full size.
-
Open the Acceleration Force module. Set the Acceleration Minimum and Maximum values to the following:

Click image for full size.
Parameter
Value
Minimum
X: 25, Y: -10.0, Z: 15
Maximum
X: 55, Y: 10.0, Z: 25
-
Open the Scale Color module. Add three more keys to the Scale Alpha curve by right-clicking the curve line and selecting Add Key to Curve . So there are five keys in total.

Click image for full size.
-
Counting from the left, set the five keys to the following values.

Click image for full size.
Key Number
Time
Value
1
0.0
0.0
2
.16
.84
3
.32
.68
4
.76
.11
5
1.0
0.0
-
Click the Plus sign icon ( + ) in the Particle Update group, and select Forces > Drag to add the Drag module.

Click image for full size.
-
Because Niagara adds new modules to the bottom of the group's stack, you will get an error stating "The module has unmet dependencies." That is because the Drag module was placed after the Solve Forces and Velocity module. Click the Fix Issue button to move the module and resolve the error.

Click image for full size.
-
Set the Drag to .8 .

Click image for full size.


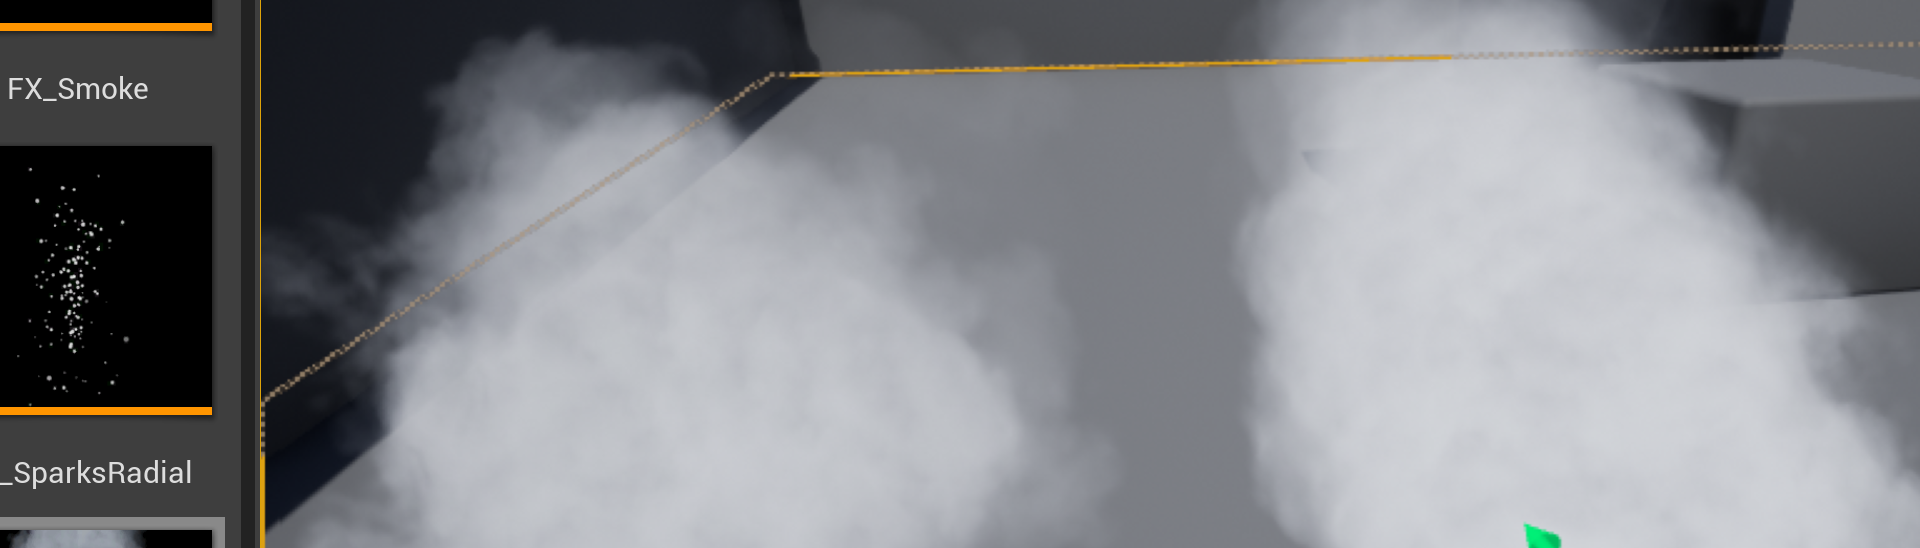
End Result
After following these steps, the Steam system in your level will produce a steam effect similar to the one in the image below.