Choose your operating system:
Windows
macOS
Linux
The Collab Viewer Template comes with some pre-set content so that you can get started with it right away—see the Quick Start for step-by-step instructions. However, once you're familiar with the collaborative review experience, you'll want to get your own content working inside that experience.
This page describes how to do some of the most common related tasks:
-
Getting your own 3D models into the template, and setting them up to be compatible with the built-in navigation modes. See Using Your Own 3D Models .
-
Controlling how the content behaves with the interaction tools built in to the Collab Viewer Template. See Controlling Transform and XRay Behavior .
-
Changing the Collab Viewer Template to start in a different Level from the one that contains the default pre-set content. See Changing the Starting Level .
Using Your Own 3D Models
The Collab Viewer template comes with some pre-set content so that you can get started with it right away, but you'll want to swap in your own models so that you can experience them in the same collaborative viewing experience.
The most important thing to keep in mind about this process is that players can only walk and teleport to surfaces that have collision meshes and Nav Meshes. You'll need to make sure that each floor or surface that you want people to be able to explore has a collision volume and Nav Mesh associated with it.
Steps
Getting your own content to work inside the default Level in the Collab Viewer Template involves the following conceptual steps:
-
Remove the existing content from the Level, such as 3D models and lights, and add your own content.
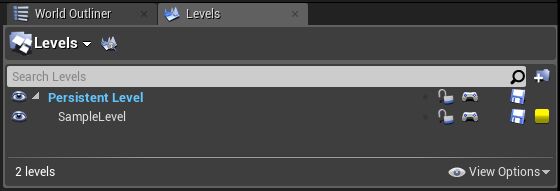
The sample Assets, such as the building, gear assembly, and trees, are organized in a sublevel named SampleLevel .
![Sublevel inside the main persistent Level Sublevel inside the main persistent Level]()
If you want to start your Level from scratch, you can simply remove this existing sublevel and place your content into the main persistent Level (or a new sublevel you create). If you want to keep some of the scene elements from the sample scene, such as the sky sphere and lights, you can move those items to the main persistent Level. Or, you can select and delete the items you don't want anymore, such as the Building , Gears , and Trees folders in the World Outliner . -
Place your content and set it up visually exactly as you want people to see it in the packaged application.
-
Make sure that each surface you want players to be able to walk on or teleport to has a collision mesh set up for it.
Depending on how you import your content, you may be able to do this in the 3D design application you use to model the geometry. Otherwise, you can do this by opening your Static Mesh in the Static Mesh Editor, and using the tools in the Collision menu.
See also Setting up Collisions with Static Meshes , or Setting up Collisions with Static Meshes in Blueprint and Python if you want to automate the collision setup.
As an alternative, you can use Blocking Volumes to add invisible box-shaped collision volumes into the Level. This is a simple way to get collisions working in your Level without the need to modify your Static Meshes. However, since these volumes aren't attached to your Static Meshes, you may need to move them by hand if you move the geometry in your Level around.
-
Make sure you have at least one Player Start Actor in the Level. If you need more, you can drag more Player Start Actors from the Basic tab of the Place Actors panel into the Viewport.
When a new person joins the session, they start at the position of a randomly selected Player Start Actor. You should have at least one Player Start Actor in your Level, wherever it makes sense for new people to begin. You'll probably want to place the Actors just above a walkable surface, so that if a player switches to Walk mode they won't fall through the surface.
It's a good idea to add a few of these Actors around the same location, so that new people are less likely to overlap the exact location of other players when they join the session.
-
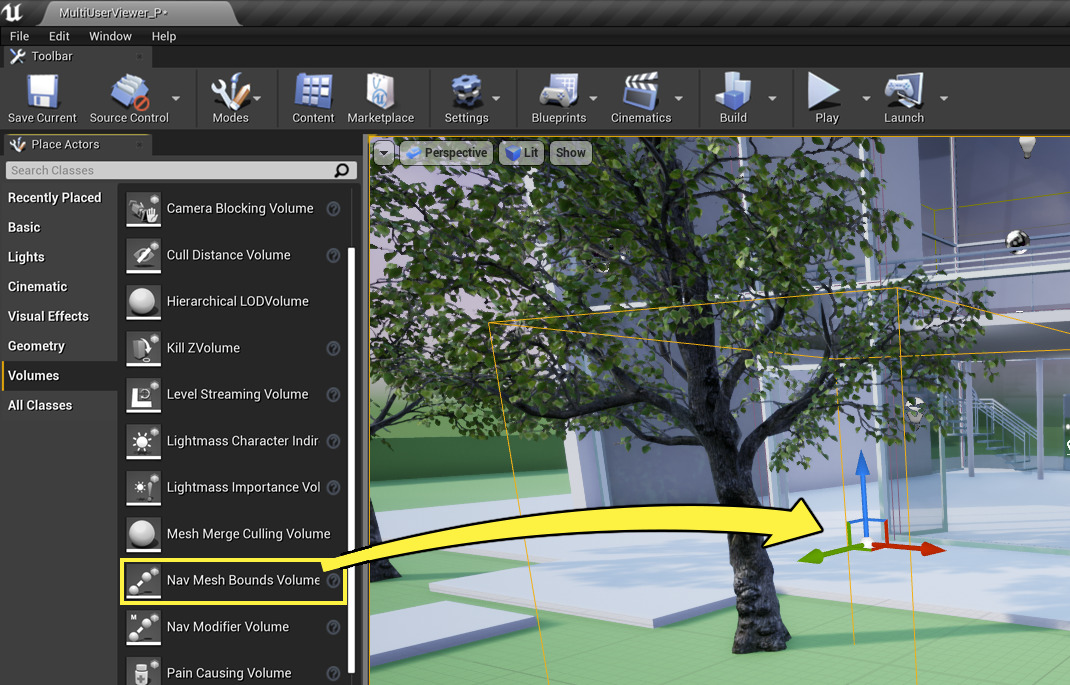
Make sure that each surface you want players to be able to teleport to has a Nav Mesh by including it in a Nav Mesh Bounds Volume. The default persistent Level has one already that you can resize to cover your 3D models, or you can create your own. You can have as many of these volumes as you need for your Level.
To create a Nav Mesh:-
If your Level doesn't already have a Nav Mesh Bounds Volume, add one by dragging it into the Viewport from the Volumes tab of the Place Actors panel.
-
Select the Nav Mesh Bounds Volume in the Viewport or the World Outliner , and move its Transform gizmo in the Viewport to the approximate center of the area you want to cover.
-
In the Details panel, use the Brush Settings to change the size and shape of the volume.
-
Click the Build icon in the Toolbar to rebuild pre-calculated data for your Level, or select Build > Navigation > Build Paths to rebuild only the navigation data.
-
Press P to see the generated Nav Mesh and verify that it covers the areas you're expecting. It is rendered as a green surface that hovers slightly above the collision meshes that intersect the volume.
-
-
Build your lighting if necessary.
-
Repackage and redistribute your Project as instructed in the Quick Start page.
End Result
If you've followed all the steps above, you should be able to get multiple users connected to a single design review session, with everyone seeing the custom content you added to the Level.
Controlling Transform and XRay Behavior
You can influence the behavior of the Transform and Xray interactions at runtime by the way you set up your content.
-
The Mobility setting of each Actor determines whether or not you can use the Transform interaction to move that object at runtime. If you want to be able to move the object at runtime, set its Mobility to Movable . If you want to be able to highlight and select the object, but not to be able to move it around in space, set its Mobility to Static .
-
The hierarchy of parent and child Actors that you see in the World Outliner affects both the Transform and Xray interactions.
-
When you use the Transform interaction to move an object at runtime, all of that object's children move along with the parent automatically, maintaining their current offset from the parent.
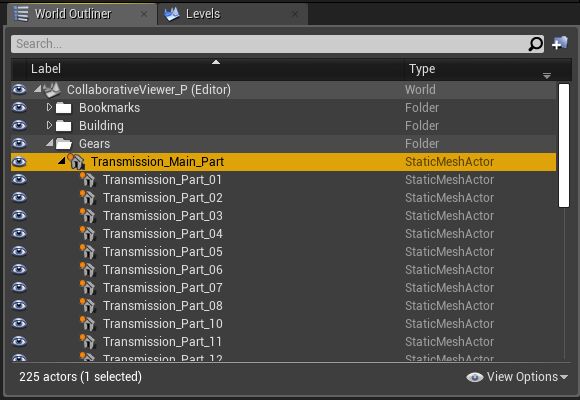
For example, in this case all the parts of the transmission are parented to Transmission_Main_Part : the central black bar.
![Sample content parent-child hierarchy Sample content parent-child hierarchy]()
Therefore, at runtime, moving the black bar also moves its child Actors. However, you can still move each child Actor on its own. The next time you move the parent, the children keep their new offsets.
Resetting a child Actor to its original position resets it to its original offset from the parent Actor, not its original position and rotation in world space. Resetting a parent Actor to its original position moves all of its children so that they keep their current offset from the parent.
-
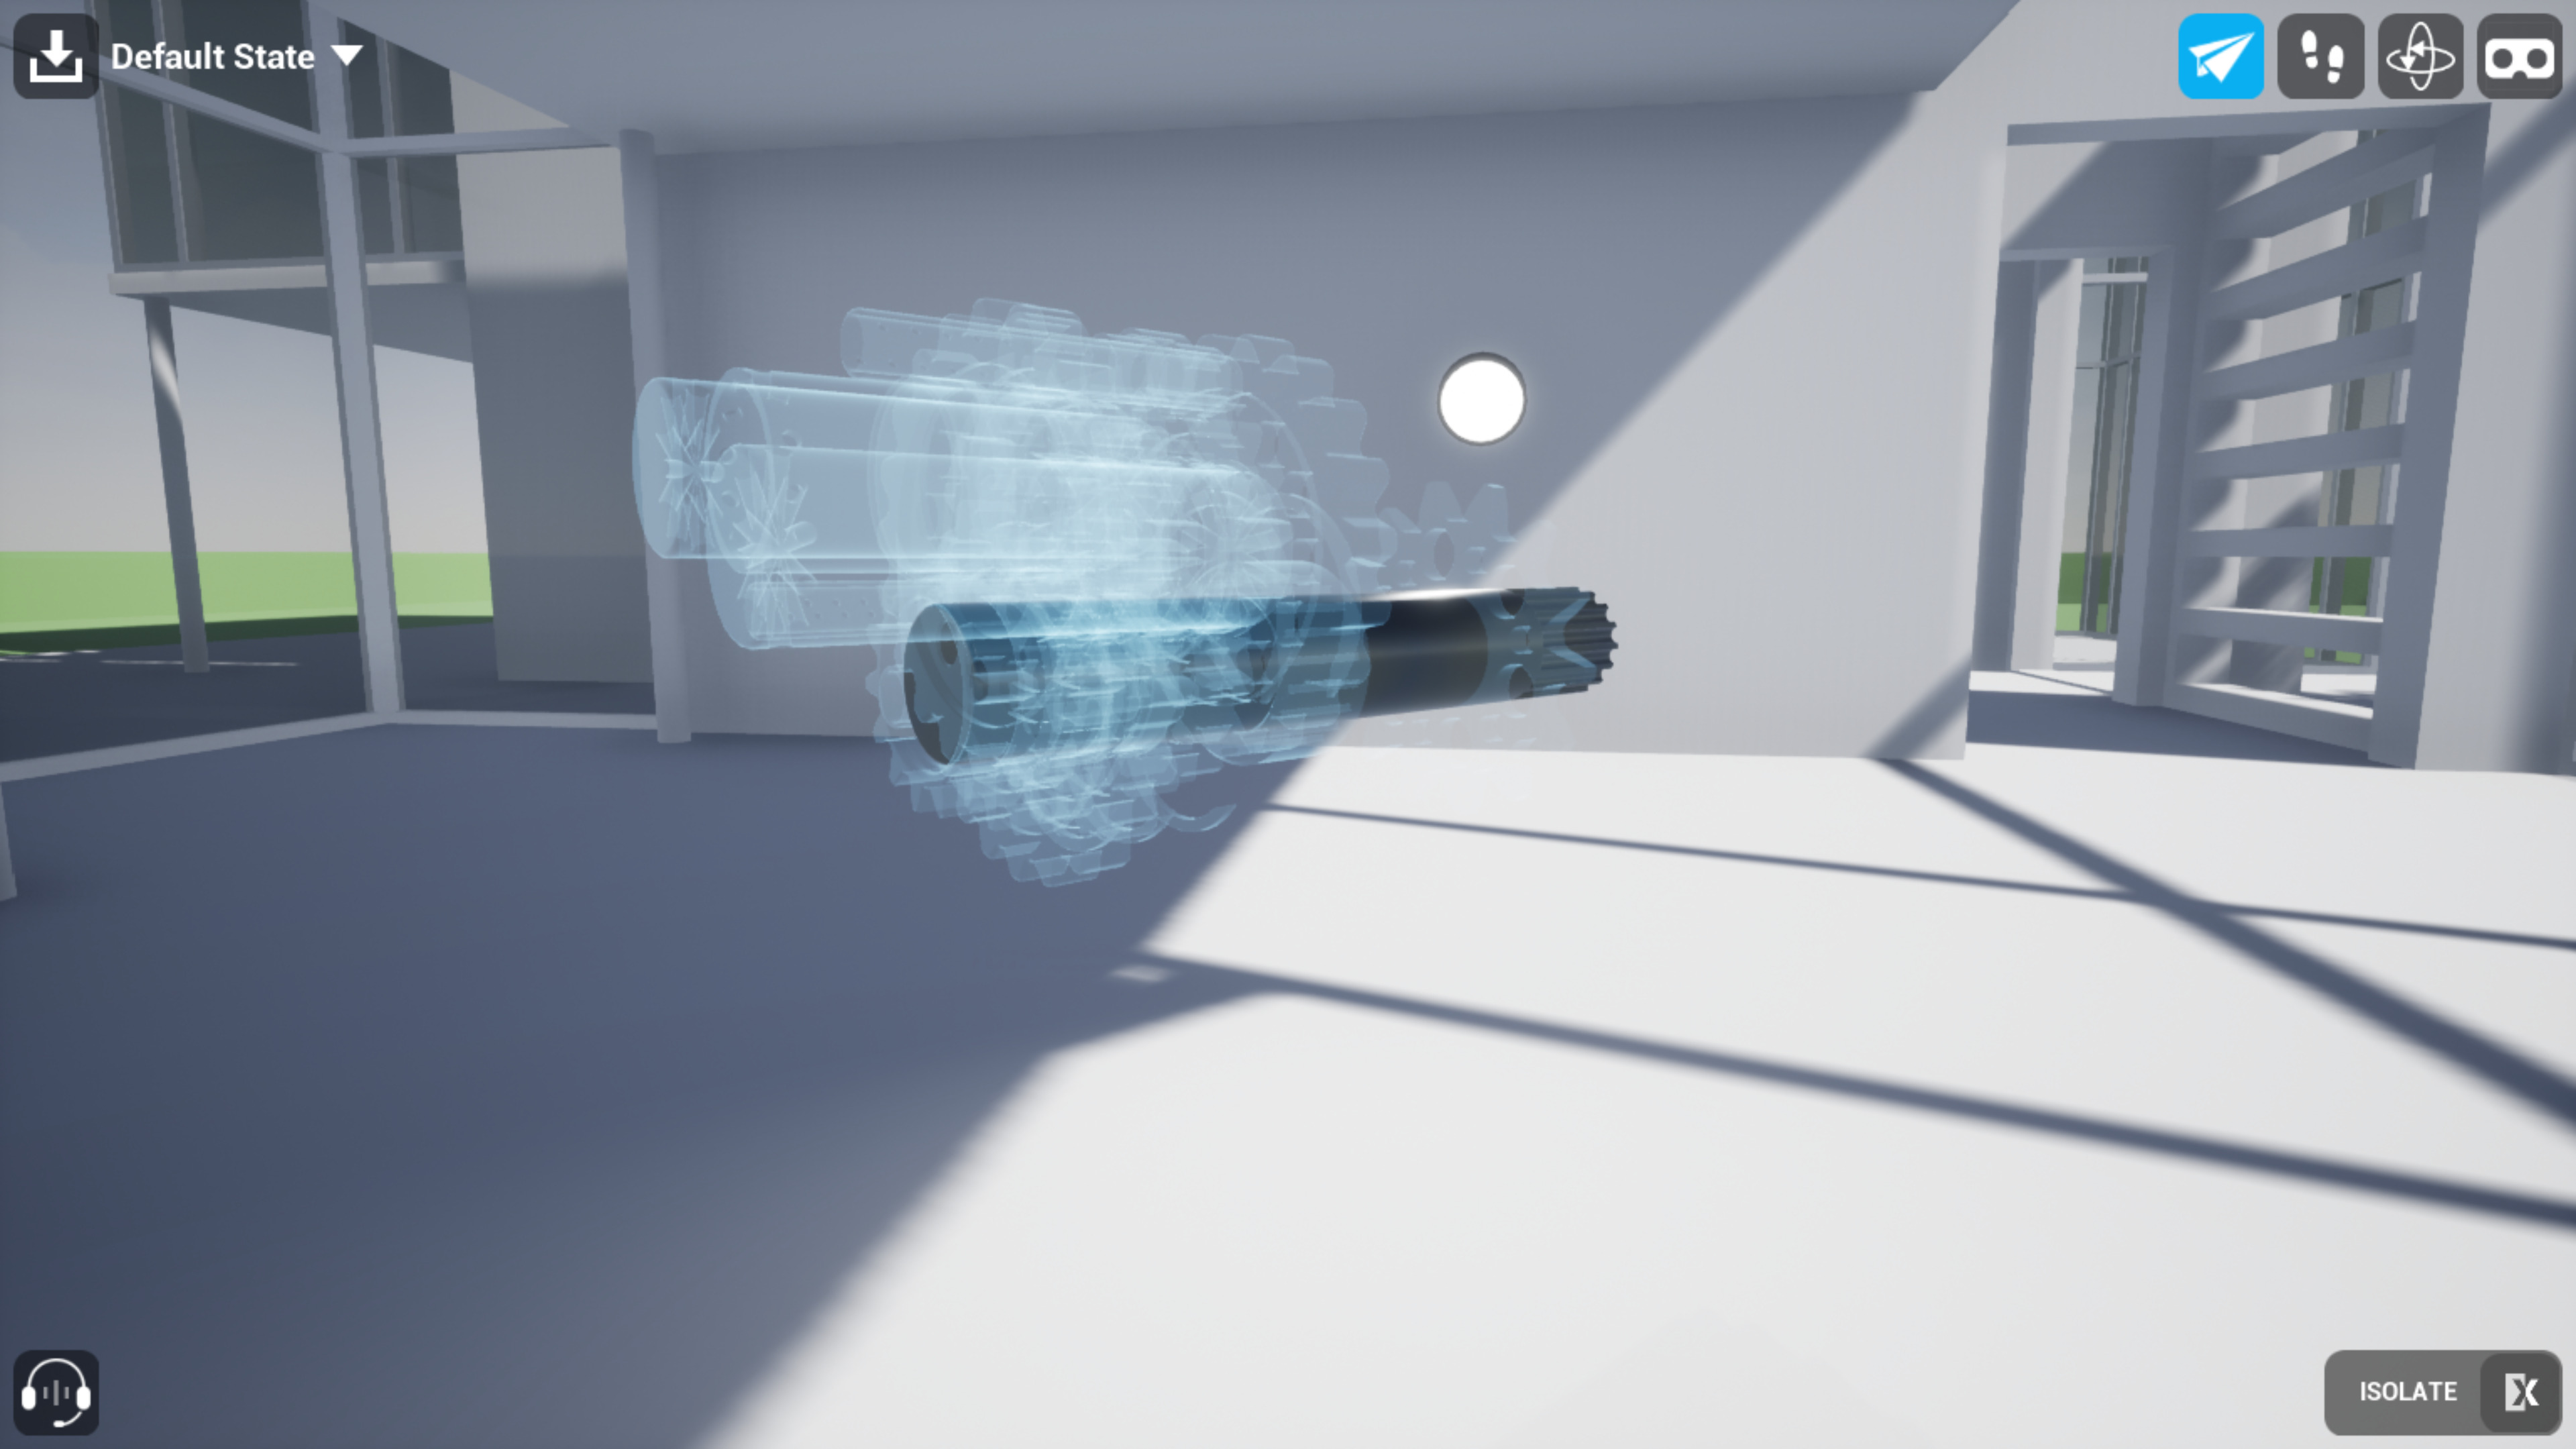
When you use the Xray Isolate interaction mode, and you select an object in the scene, all other objects that are in the same hierarchy as the selected object are automatically hidden.
For example, in the case of the default scene content, all the objects that make up the transmission assembly are under a single top-level parent in the hierarchy. Therefore, when you use Xray Isolate to select any part of the transmission, all other pieces of the transmission are hidden—that is, all Actors that are parented under the same top-level Gears item. The Actors that make up the building are all under a separate top-level Building item in the hierarchy, so they are unaffected.
Similarly, if you use Xray Isolate on a part of the building instead, like the floor in the image below, all other parts of the building become transparent but the transmission assembly remains opaque.
In both cases, the trees and exterior terrain are unaffected, because they are not under either the Gears or the Building hierarchy.
-
-
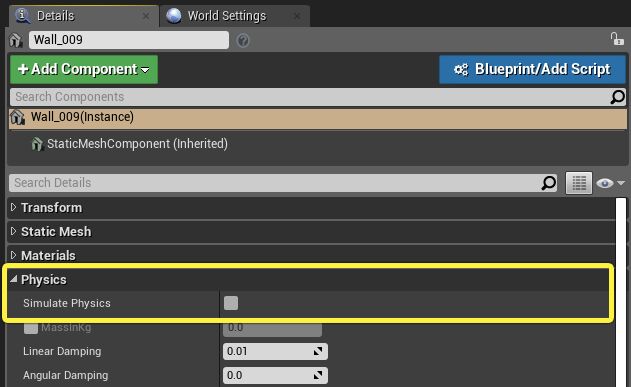
The Simulate Physics setting must be off for any Actor that you want to be able to interact with using either the Xray or Transform command. You'll find this in the Details panel under the Physics section.
Changing the Starting Level
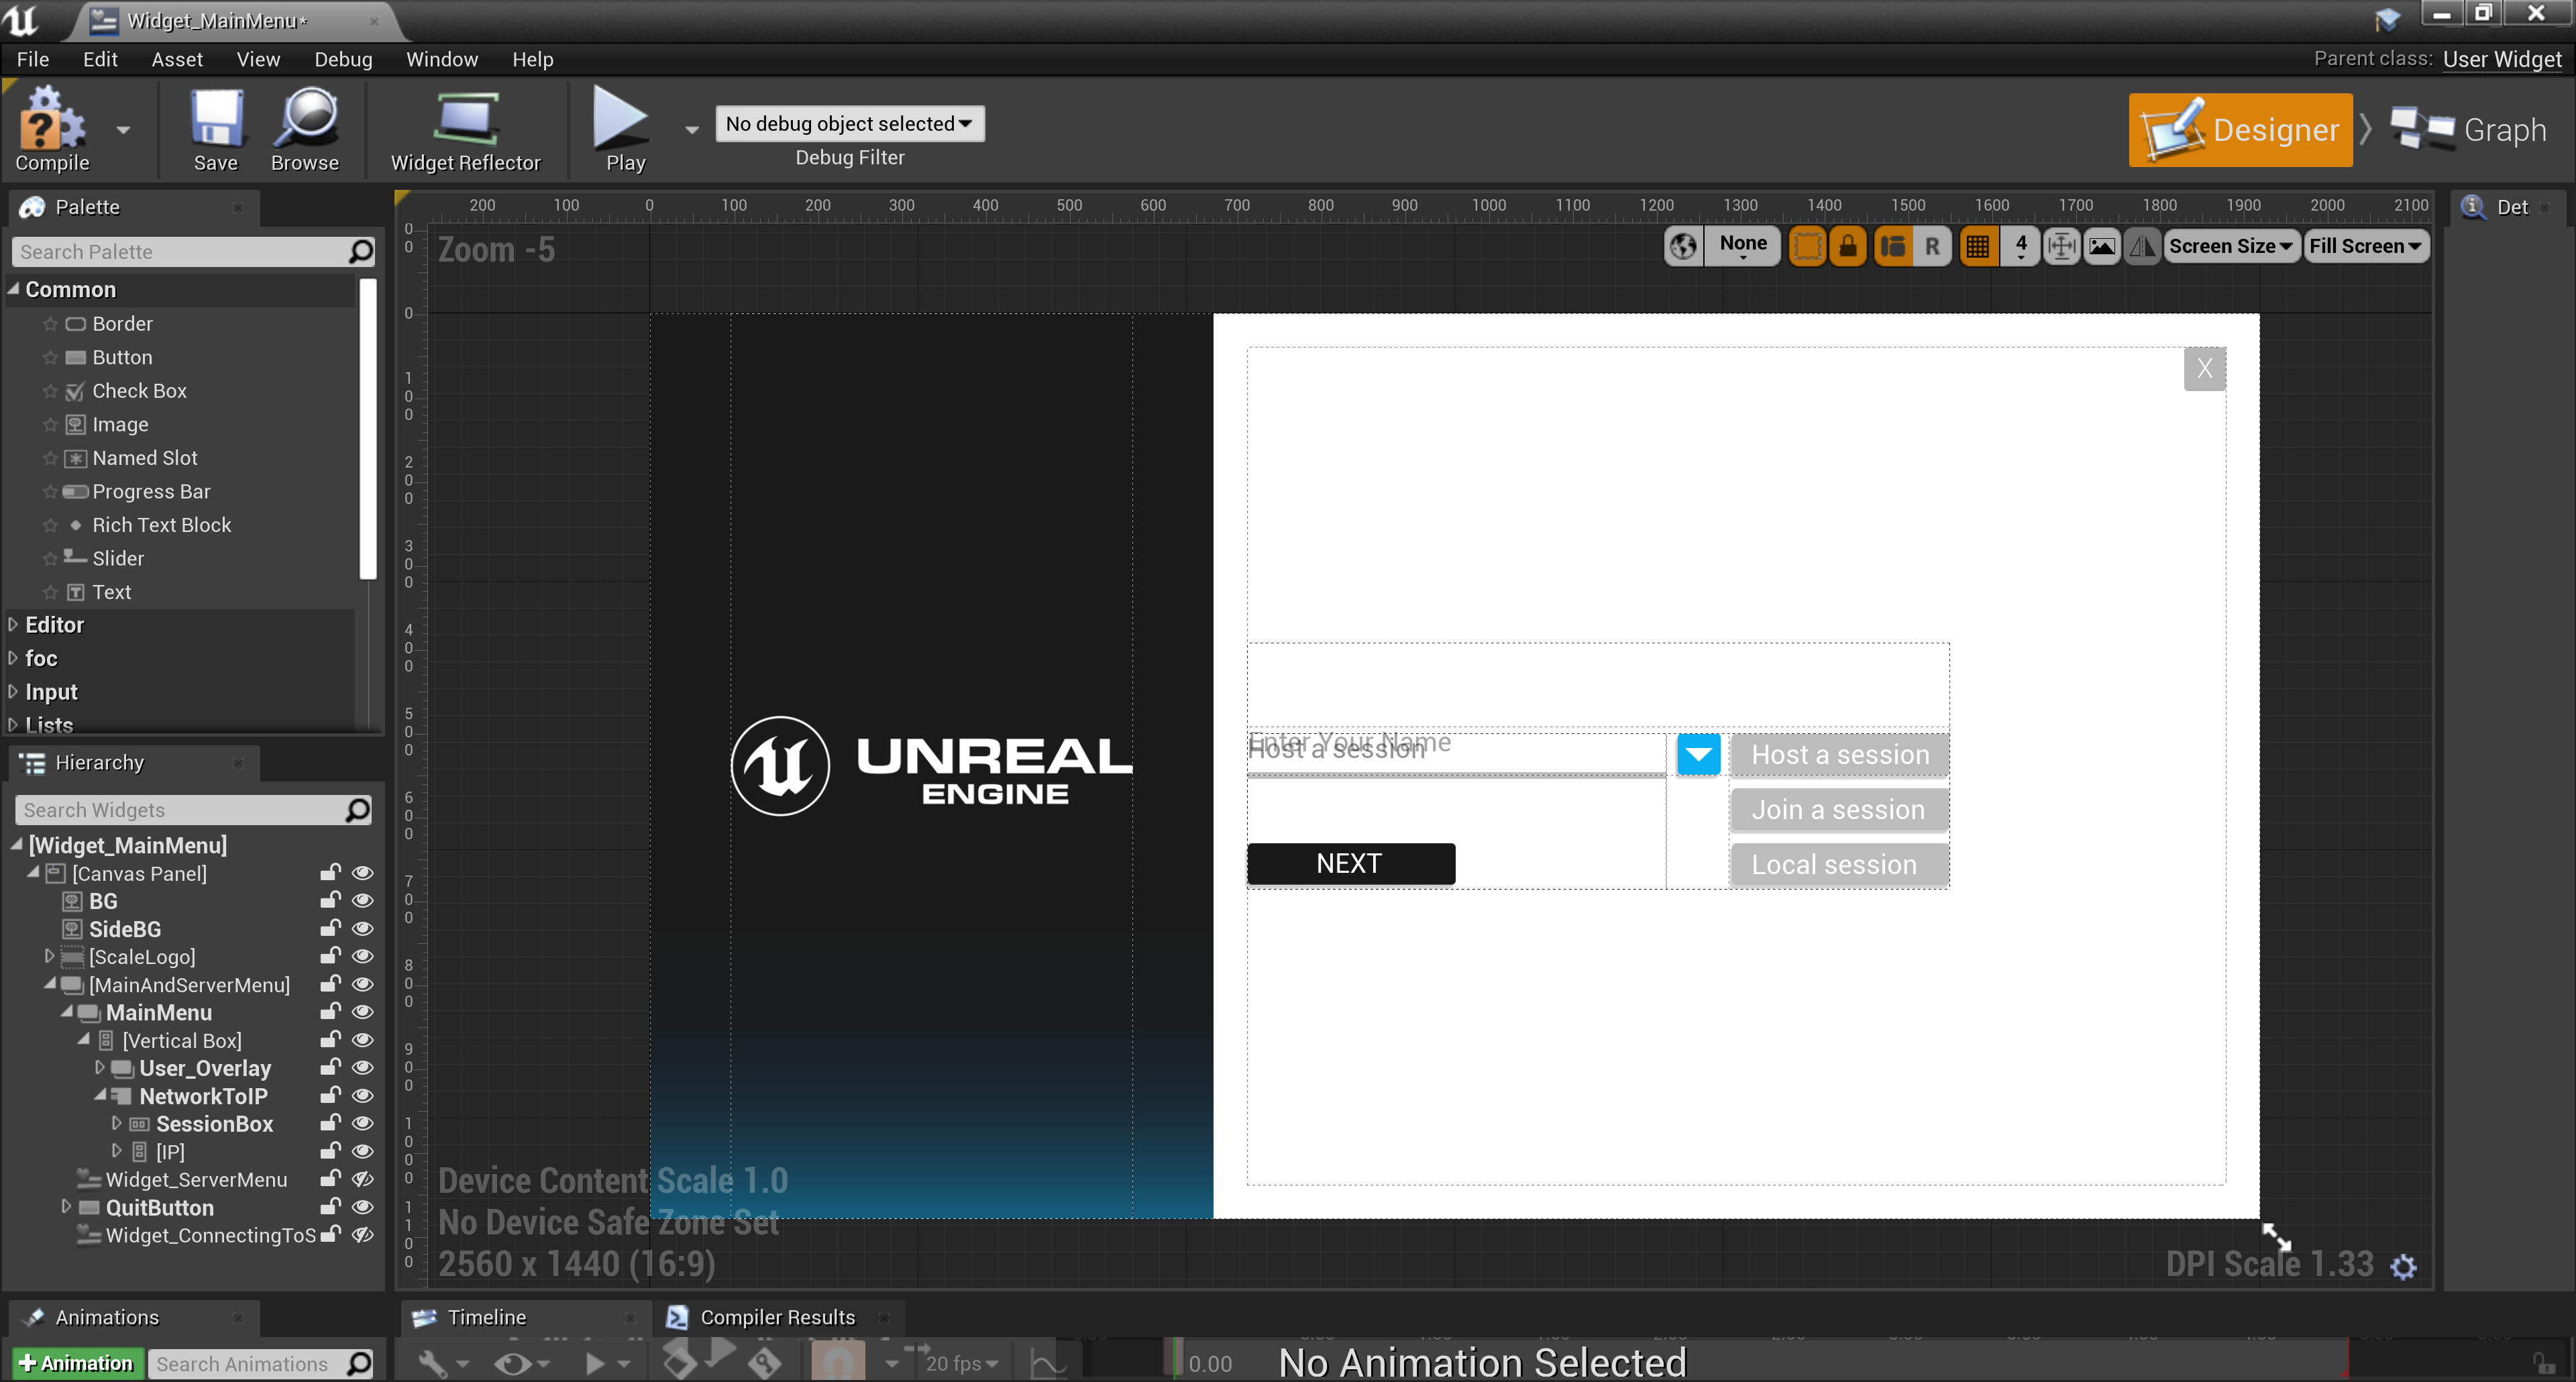
The main menu of the Collab Viewer Template is set up to load the CollaborativeViewer_P Level when users complete the main menu. However, you may want to create a new Level to hold your content, and have the main menu start your own Level instead. If you choose to do this, you'll need to change the logic in the main menu so that it opens your Level when the user joins the session.
Steps
To set the starting Level for the Collab Viewer:
-
Find the Widget_MainMenu Asset in the Content Browser , in the CollaborativeViewer/UMG/MainMenu folder.
-
Double-click the Asset to open it, and click Graph to open the Widget Blueprint view.
-
Find the group labeled Commit user selections . Within this group, find a subgroup named Begin hosting a session .
-
Change the Level Name input on the OpenLevel node to the name of the Level you want viewers to start in when they connect to a session.
-
Compile and Save the widget, then repackage your Project.
End Result
The next time you start your Project and complete the main menu, you will start inside the custom Level that you set up in the procedure above.
