Choose your operating system:
Windows
macOS
Linux
The AndroidManifest.xml file is used to store various Android system permissions and settings that are set in the Advanced APKPackaging section of your Projects Settings. In the following document we will cover how you can input commands that will be added to the AndroidManifest.xml file to meet the needs of your Unreal Engine 4 (UE4) project.
Android Manifest Location
Before you can locate the AndroidManifest.xml file for your project, you will first need to either package the project or deploy the project to your Android device. Once the project has been built or deployed you will then find the AndroidManifest.xml file in (YourProjectName)\Intermediate\Android\APK .
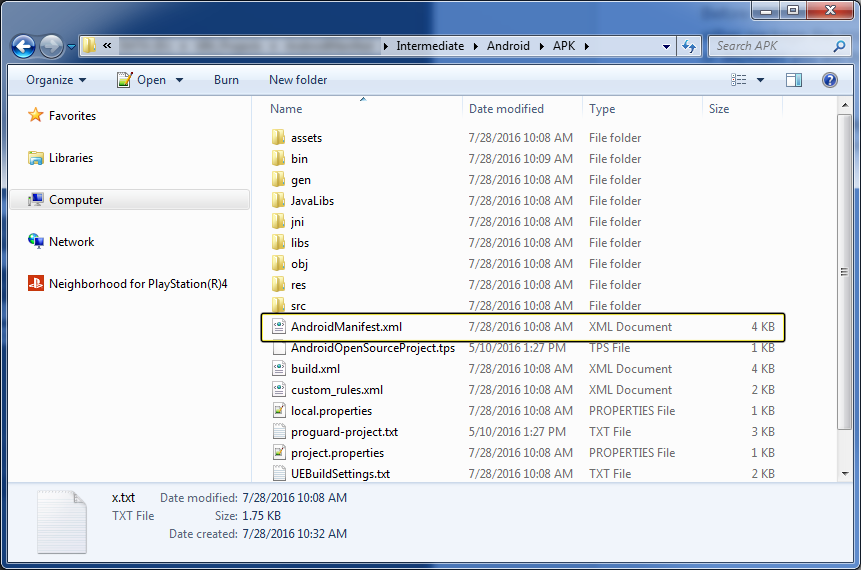
Click for full image.
You should never edit the AndroidManifest.xml file under any circumstances. Any edits that need to be made to the AndroidManifest.xml file should be done inside the UE4 Editor in the Advanced APK Packing section.
Android Manifest Layout
In a typical AndroidManifest.xml file you will find the following three sections.
-
Application Definition
-
Activity
-
Requirements
<manifest xmlns:android="http://schemas.android.com/apk/res/android"
    package="com.yourcompany.project"
    android:versionCode="1"
    android:versionName="1.0.0">

    <-- Application Definition -->
    <application android:label="@string/app_name"
android:icon="@drawable/icon" android:hasCode="true">
        <activity android:name="com.epicgames.ue4.GameActivity"
        </activity>
    </application>

     <-- Requirements -->
     <uses-sdk android:minSdkVersions="9"/>
     <uses-feature android android:glEsVersion="0x00020000"
android:required="true" />
     <uses-permission
android:name="android.permission.WRITE_EXTERNAL_STORAGE"/>
</manifest>
Please note that the above Android Manifest file is not a working manifest file and is only shown for reference purposes.
Extra Tags for Manifest
You can add additional tags for the Manifest by clicking on the Plus sign icon to add a new element to the tags array and then inputting the tag or tags you want to use into the input box. For this example the following tag was used, android:sharedUserId="Foo" .

Tags that are input into the Extra Tags for Manifest section will be added to the manifest section of the AndroidManifest.xml file.
<manifest xmlns:android="http://schemas.android.com/apk/res/android"
package="com.YourCompany.AndroidManifest"
android:sharedUserId="Foo"
android:versionCode="1"
android:versionName="1.0">
Extra Tags for Application
You can add additional tags for the Application by clicking on the Plus sign icon to add a new element to the Application array and then inputting the tag you want to use. For this example the following tag was used, android:hardwareAccelerated="True" .

Items that are input into the Extra Tags for Application section will be added to the Application Definition section of the AndroidManifest.xml file.
<!-- Application Definition -->
<application android:label="@string/app_name"
 android:icon="@drawable/icon"
 android:hardwareAccelerated="True"
 android:hasCode="true">
Extra Settings for Application
You can add additional settings for the Application to use by inputting the settings you want to use into the Extra Settings for < application> section. If you have more than one setting you want to use, separate each setting by adding \n . For this example the the following two items were added, android:banner="Foo" and android:vmSafeMode="True" .

Items that are input into the Extra Settings for <Android:nameapplication> section will be added to the Activity section of the AndroidManifest.xml file.
    </activity>
    <activity android:name=".DownloaderActivity" android:screenOrientation="landscape" android:configChanges="screenSize|orientation|keyboardHidden|keyboard" android:theme="@style/UE4SplashTheme" />
    <meta-data android:name="com.epicgames.ue4.GameActivity.DepthBufferPreference" android:value="0" />
    <meta-data android:name="com.epicgames.ue4.GameActivity.bPackageDataInsideApk" android:value="false" />
    <meta-data android:name="com.epicgames.ue4.GameActivity.bVerifyOBBOnStartUp" android:value="false" />
    <meta-data android:name="com.epicgames.ue4.GameActivity.bShouldHideUI" android:value="false" />
    <meta-data android:name="com.epicgames.ue4.GameActivity.ProjectName" android:value="AndroidManifest" />
    <meta-data android:name="com.epicgames.ue4.GameActivity.bHasOBBFiles" android:value="true" />
    <meta-data android:name="com.epicgames.ue4.GameActivity.bSupportsVulkan" android:value="false" />
    <meta-data android:name="com.google.android.gms.games.APP_ID" android:value="@string/app_id" />
    <meta-data android:name="com.google.android.gms.version" android:value="@integer/google_play_services_version" />
    <activity android:name="com.google.android.gms.ads.AdActivity" android:configChanges="keyboard|keyboardHidden|orientation|screenLayout|uiMode|screenSize|smallestScreenSize" />
        android:banner="Foo"
        android:vmSafeMode="True"
    <service android:name="OBBDownloaderService" /><receiver android:name="AlarmReceiver" /></application>
Extra Tags for UE4 Game Activity
You can add additional tags for the
Extra Tags for UE4.GameActivity