Choose your operating system:
Windows
macOS
Linux
Before you can use Pipeline State Object (PSO) Caching in your Unreal Engine 4 (UE4) project, you will first need to enable a few options. In the following How-To, we will take a look at all of the options that need to be enabled to generate the needed files for PSO Caching to work.
Steps
Prerequisite: This How-To uses the Action RPG example game project that can be downloaded from the Epic Games launcher.
-
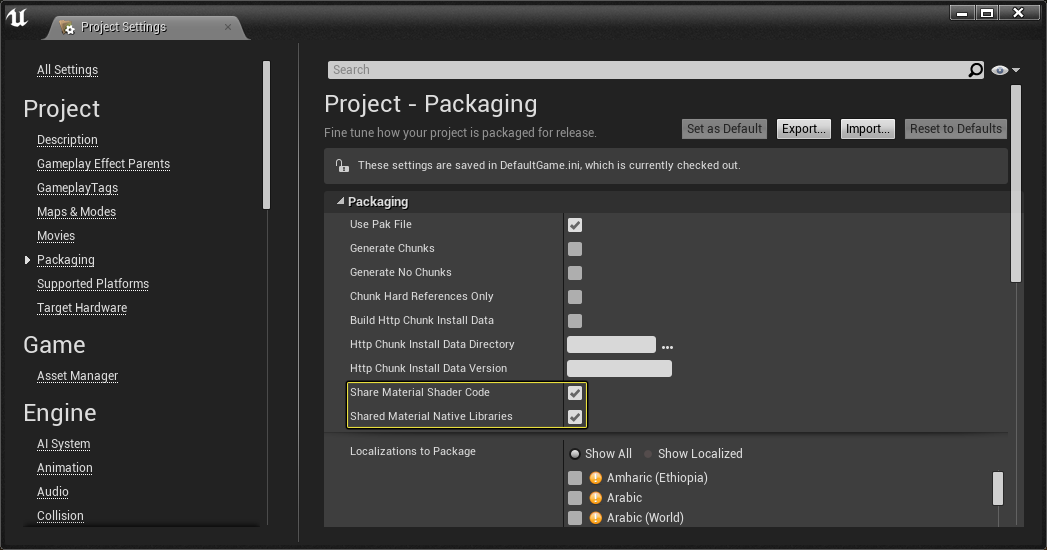
From the Main Menu go to Edit > Project Settings > Packaging > Packaging and enable the following options:
-
Share Material Shader Code
-
Shared Material Native Libraries
![Enable_PSO_Caching.png]()
Click for full image.
-
-
Then, open up the Device Profile tool by going to Window > Developer Tools > Device Profiles .
![Open_Device_Manager.png]()
-
Next, in the Existing Device Profiles input, locate the Android option and click the ellipsis next to its name to open that device profile up.
![Open_Up_Android_Device_Profile.png]()
-
Under the Console Variables section, look for the Rendering section and press the Plus icon to expose the Search input.
![Search_For_Command_To_Add.png]()
-
Inside of the Search input, locate and click on the r.ShaderPipelineCache.Enabled to add it to the list of Rendering variables.
![PSO_Added_To_Device_Profile.png]()
-
Then set the value of r.ShaderPipelineCache.Enabled input to a value of 1 .
![PSO_Caching_Enabled.png]()
If your project supports multiple platforms, repeat this process for each of the platforms.
-
When that has been completed, restart your Unreal Editor session.


End Results
Now that the necessary project settings for PSO caching are enabled, next we will create and launch a special version of the project that will output the needed PSO data into a file.
For more information, see Gathering PSO Data How-To .