Choose your operating system:
Windows
macOS
Linux
No matter which Head Mounted Display (HMD) you are developing for Unreal Engine 4 (UE4) offers a unified approach to attaching items to the HMD. Not only will this unified approach work with any HMD, the items that are attached will move perfectly in-sync with the HMD. In the following document, we will go over all you need to know about attaching items to the HMD.
Now if you want to get the position of the player in the world you can just get the Camera Actor's position.
Setting Up Objects To Follow The HMD
You can setup a Static Mesh, Particle Effect, UI elements and many more items to follow the movment of the HMD by doing the following.
-
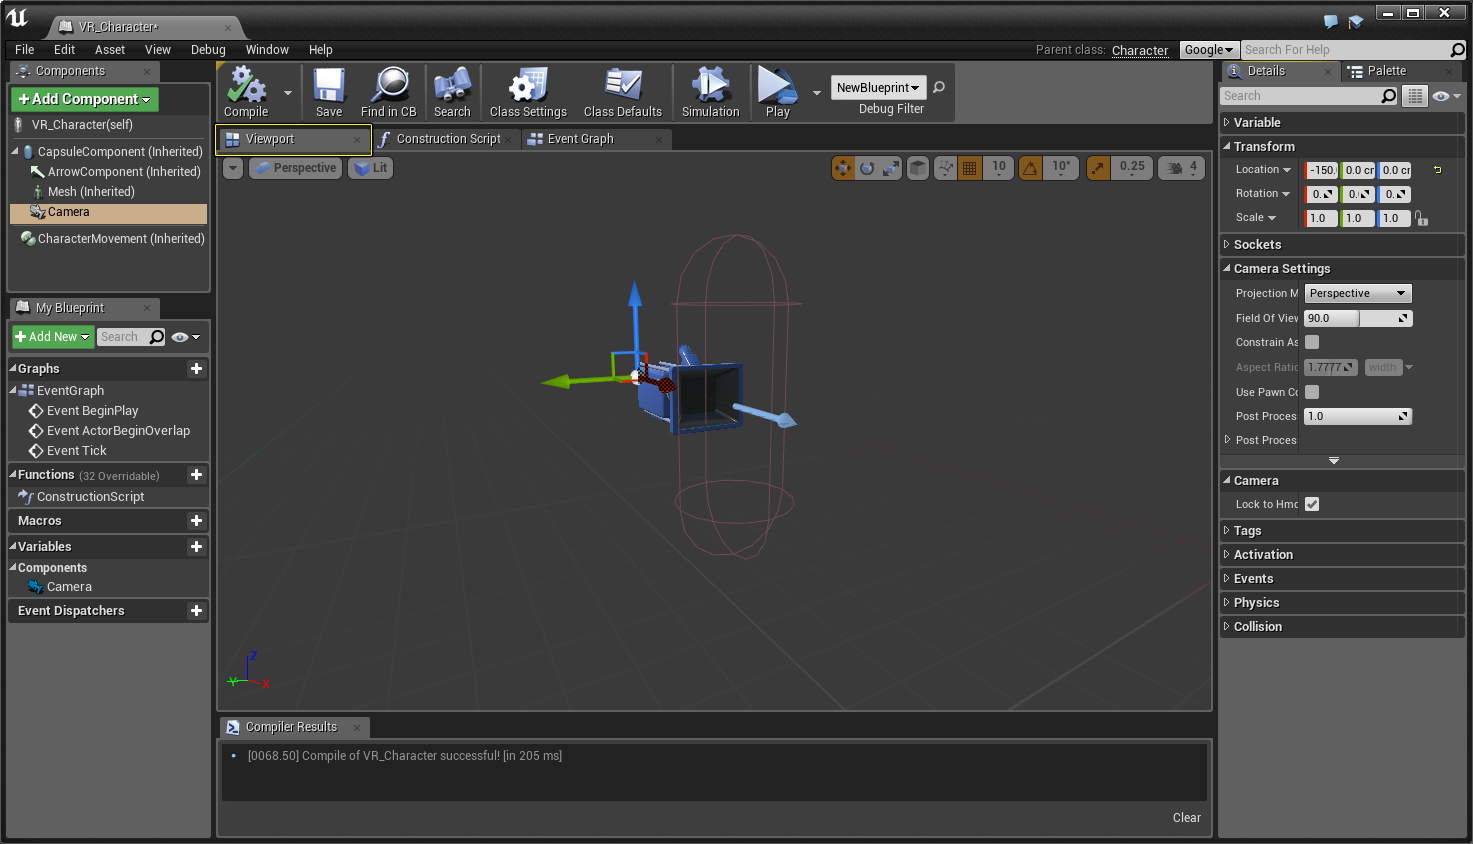
First open up your Pawn Blueprint and navigate to the Viewport tab.
![VR_Follow_HMD_Setup_00.png]()
Click for full image.
-
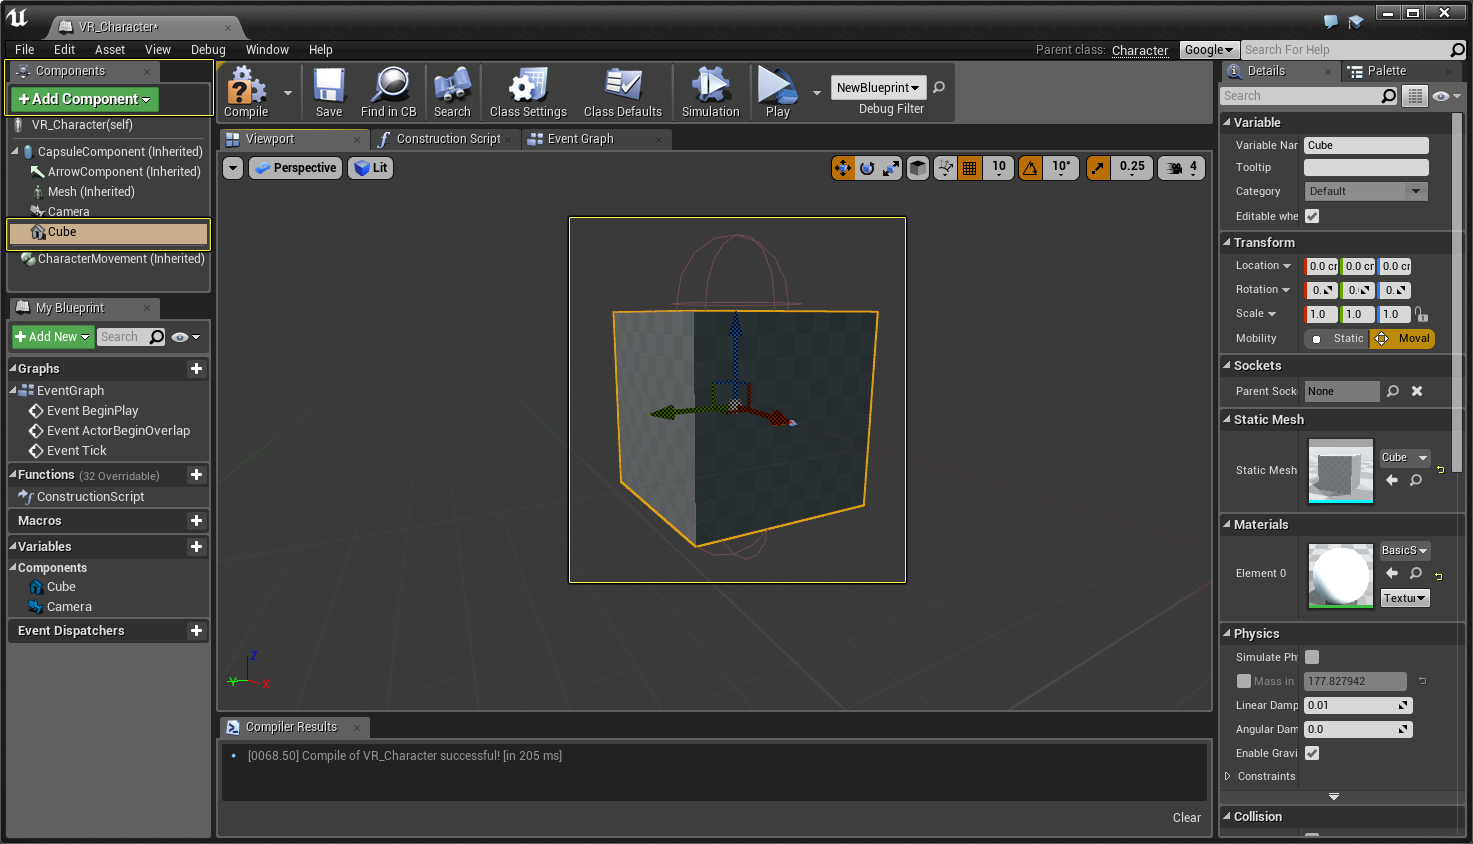
From the Component tab, click on Add Component and then input the word Cube into the search box clicking on the Cube mesh that is displayed to add it as a component
![VR_Follow_HMD_Setup_01.png]()
Click for full image.
-
Select the Cube Static Mesh and drag it onto the Camera so that the Cmera is now the parent of the Cube Static Mesh.
![VR_Follow_HMD_Setup_02.png]()
-
Now compile your Blueprint and then launch your project using the VR preview option from inside the UE4 editor. When you put an HMD on then move your head around the Cube you attached will now accurately follow your head movements like in the video below.

HMD and Player World Position
You can also quickly get the exact world location player and their HMD by getting the location of the Camera Component using the following Blueprint setup.

In the above image whenever a user presses the T key on the keyboard the X, Y and Z position of the Camera in the world will then be output to the screen and log window.
