Choose your operating system:
Windows
macOS
Linux
Traditionally, hair that has been created for use in real-time engines has been created using card-based techniques, or other similar approximation. Card based workflows use a large number of flat sheets (or cards) to give the approximate shape, and motion, of a much larger number of individual hairs. Using the Groom system and tools of Unreal Engine enables you to render each individual strand of hair, which significantly improves visual fidelity of simulated hair in real time.
While no standard format currently exists for hair grooms, the groom system provides a naming convention-based scheme using Alembic (.abc) files to ingest data exported from your modeling application. It provides support for multiple hair groupings within a single file, such as head, vellus, beard, eye lashes, and brows, a hair shader and rendering system, and dynamic physics integration driven by Niagara .
The groom system provides a minimal viable implementation of strand-based hair importing, editor, rendering, and simulation. The system does not provide a hair grooming solution. Hair shaping, or grooming, needs to be performed in your external modeling application, such as XGen within Maya, Ornatrix , Yeti , Shave and a Haircut , or Houdini .
Enabling Hair in your Project
Enable the following plugins and settings to get started using Hair Grooms in your project.
An Editor restart is required for each of these to take effect.
Project Setting
Open the Project Settings by going to Edit > Project Setting . Under Rendering > Optimizations , enable Support Compute Skin Cache .

Plugins Browser
Open the Plugins browser window by going to Edit > Plugins . Under the Geometry category, enable these plugins:

-
Alembic Groom Importer
-
Groom
Basic Workflow
The flowchart below describes the high-level process of bringing your own Hair Grooms into UE4 and attaching them to a Skeletal Mesh character that can be animated.

-
Create your Hair Groom in your preferred DCC application.
-
Export your Hair Groom as an Alembic (*.abc) file.
-
Import your Alembic Groom file into UE4.
-
(Optional) Create a Binding Asset from the Content Browser for your Skeletal Mesh.
-
Place your Groom Asset in the World (as an Actor or in a Blueprint).
-
Attach the Groom Component (Actor) to Skeletal Mesh Socket with Transfer Skinning.
-
Setup and Assign your Hair Material
Once these steps are completed, you will have an interactive groom that can be used on an attached Skeletal Mesh that is animating.
Follow along with the Hair Rendering and Simulation Quick Start guide to perform all these steps in more detail.
For additional details on setting up your Hair Groom for export and import into UE4, see the Alembic for Grooms Specification reference page that covers the schema that will enable UE4 to import grooms directly.
Groom Asset
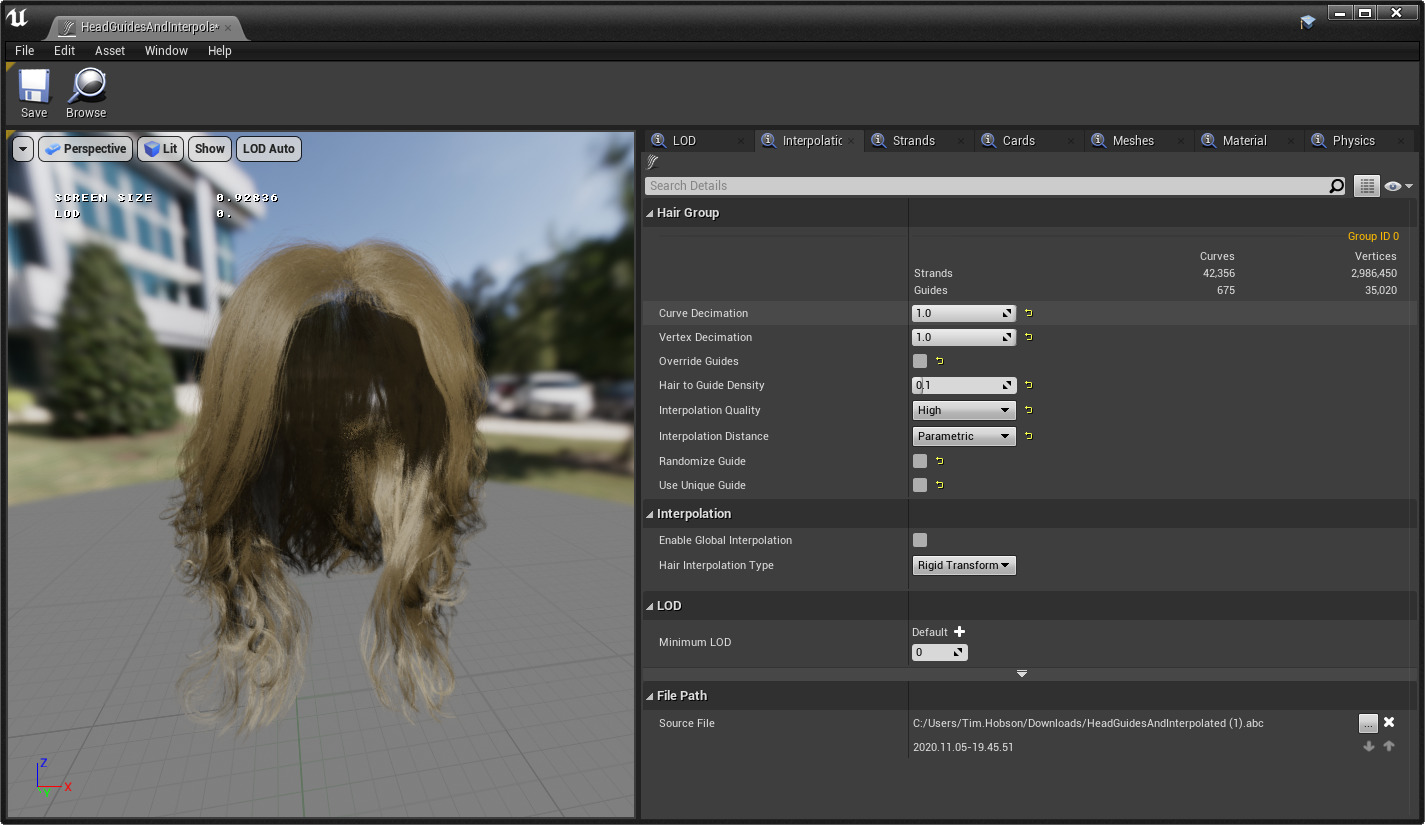
Groom Assets represent your imported Alembic (.abc) file's hair groom and they are stored in your Content Browser. Double-clicking the Groom Asset opens the Groom Asset Editor .

The Groom Asset Editor enables you to manage and edit parts of your groom. You'll be able to:
-
Assign Materials
-
Create Levels of Detail Meshes that represent strands, cards, or a mesh
-
Enable and configure physics settings
-
Debug your groom with different view modes
Right-clicking the Groom Asset in the Content Browser provides several additional Groom Actions that enable you to:

-
Rebuild the selected groom's build settings from the Groom Import Options.
-
Create Binding to generate a Binding Asset used to attach a groom to a Skeletal Mesh.
-
Create Textures for Follicle and Strands using the selected groom.
For more information, see Groom Asset Editor .
Generating Strands Textures
The Groom Asset enables you to create textures based on the strands data from your imported grooms. You can generate a follicle mask for your skeletal mesh to better blend hair with its mesh surface. You can also create multiple strands textures that can be used to create a hair mesh or hair cards.
Your groom can be used to generate textures which can be applied to meshes.
|
|
|
|
|---|---|---|
|
Depth Texture |
Tangent Texture |
Hair Mesh with Generated Textures |
For more information, see Generating Groom Textures .
Setting up a Hair Material
For Hair geometry to render correctly, it needs a Material assigned whose Shading Model is set to Hair .

You'll also need to have Use with Hair Strands enabled under the Usage category. This should automatically be enabled when applied to a Groom for the first time, but if not, you can enable it manually.
The following is an example Hair Material using the Hair Attributes Expression:

Binding Asset
Binding Assets are used attach and skin a Groom Component to a Skeletal Mesh Component. It's a way to assign a groom to the Skeletal Mesh it has been authored for and to assign it to ones that share the same topology.

Create a Binding Asset by right-clicking on a Groom Asset in the Content Browser and selecting Create Binding from the context menu. Use the Groom Binding Options window to assign a Target Skeletal Mesh and Source Skeletal Mesh to create the binding.
A Target Skeletal Mesh must be specified to create the Binding Asset. Otherwise, no binding is created during this process.
Enabling Physics Simulation
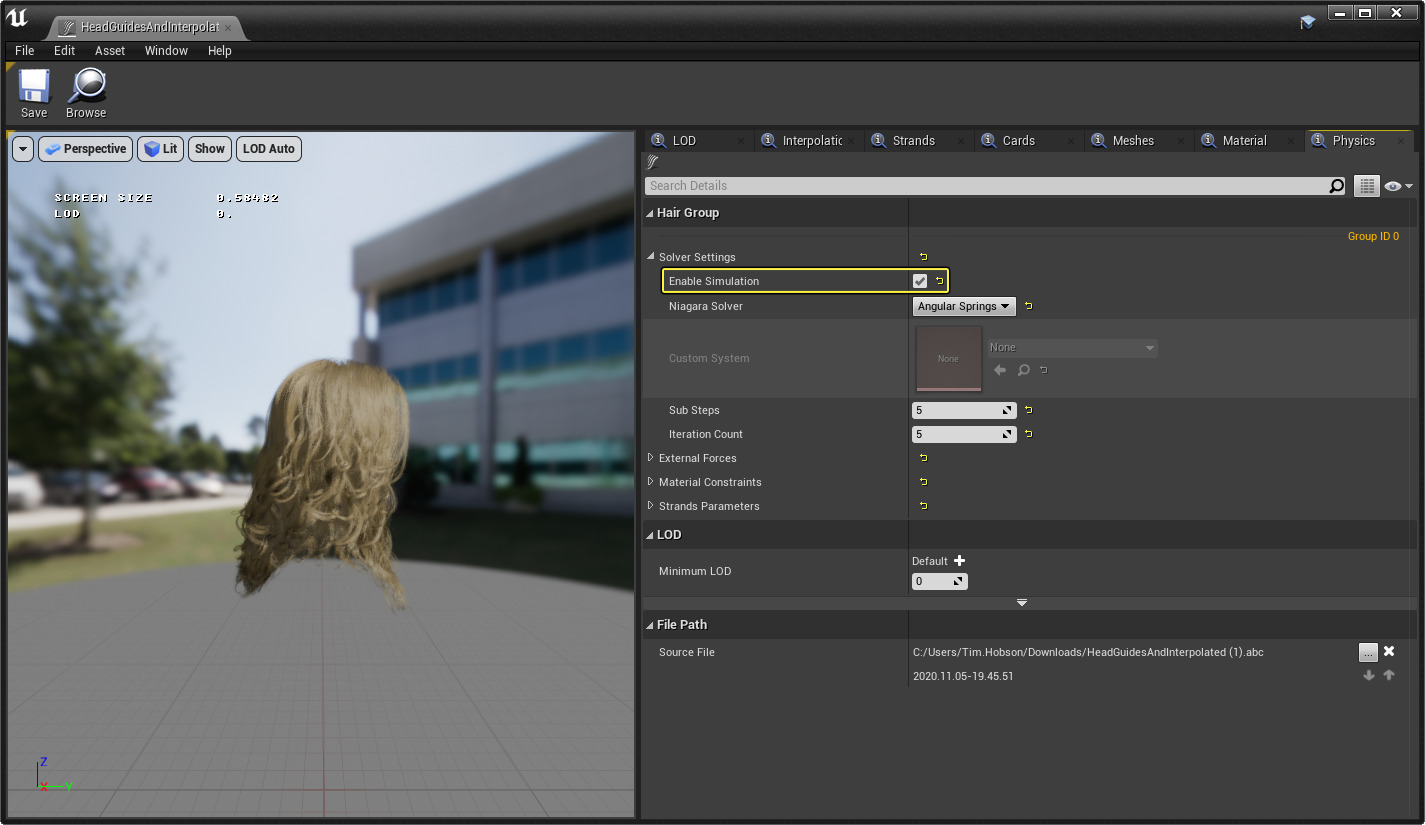
Enable physics on your groom by opening the Groom Asset Editor and from the Physics panel, check the box next to Enable Simulation under the Solver Settings .

Once enabled, you can explore the various physics settings that affect the groom component. See the Hair Properties Reference for details about each property.
Debugging Hair
Use the following console variables for debugging hair in your project:
|
Console Variable |
Description |
|---|---|
|
|
Enable one of the following command modes to draw various stats and debug information about hair rendering to the screen:
|
|
|
Enable this command to render the selected debug mode for hair strands in the scene:
|
Known Limitations
-
Frame rate depends on the size of the groom, its resolution, and underlying hardware that it's being run on. For example, you should expect a 30Hz or higher framerate with an RTX-2080Ti for a human-like groom at 1080p. Higher quality settings result in a significant performance drop.
-
Grooms do not yet support proper precomputed (Static/Stationary) lighting.
-
Depth of Field is supported but may still produce some artifacts.
HairWorks Users
For those using NVIDIA's hair solution HairWorks , which consists of DCC tool integration and real-time rendering and simulation for hair, Unreal Engine has deprecated HairWorks since version 4.16 of the engine. The long term plan is for the Groom system features to help provide a migration path for those who are currently using the HairWorks integration.
While the last official NVIDIA version of HairWorks made available for UE4 through their GitHub branch is version 4.16, various patches and upgrades have been created and are available online but are not official supported.


