Choose your operating system:
Windows
macOS
Linux
Once you've installed the Datasmith Exporter plugin for Revit, you'll have a new option available in the Add-Ins ribbon that you can use to export a selected 3D view to a .udatasmith file.
Follow the steps below in Revit to export your scene using this file type.
-
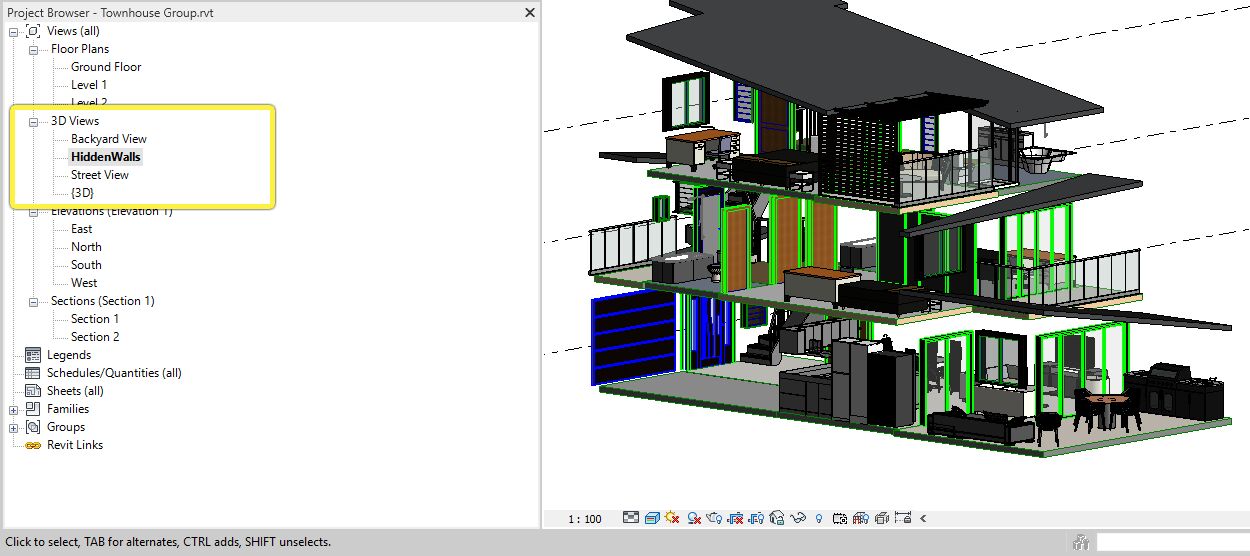
In the Project Browser , select the 3D View that you want to export.
![Select a 3D View Select a 3D View]()
The Datasmith Exporter plugin uses the visibility settings defined for the current 3D View to determine what parts of the scene it should export. For details, see Using Datasmith with Revit . -
Open the Add-Ins ribbon. In the Unreal Datasmith section, click Export 3D View .
![Add-ins | Export 3D View Add-ins | Export 3D View]()
-
In the Export 3D View to Unreal Datasmith window, browse to the location you want to save your .udatasmith file, and use the File Name box to give your new file a name.
![Set the location and file name Set the location and file name]()
-
Click Save .
End Result
You should now be ready to try importing your new .udatasmith file into the Unreal Editor. See Importing Datasmith Content into Unreal Engine 4 and Reimporting Datasmith Content .
Along with your new .udatasmith file, you'll see a folder that has the same name but with the suffix _Assets . If you move your .udatasmith file to a new location, make sure that you also move this folder to the same location.


