Choose your operating system:
Windows
macOS
Linux
Animation support in the FBX import pipeline provides a simple workflow for getting animations for Skeletal Meshes from 3D applications into Unreal for use in games. Currently, only a single animation for each Skeletal Mesh can be exported/imported in a single file.
This page is a technical overview of using the FBX content pipeline to import animations into Unreal. See the FBX Best Practices page for more information, tips, and tricks on working with the FBX content pipeline in a development environment.
The UE4 FBX import pipeline uses FBX 2018 . Using a different version during export may result in incompatibilities.
This page includes information on both Autodesk Maya and Autodesk 3ds Max, please choose your preferred content creation tool below and the information relevant only to the chosen tool will be displayed:
Choose Your 3D Art Tool
Autodesk 3ds Max
Naming
When importing animations into Unreal using the FBX format, the AnimationSequence will be named the same as the name of the file. When importing animations along with a Skeletal Mesh, the AnimationSequence that is created will be taken from the name of the root bone in the animation sequence. This can easily be renamed after the import process is complete through the Content Browser .
Creating Animations
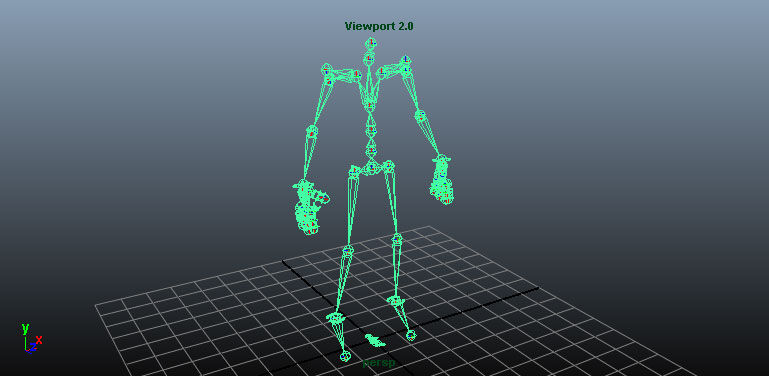
Animations can be unique to a single Skeletal Mesh or they can be reused for any number of Skeletal Meshes as long as each Skeletal Mesh uses the same skeleton. All you really need to create an animation and export it into Unreal using the FBX pipeline is a skeleton that has been animated. Having a mesh bound to the skeleton is completely optional, though it makes the process of creating the animation much easier as you can see how the mesh is deforming during the animation. At export time, only the skeleton is required though.
Exporting Animations from 3D Apps
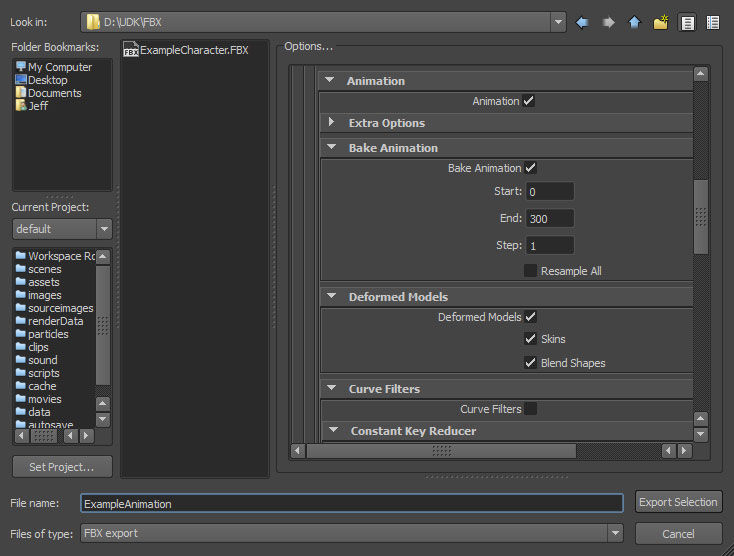
Animations must be exported individually; one animation per Skeletal Mesh to a single file. The steps below are for exporting a single animation into a file by itself. The mesh bound to this skeleton has been hidden as it is not absolutely necessary for exporting animations by themselves.
Importing Animations
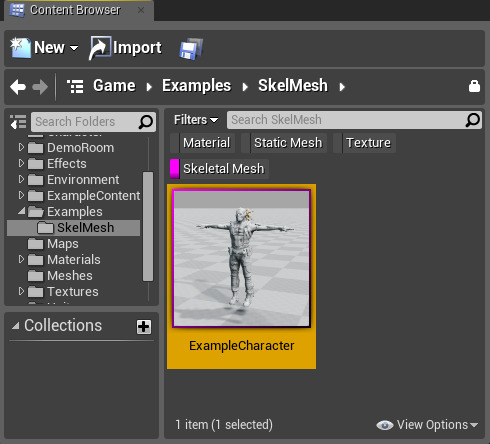
The FBX animation import pipeline allows for importing both a Skeletal Mesh and animation all at once, or importing one or the other individually.
Skeletal Mesh with Animation
-
Click the
![import_button.png]()
![import_fbxformat.jpg]()
![import_file.jpg]()
The imported path of the imported asset depends on the current location of the Content Browser while importing. Make sure to navigate to the appropriate folder prior to performing the import. You may also drag the imported assets into a new folder once import is complete.
-
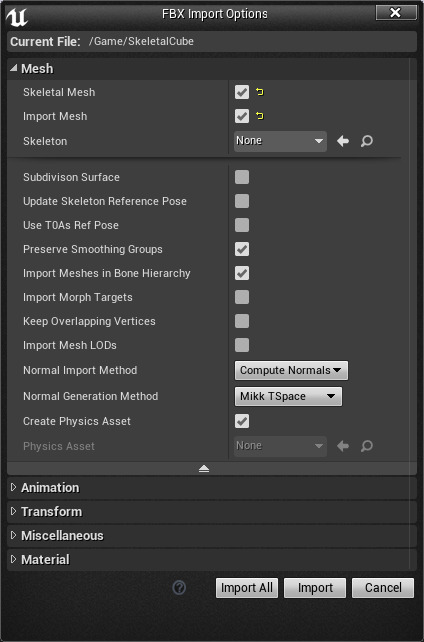
Choose the appropriate settings in the FBX Import Options dialog. The name of the imported mesh will follow the default Naming Rules . See the FBX Import Dialog section for complete details of all of the settings.
![SkeletalMeshFBXOptions.png]()
-
Click the
![button_import.png]()
![ImportedCharacter.png]()
Individual Animations
To import animations, you first need an AnimationSequence to import the animation into. This can be created through the
Content Browser
or directly in the AnimationSequence Editor.
Unreal Editor supports importing multiple animations contained in a single FBX file; however, many DCC tools such as 3ds Max and Maya do not currently support saving multiple animations to a single file. If you export from a supporting application such as Motion Builder, Unreal will import all the animations in that file.
-
Click the
![import_button.png]()
![import_fbxformat.jpg]()
![import_file.jpg]()
The imported path of the imported asset depends on the current location of the Content Browser while importing. Make sure to navigate to the appropriate folder prior to performing the import. You may also drag the imported assets into a new folder once import is complete.
-
Choose the appropriate settings in the FBX Import Options dialog. The name of the imported mesh will follow the default Naming Rules . See the FBX Import Dialog section for complete details of all of the settings.
![AnimationImportOptions.png]()
When importing animation on its own, you must specify an existing skeleton!
-
Click the
![button_import.png]()
![AnimSequenceImported.png]()
Unreal Editor supports non-uniform scale animations. When importing an animation, if scale exists, it will also import without the need for setting additional options. For memory reasons, the engine does not save scale for all animations and only saves it if it has scale that is not 1.
Refer to the Non-Uniform Scale Animations page for more information and video samples.


