Choose your operating system:
Windows
macOS
Linux
Overview
This guide will cover the process of enabling the plugin, importing a point cloud, placing it into a scene, and making edits to the point cloud.
1-Enabling the Plugin
The LiDAR Point Cloud plugin is included with the Unreal Engine, but must be enabled prior to use.
-
First, open the Plugins menu by going to Edit > Plugins .
-
In the Plugins menu, locate the Rendering section and then LiDAR Point Cloud Support, click the check box for Enabled .
![Enable_plugin.png]()
-
After enabling the plugin you will need to restart the engine.
Section Result
The plugin is enabled and you are now ready to import a point cloud.
2 - Importing and Preparing the Point Cloud
In order to use a point cloud in UE4 you will first need to import it into the engine. For the purpose of this guide we will want to move around the imported point cloud scan so we will enable collision as well.
-
Create a new project.
-
Choose the point cloud file you want to import and drag it into the Content Browser.
-
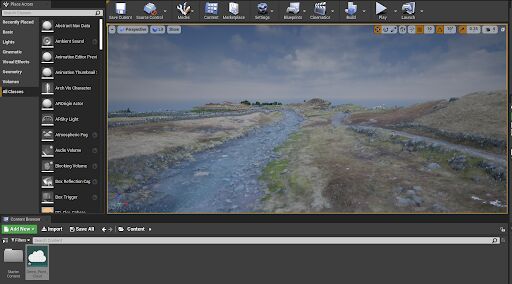
Drag the Point Cloud from the Content Browser into the Viewport . This will automatically create an instance of a LidarPointCloudActor and assign your specified cloud to it.
-
Right-Click on the Point Cloud in the Content Browser and select Edit .
-
Click Collison and select Build Collision from the drop down menu.
![Build_Collision.png]()
-
Place a Player Start above the ground.
-
Click Play to start Play in Editor mode and move around the imported scan.
Section Result
Your point cloud has been imported and now has working player collison, feel free to explore your imported scan. As you move around you may find things you want to modify. Next we will go over making simple edits to the point cloud.

3 - Editing the Point Cloud
When working with point clouds you may find that the cloud needs to be modified to meet your needs. You can make changes to your imported cloud by enabling Edit Mode .
-
Right-Click on the Point Cloud in the Content Browser and select Edit .
-
Click Edit Mode .
-
You will need to fully load the point cloud into memory to edit it. When prompted to do so, click Yes .
-
Once Edit Mode is enabled you can make edits to individual points or selected groups of points.
![Enable_editing.PNG]()
-
Drag the mouse while holding Shift to select points to edit. Selected points are highlited in orange.
![selected_edit.PNG]()
-
Once points are selected you can Hide , Delete , or Extract the selected points.
Once points are edited, collision must be rebuilt.
Section Result
You have selcted points and made edits to your point cloud.
On Your Own
You have enabled the LiDAR Point Cloud plugin, added collision, moved around, and made edits to the imported point cloud.
-
Enable Eye-Dome Lighting to enhance depth perception.
-
Explore the full range of options available in the LiDAR Point Cloud Reference.


