Choose your operating system:
Windows
macOS
Linux
With Color Correct Regions , you can adjust and correct the colors on the environment and objects in the scene. For example, in an in-camera VFX scenario, you can match the lighting and shadows between the real-world set and the environment displayed on the LED walls.

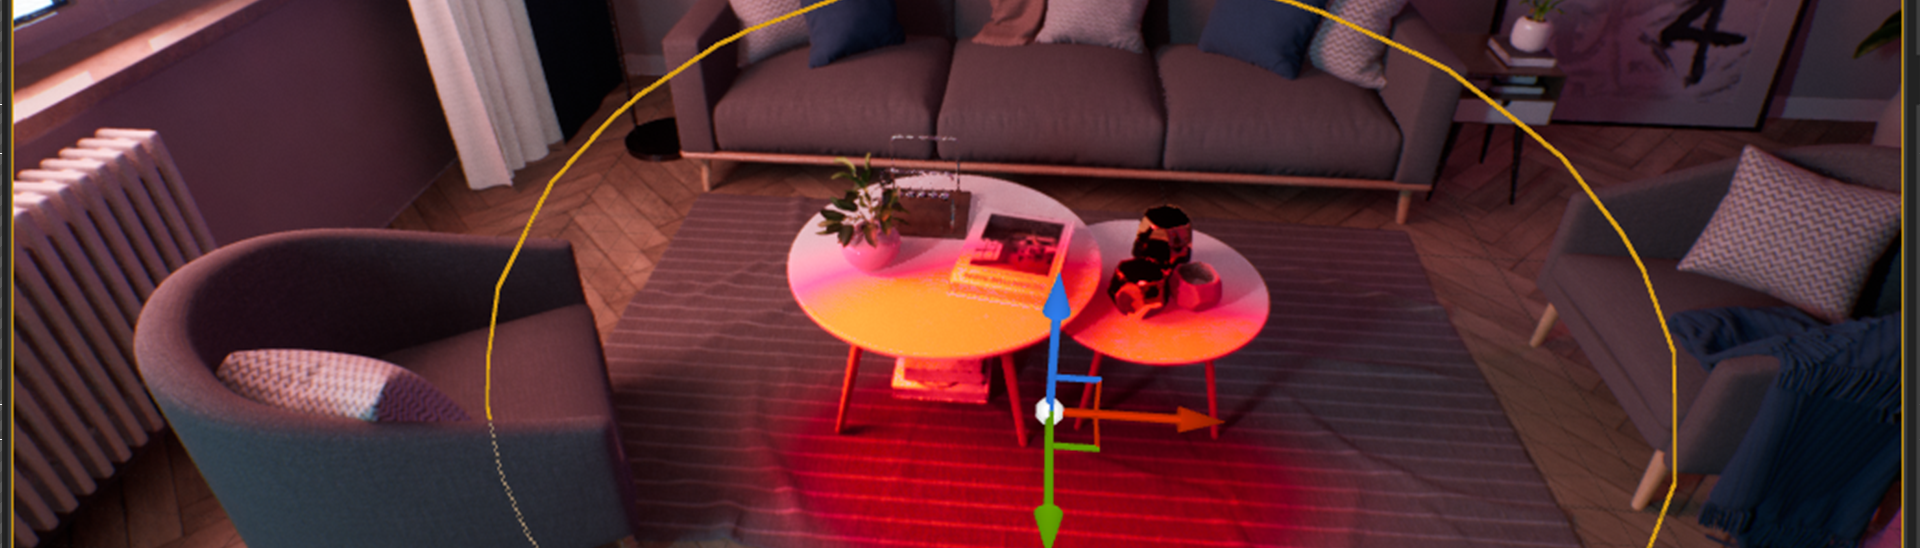
A scene with a Color Correct Region applying a dramatic red color in a sphere volume to the environment.
At the end of this page, you will be familiar with adding Color Correct Regions to your level and modifying their settings.
To add a Color Correct Region to your scene, follow these steps:
-
In the Editor's main menu, choose Edit > Plugins to open the Plugins window.
![image alt text]()
-
In the Plugins window, find Color Correct Regions in the Other section. Check the Enabled checkbox to add Color Correct Regions to your project.
![image alt text]()
-
Restart the engine.
-
In the Place Actors panel, select the Volumes category.
![image alt text]()
-
Drag the Color Correct Region Asset into the level.
![image alt text]()
-
Modify the following settings in the Details panel to apply color grading to a region in the level:


|
Property |
Description |
|---|---|
|
Type |
Determines the shape of the region. Options include:
|
|
Priority |
When multiple Color Correct Regions overlap, the priority of the regions determines what order the color grading of the regions are applied to the level. |
|
Intensity |
Controls the strength of Color Grading Settings. |
|
Inner and Outer |
Controls the region's falloff area. |
|
Falloff |
Use with Inner and Outer to control the strength and area of falloff. |
|
Invert |
If checked, color grading is applied to everything in the level except the inner area of the region. |
|
Temperature |
Controls the color temperature. |
|
Color Grading Settings |
Color grading settings such as Gamma, Highlights, Midtones, and Shadows |
|
Enabled |
If unchecked, the region will not be visible in the scene. |
|
Exclude Stencil |
If unchecked, the Scene Stencil Texture containing all Custom Stencils will be ignored. |