Choose your operating system:
Windows
macOS
Linux

In the following example, we will take a look at how you can set up, create, and view stereo panoramic screenshots—all from inside UE4. When you have completed this project, you will have created a panoramic image.
Panoramic Capture has been significantly updated for the 4.23 release.
-
The plugin has been renamed to Panoramic Capture (from Stereo Panoramic Capture) to reflect the new features.
-
Left and right eye images are now merged into one top/bottom image to support the top/bottom stereo standard.
-
The output now has several types of buffers: AO, Metallic, Roughness, Depth, BaseColor, WorldNormal, and FinalColor for post-compositing in other DCCs.
-
The output depth pass is now always in 32-bit.
-
Post-process volumes with blendables are now supported.
-
Added a Blueprint with preconfigured settings to output the best-quality captures.
-
Added Blueprints to view 360-degree stereo stills and movies (GearVR and Oculus).
-
Added new parameters to set bit-depth and render passes using console commands.
-
Added support for 8-bit (.png) and 32-bit (.exr) formats.
-
You can now optionally output in monoscopic.
-
All logging information is now contained in the Message Log for ease of use.
Panoramic Capture does not capture current Ray Tracing output. This will be addressed in a future release.
1 - Project Setup
In this section, we will create and then set up a new UE4 project.
Steps
-
Create a new Project from the Games > First Person template, with the following settings:
-
Blueprint enabled
-
Maximum Quality enabled
-
Desktop / Console enabled
-
With Starter Content enabled
-
-
Press the Create Project button to load the new project.
This could be any project. The above values are listed simply to provide a starting point for creating a project.
-
With your project open, select Edit > Plugins from the main menu.
![SPHT_Plugins_Menu.png]()
-
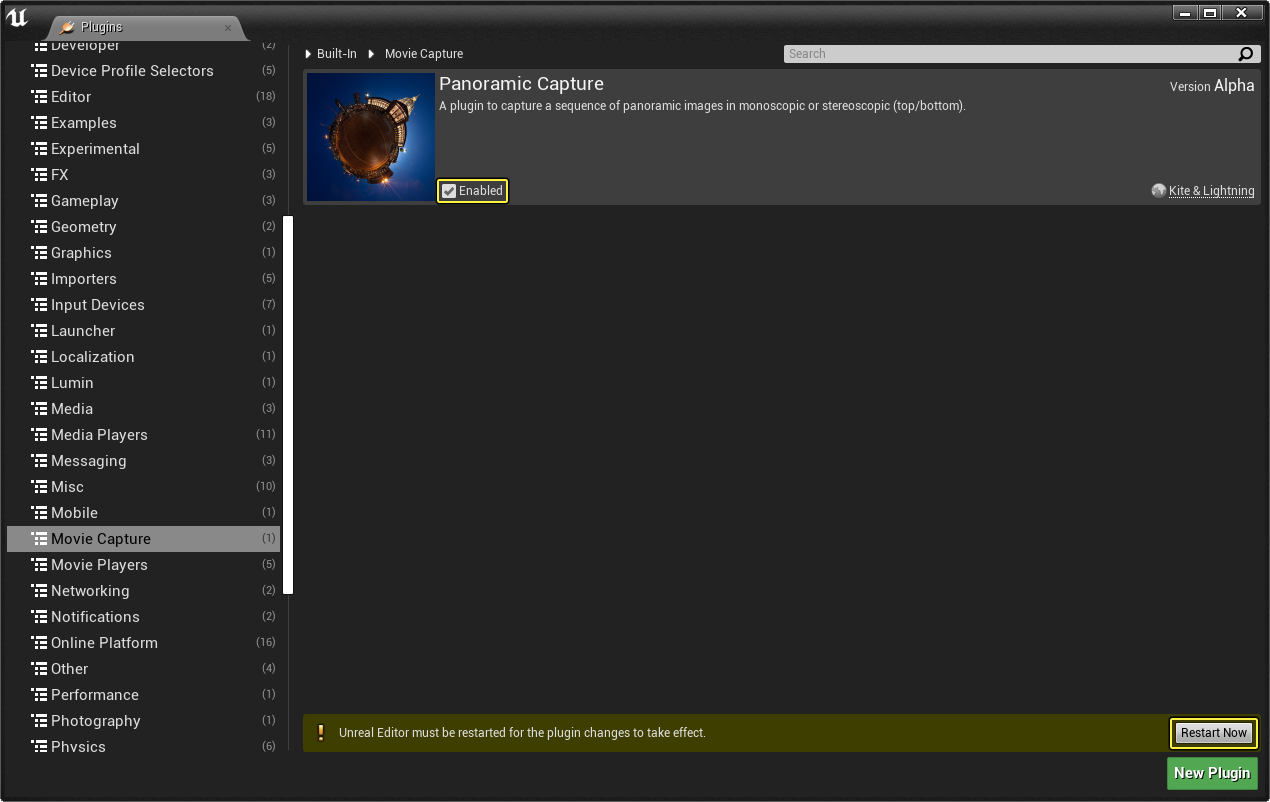
From the Plugins menu, under Movie Capture , enable the Panoramic Capture plugin. Restart the editor when prompted.
![SPHT_Enable_SPMP.png]()
Click for full image.

2 - Taking Stereo Images
In this step, we will use the Panoramic Capture plugin and the BP_Capture Blueprint to capture the images of the level in Stereo 3D.
Steps
-
Open the Content Browser , and browse to PanoramicCapture Content > Assets .

By default, the Content Browser does not show plugin content. To change this, select View Options , then enable Show Engine Content and Show Plugin Content .
-
Drag the BP_Capture Blueprint onto the scene.
-
Click Play to kick off the BP_Capture and start the capture process.
![SPHT_Play_Game.png]()
Click for full image.
-
During the capture process, the editor might appear to be frozen or unresponsive for a few seconds up to a few minutes. This is due to the demanding rendering requirements of the Panoramic Capture plugin. When the editor becomes responsive again, you will be able to find the screenshots in the following location.
-
C:\PanoramicCaptureFrames\[Date & Time]\FinalColor\Frame_00000_FinalColor.png
![SPHT_Rendered_Images.png]()
Click for full image.
-
-
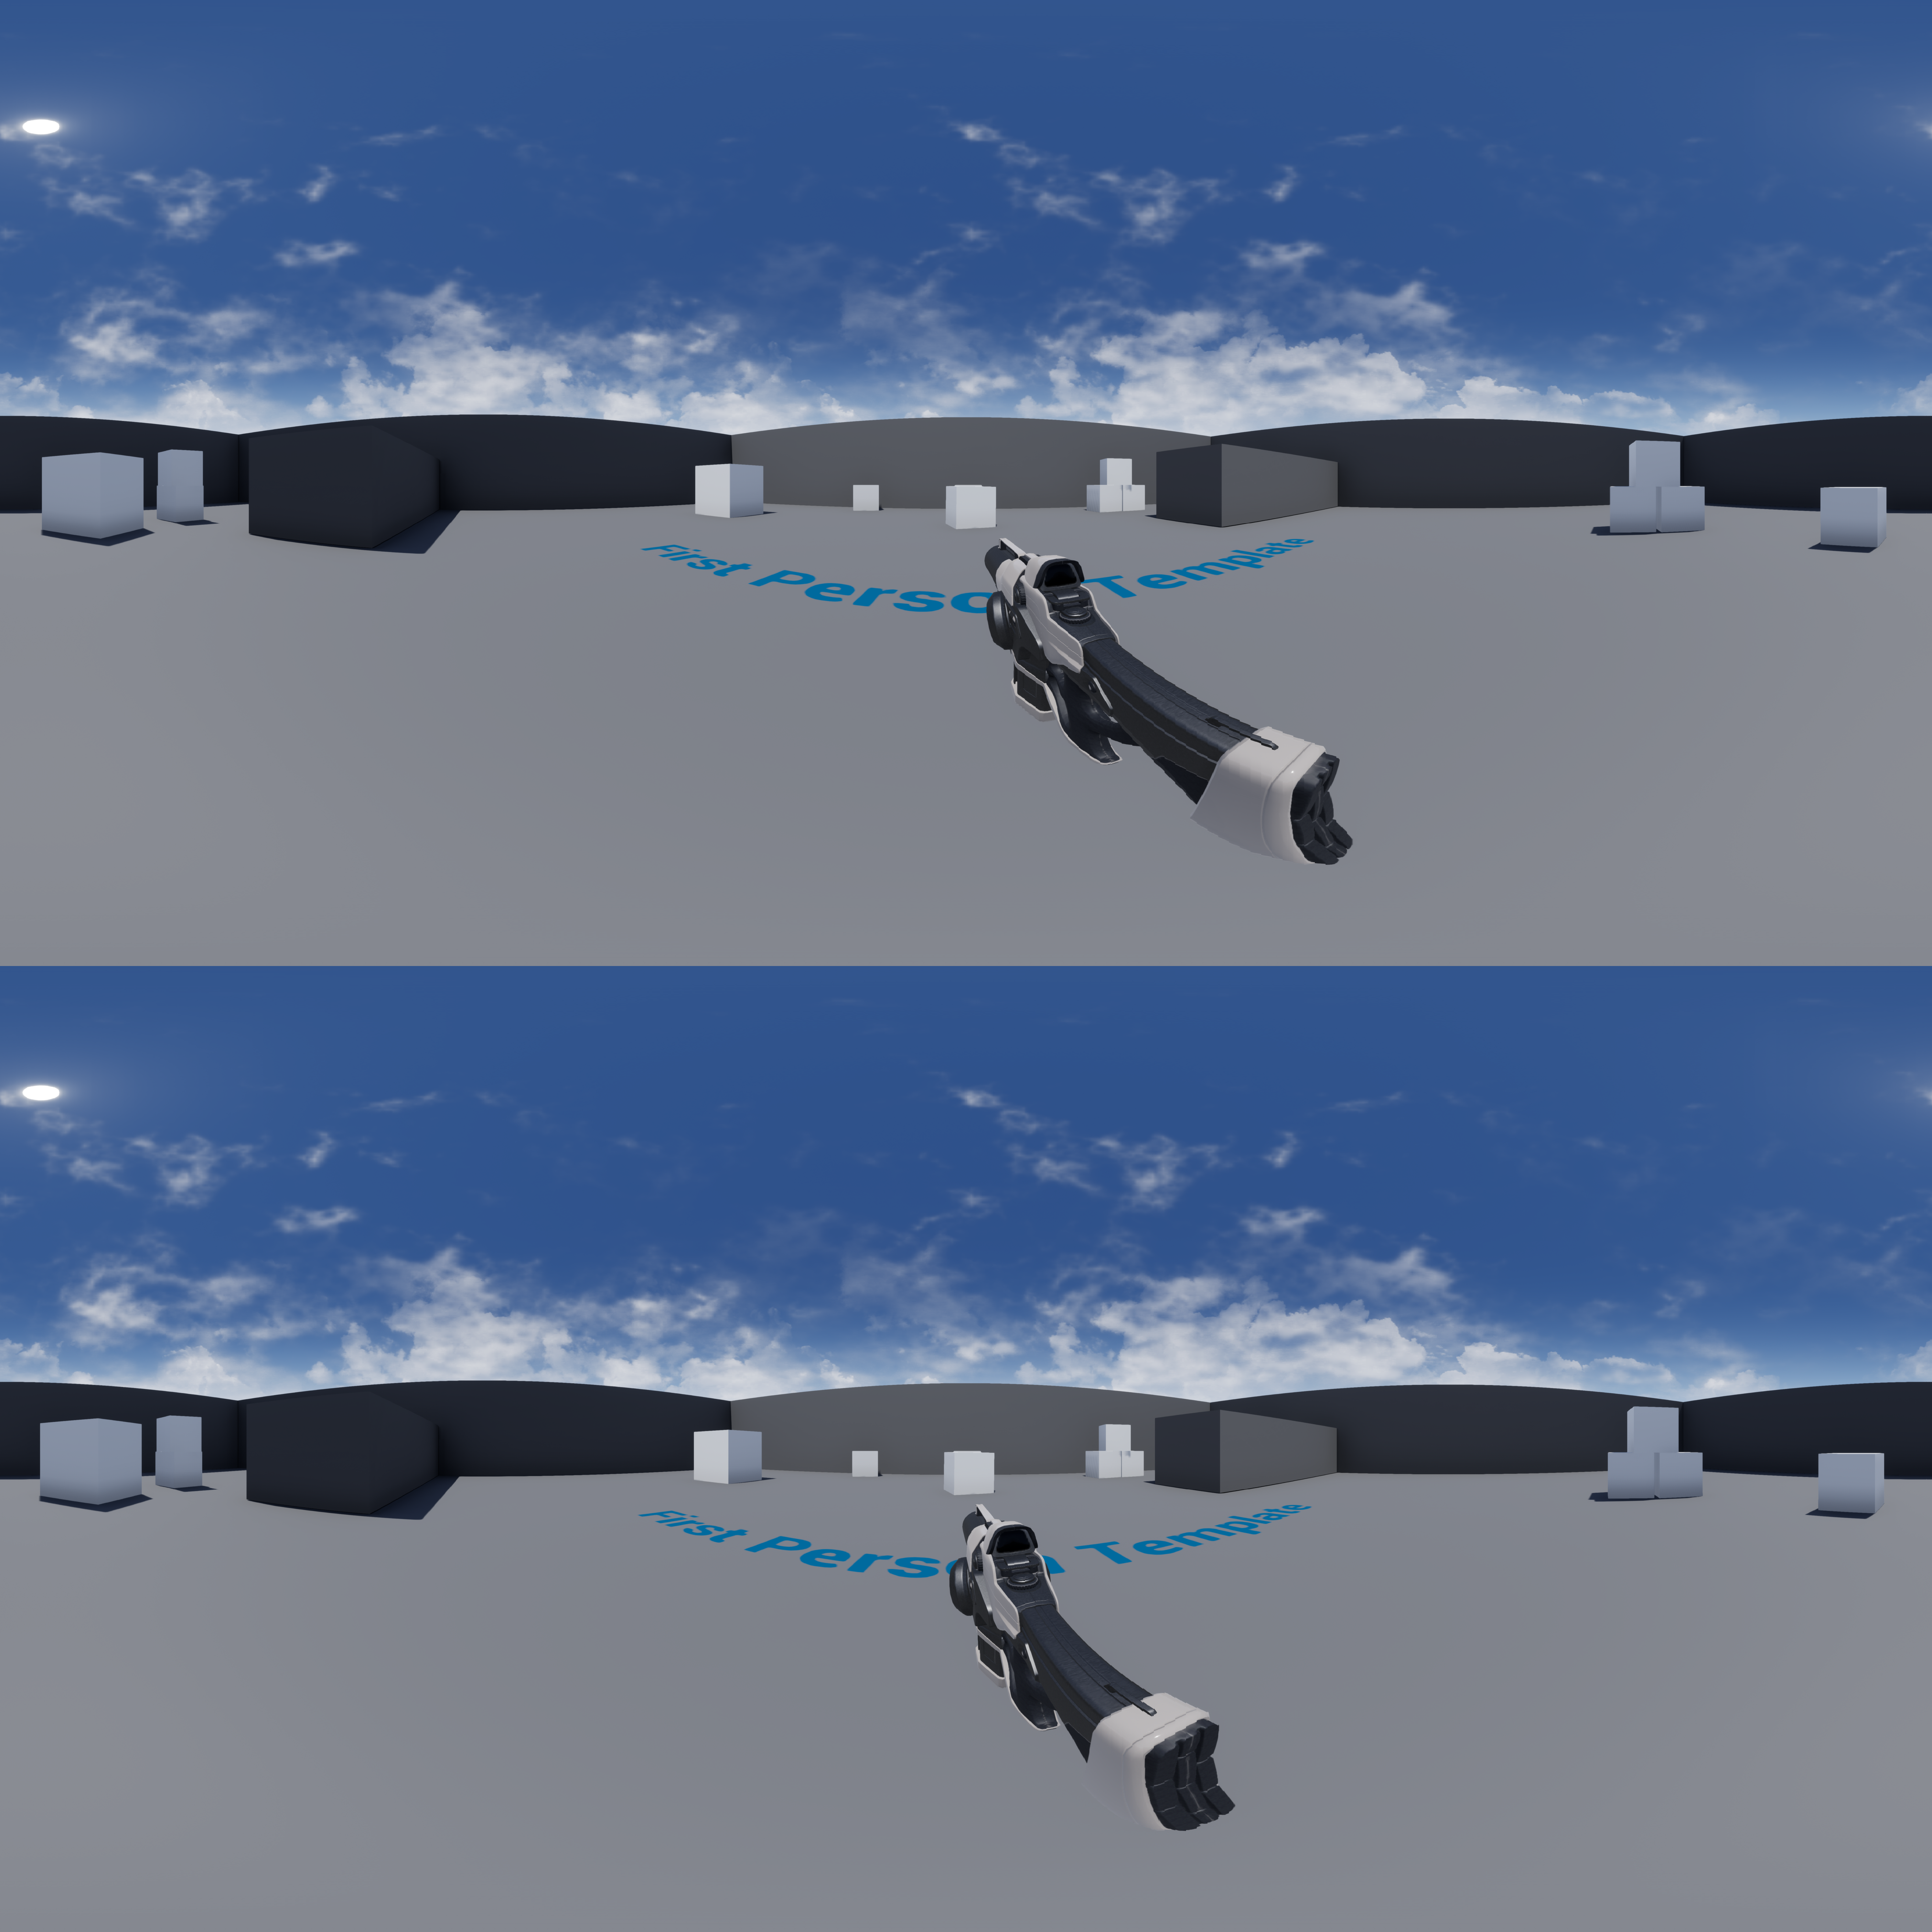
Here is a view of the stereo image generated by BP_Capture .
![SPHT_Rendered_Images2.png]()
Click for full image.
The default output of the BP_Capture Blueprint is 8-bit (.png), with 32-bit (.exr) as an optional setting in the Blueprint.