Choose your operating system:
Windows
macOS
Linux
In the following steps, we will create a blinking Material on an object and change the color of a Material on an object when the player approaches it.
Creating the Project
In this section, we will set up the project.
-
From the Unreal Project Browser window, create a New Project and use the Blueprint Third Person template.
![MatineeHowTo.jpg]()
-
Make sure that Include starter content is enabled.
-
Give the project a name.
-
With each of the above defined, click Create Project to create a new project.

Add the Matinee Actor, Props, and Tracks in Matinee
In this step, we will add our Matinee Actor , add some props that we will use in the scene and finally, add the tracks we will use in our Matinee .
-
From the Toolbar menu, select Matinee and click the Add Matinee button.
![MHT1_AddMatinee.png]()
-
If the Matinee undo warning message appears, click the Continue button.
![MHT1_MatineeWarning.png]()
-
The Matinee Editor window will open.
![MHT1_MatineeOpen.png]()
Click for Full View.
-
Close the Matinee then repeat steps 1-3 to create a second Matinee Actor so that there are two in the level.
-
Close the second Matinee window, then in the Content Browser under Game/Props , locate the SM_Chair and drag it into the level.
![MHT6_AddChair.png]()
-
Also in the Game/Props folder, drag into the level the SM_Stairs .
![MHT6_AddStairs.png]()
You can position both the chair and stairs as you wish in the level.
-
From the Modes menu on the Basic tab, click and drag in the Box Trigger into the level then press R and scale the box so that the chair is inside it.
![MHT6_AddTrigger.png]()
When the player enters this trigger box, the chair will change colors which we will set up later on this page.
-
Click on the Matinee Actor (the first Matinee that was added) in the World Outliner , then in the Details panel click Open Matinee .
![MHT6_OpenMatinee.png]()
-
Minimize the Matinee and click on the SM_Chair then re-open the Matinee and in the Tracks Window , Right-click and select Add New Empty Group .
![MHT6_AddNewEmptyGroup.png]()
In the Name Group window, name the group something descriptive such as Chair .
-
Right-click on the new group in Matinee and choose Add New Vector Material Parameter Track .
![MHT6_AddVectorMaterialTrack.png]()
-
Close the Matinee and then open the other Matinee Actor.
-
Minimize the Matinee and click on the SM_Stairs then re-open the Matinee and in the Tracks Window, Right-click and select Add New Empty Group.
![MHT6_AddStairsToMatinee.png]()
In the Name Group window, name the group something descriptive such as Stairs .
-
Right-click on the new group in Matinee and choose Add New Float Material Parameter Track .
![MHT6_AddFloatMaterialTrack.png]()


Vector Material Parameter Matinee
In the following steps, we will use the Vector Material Parameter track in Matinee to change the color of the chair when the player is near it.
-
Select the chair in the level, then in the Details panel under Materials , click the Browse To (Magnifying glass) icon.
![MHT6_MaterialsSearch.png]()
-
The Material used for the chair will be highlighted in the Content Browser , Double-click on the M_Chair Material to open it in the Material Editor .
-
Mouse-Wheel Down to zoom out and find the node with the orange square and click on it, then in the Details panel, click the Default Value bar.
![MHT6_ChairDefaultColor.png]()
-
In the Color Picker window, click and drag the orange color (in the yellow box) to the Save Color bar to save the color.
![MHT6_ColorPicker.png]()
We will use this later as now we have a reference to the default color of the seats.
-
Close the Color Picker window (no need to save) and close the Material as well.
-
In the Content Browser, Right-click on the M_Chair Material and choose Create Material Instance .
![MHT6_MaterialInstance1.png]()
A Material Instance of the Material will be created in the Content Browser which we can edit. You can leave the default name.
-
Select the chair in the level, then select the M_Chair_Inst in the Content Browser and in the Details panel, click the Arrow icon.
![MHT6_AssignNewMaterial.png]()
This will assign the Material Instance to the chair.
-
Open the Matinee Actor (the Matinee assigned to the chair) and click on the ...Material Param ( Material Parameter track).
-
In the Details panel on the right, click the Add icon.
-
Back in the Content Browser make sure the M_Chair_Inst Material Instance is highlighted, then in Matinee, click the Arrow icon.
![MHT6_AddInstanceToMatinee.png]()
-
In the Param Name field, enter ColorSeats (as this is the name of the node in the Material from step 3) that we will alter.
-
Click on the Material Parameter track and press Enter to add a keyframe at 0.00 , then move the Time Bar to 2.00 and add another keyframe.
![MHT6_M1_KeysAdded.png]()
-
Right-click on the ending marker and choose Move To Longest Track Endpoint to reduce the Matinee length to two seconds.
![MHT6_ReduceMatineeLength.png]()
-
Right-click on the first keyframe and choose Set Color, then from the Color Picker menu, select the bar at the top to assign the default chair color.
![MHT6_Key1Chair.png]()
-
Right-click on the second keyframe and choose Set Color, then from the Color Picker menu, select any color other than the default color then close the Matinee.
![MHT6_Key2Chair.png]()
This is the color the chair will blend to when the player approaches.
-
In the World Outliner, select the Matinee Actor, then from the toolbar select Blueprints - Open Level Blueprint .
![MHT6_AddMatineeToBlueprint.png]()
-
Inside the Level Blueprint Event Graph window, Right-Click and from the context menu, select Add Reference to MatineeActor .
![MHT6_AddMatineeReference.png]()
-
Minimize the Level Blueprint, then in the World Outliner locate and select the TriggerBox1 so that it is highlighted.
-
Re-open the Level Blueprint and in the Event Graph , Right-click and select Add Event for TriggerBox1 , Collision then Add OnActorBeginOverlap .
![MHT6_AddOnOverlap.png]()
This event will execute when an Actor (our player in this case) overlaps the trigger box.
-
Repeat the previous step, however this time select the Add OnActorEndOverlap.
-
Click-and-drag off the out pin of the MatineeActor node and release, in the context menu search for Play , then select Play from the menu.
![MHT6_PlayMatinee.png]()
-
Repeat the previous step, however this time search for and select Reverse .
![MHT6_PlayAndReverse.png]()
The Matinee should be hooked up to both a Play and Reverse node.
-
Click-and-drag off the Execute out pin of the OnActorBeginOverlap node and connect it to the in Execute pin of the Play node.
![MHT6_HookUpPlay.png]()
-
Repeat the previous step, however drag off the OnActorEndOverlap node and connect it to the Reverse node.
![MHT6_BlueprintComplete.png]()
-
Click the Compile button located in the upper left of the Blueprint window.
![MHT6_Compile.png]()
-
Close the Blueprint, then click the Play button from the main toolbar to play in the editor.
By default the chair should remain orange, however when you get close to it, it should blend to and change to the color you selected.
When you move away from the chair, it should blend back to the default color.


Float Material Parameter Matinee
In the following steps, we will use the Float Material Parameter track in Matinee to create a blinking Material applied to the steps of our stairs.
-
In the Content Browser under Game/Materials , Right-click on the M_Basic_Wall Material and choose Create Copy and give it a name.
-
Double-click on the copy of the Material to open it in the Material Editor , then click on and delete the Color node.
![MHT6_Material_Editor.png]()
Click image for full view.
-
Right-click in the graph window and type in scalar , then select the ScalarParameter option from the window.
![MHT6_ScalarParameter.png]()
-
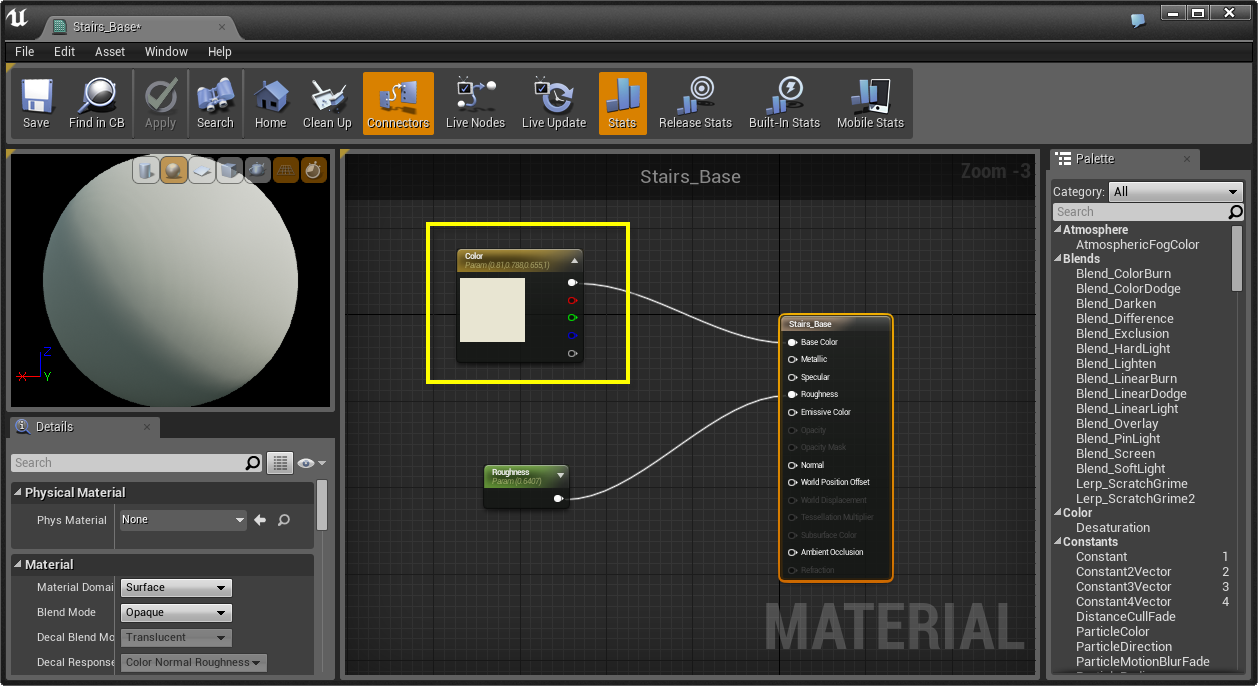
Enter the name StepsColor for the node, connect it to the Base Color pin of the Material Attributes node.
![MHT6_StepsColor.png]()
-
Press the Apply and Save buttons, then close the Material Editor window.
![MHT6_ApplyAndSave.png]()
-
Select the stairs in the level viewport so they are highlighted.
-
Select the M_Basic_Wall Material in the Content Browser so it is highlighted.
-
In the Details panel for the stairs under Materials, click the Arrow icon for Element 1 to assign the Material.
![MHT6_AssignBaseStairsMat.png]()
-
In the Content Browser, find the Material created in Step 1 and select it so it is highlighted.
-
In the Details panel for the stairs under Materials, click the Arrow icon for Element 0 to assign the Material.
![MHT6_StairsMaterials.png]()
-
In the World Outliner, select MatineeActor1 (the Matinee associated with the stairs) and in the Details panel, click the Open Matinee button.
-
Click on the ...Material Param ( Material Parameter ) track and in the Details panel under Target Materials , click the Add icon.
-
Back in the Content Browser make sure the Material from step 1 is highlighted, then in Matinee click the Arrow icon.
![MHT6_ApplyFloatMaterial.png]()
-
Under the Param Name field, enter StepsColor .
-
On the Material Parameter track, add keyframes at 0.00 , 0.50 and 1.00 and move the end marker to 1.00 as well.
![MHT6_M2_KeysAdded.png]()
-
Right-click on the second keyframe and select Set Value then set the value to 1 and close the Matinee.
-
Select the MatineeActor1 in the World Outliner, then in the Details panel under Play check Play on Level Load and Looping .
![MHT6_FinishingMatinee2.png]()
-
From the main toolbar click the Play button to play in the editor.
You should now see that the steps of the stairs blink back-and-forth between black and white colors.
You could increase the speed at which it blinks by making the time in between keyframes in the Matinee shorter.