Choose your operating system:
Windows
macOS
Linux
To improve your productivity, several shortcuts have been built into the Sequencer Editor. This page covers the most commonly used actions, shortcuts, and keybindings for working with Sequencer.
Playback Shortcuts

|
Command |
Description |
|---|---|
|
Spacebar |
Play or Pause Playback for the selected sequence. |
|
Down Arrow |
Plays the selected sequence. |
|
Up Arrow |
Returns to the start of the of the assigned Playback Range. |
|
Left Arrow |
Step backwards in the current sequence. |
|
Right Arrow |
Step fowards in the current sequence. |
|
[ |
Sets the start of Playback Range to the current time. |
|
] |
Sets the end of Playback Range to the current time. |
Tracks Area Navigation

Basic Navigation
|
Command |
Description |
|---|---|
|
Right-click Drag |
Allows you to move around the Tracks Area. |
|
Ctrl + Mouse Wheel In/Out |
Zoom in/out in the Tracks Area. |
|
Home |
Resets the zoom/view range of the Tracks Area. |
|
- and = |
Zoom into and out of the view range by 10%. |
|
, and . |
Moves backwards and forwards between placed keyframes. |
|
Left-click Drag |
Creates a selection box around keys in the window. |
|
Left-click on a key |
Selects the key. |
|
Right-click on a key |
Displays the Context Menu where you can define properties for the key. |
|
Middle Mouse |
Creates a key at the mouse position. |
|
Enter |
Set a key on the selected tracks at the current time. |
|
Ctrl + G |
Go to a set time/frame in the sequence. |
|
I |
Sets the start of Selection Range. |
|
O |
Sets the end of Selection Range. |
|
M |
Adds/Removes a Frame Marker at the current mouse location. |
|
Ctrl + Shift + , (comma key) |
Jumps the timeline to the previous marker. |
|
Ctrl + Shift + . (period key) |
Jumps the timeline to the next marker. |
|
Ctrl + Left Arrow |
Move selected keys and sections 1 frame to the left. |
|
Ctrl + Right Arrow |
Move selected keys and sections 1 frame to the right. |
Key Interpolation Shortcuts

You can use the following keys to set the keyframe interpolation method for the selected key(s).
The commands below do not respond to Numpad entries.
|
Command |
Description |
|---|---|
|
1 |
Set the selected key to use an auto tangent. |
|
2 |
Set the selected key to use a user defined tangent. |
|
3 |
Set the selected key to use a break tangent. |
|
4 |
Set the selected key to use a linear tangent. |
|
5 |
Set the selected key to use a constant tangent. |
Editing Shortcuts

Select a section in the Tracks Area (audio or animation asset, camera, etc.) and edit it with the commands below.
|
Command |
Description |
|---|---|
|
Ctrl + / |
Split the current section at the current time position. |
|
Ctrl + , |
Trim the current section left at the current time position. |
|
Ctrl + . |
Trim the current section right at the current time position. |
Transform Track Shortcuts

Select an Actor in your level and use the commands below to add keyframes at the current time position.
|
Command |
Description |
|---|---|
|
S with a Track selected |
Adds a Transform Sub-Track (if it does not exist) and adds keys for Location, Rotation and Scale. |
|
Shift + W with a Track selected |
Adds a Transform Sub-Track (if it does not exist) and adds a key for Location only. |
|
Shift + E with a Track selected |
Adds a Transform Sub-Track (if it does not exist) and adds a key for Rotation only. |
|
Shift + R with a Track selected |
Adds a Transform Sub-Track (if it does not exist) and adds a key for Scale only. |
If you do not have a Transform track for the selected Actor, one will be created when you use the shortcut commands.
Workflow Shortcuts
The following shortcuts can be used to improve adding content to Sequencer.
Auto Add to Sequencer
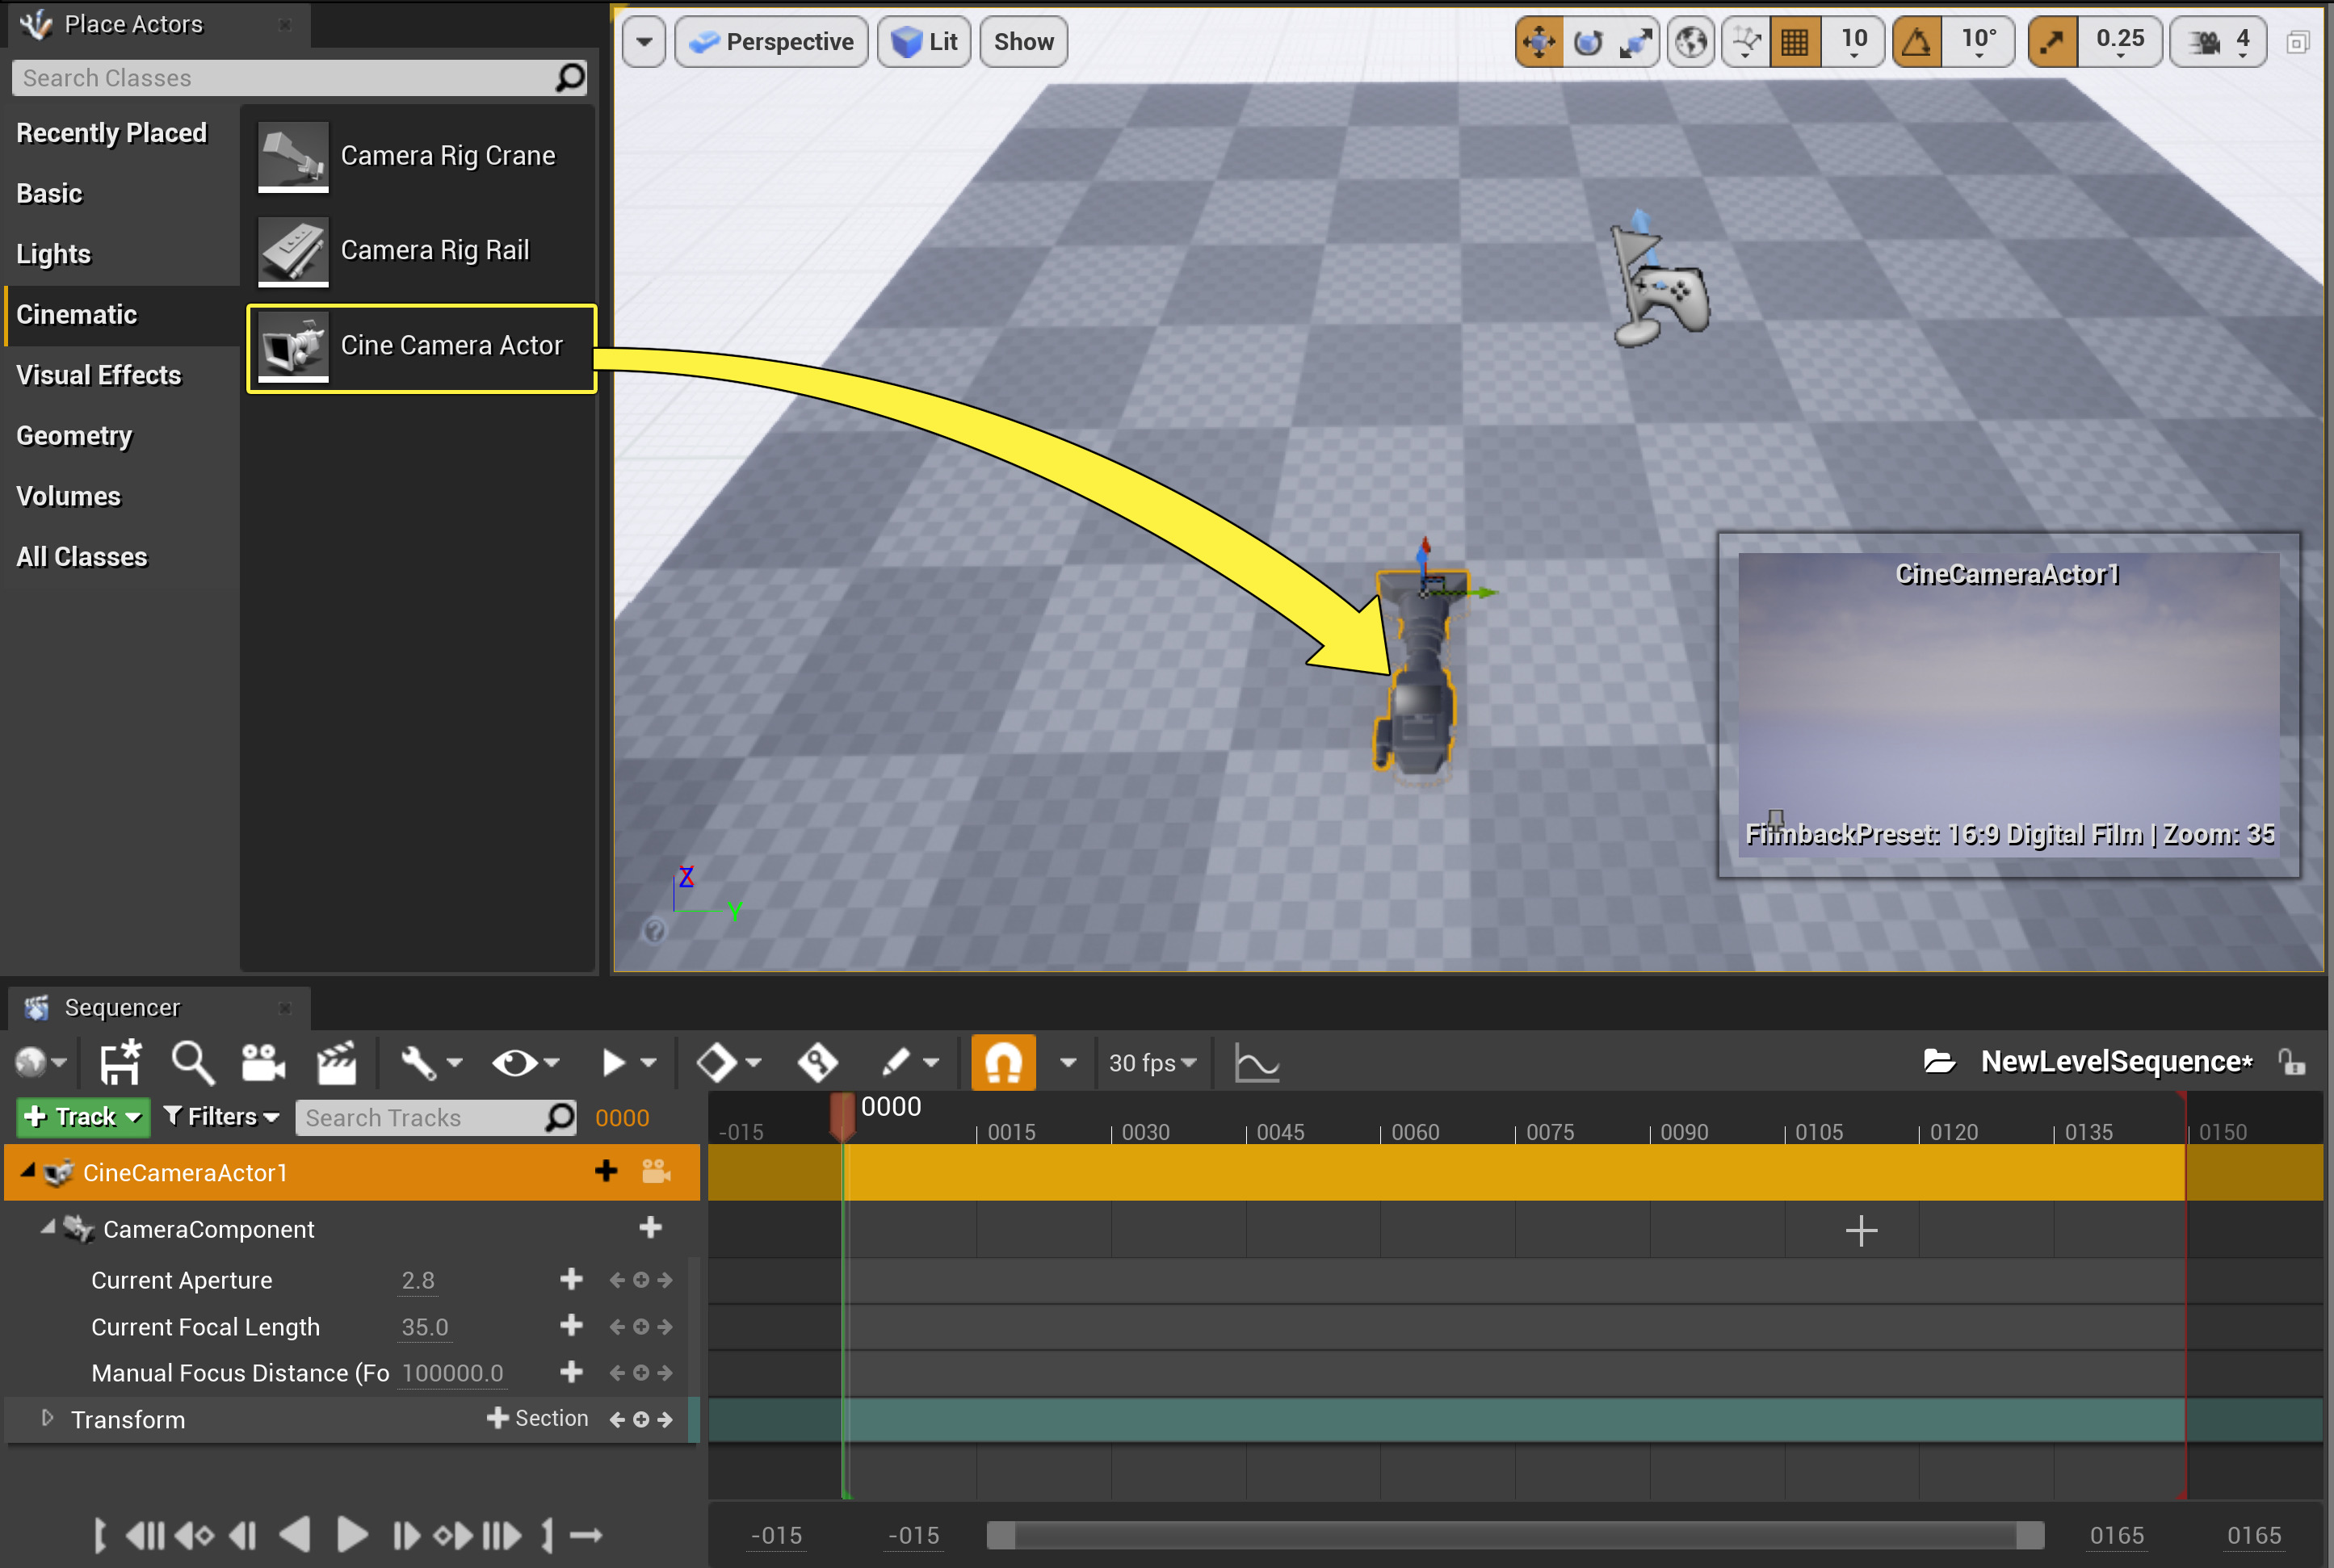
You can automatically add objects to Sequencer when dragging them into the viewport from the Place Actors panel or Content Browser provided you have a Level Sequence open.

|
Command |
Description |
|---|---|
|
Ctrl + Drag asset into viewport |
This will automatically add the object to Sequencer. |
|
Shift + Drag asset into viewport |
This will automatically add the object to Sequencer as a Spawnable . |
You can also drag assets directly into Sequencer which will add them as a Spawnable .
When dragging in the Camera Rig Crane or Camera Rig Rail assets from the Modes panel with either method above, a Cine Camera Actor will also automatically be created and attached before adding both to Sequencer. Additionally, a Camera Cuts track will also automatically be created in the open Level Sequence and the new Cine Camera Actor will also be assigned which can be a fast workflow for setting up a shot with the crane or rail.
Above we created a Level Sequence then Ctrl dragged in the Camera Rig Crane and Camera Rig Rail assets.
Quick Add Camera Option
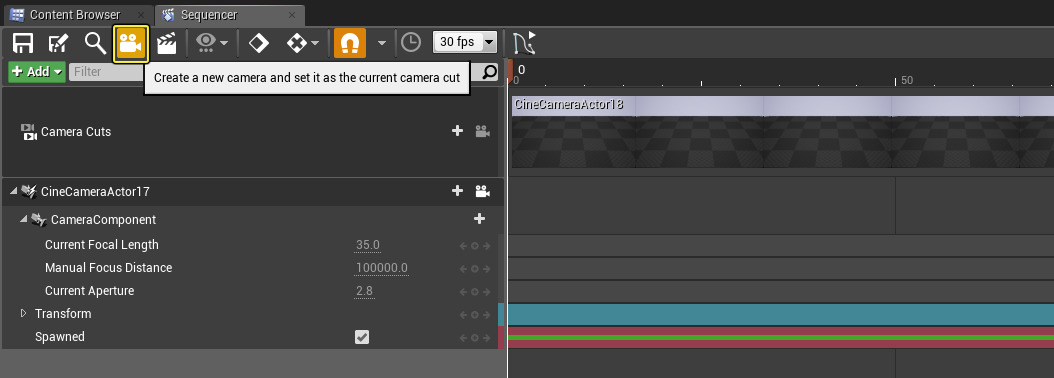
On the Sequencer toolbar you can click the camera icon to quickly add a Cine Camera Actor and Camera Cuts track to your sequence.

The viewport automatically enters Pilot mode allowing you to quickly frame up your shots with WASD navigation controls.
Misc Shortcuts
These shortcuts can be used to organize the layout of Sequencer or display settings.
Track Organization

|
Command |
Description |
|---|---|
|
Ctrl + O |
Toggle for expanding/collapsing selected tracks. |
|
Shift + O |
Toggle for expanding/collapsing selected tracks and its child tracks. |
Track Sorting
The Tracks inside the Tracks Window can be arranged and re-arranged by dragging-and-dropping them in the desired order.

Above, we drag our
Cameras
folder (which contains all the cameras in our Sequence) below the
Audio
track.
You can also perform a sort of all your tracks by type and then alphabetically from the
General Options
menu by selecting
Sort All Nodes.

Viewports

|
Command |
Description |
|---|---|
|
Shift + C |
Switch the active viewport to a Cinematic Viewport view mode. |
|
Shift + D |
Switch the active viewport to a Default Viewport view mode. |
|
Ctrl + Shift + T |
Toggles the display of the Toolbar in the active viewport. |
|
G |
Enters Game View (hides all editor icons from being displayed). |