Choose your operating system:
Windows
macOS
Linux
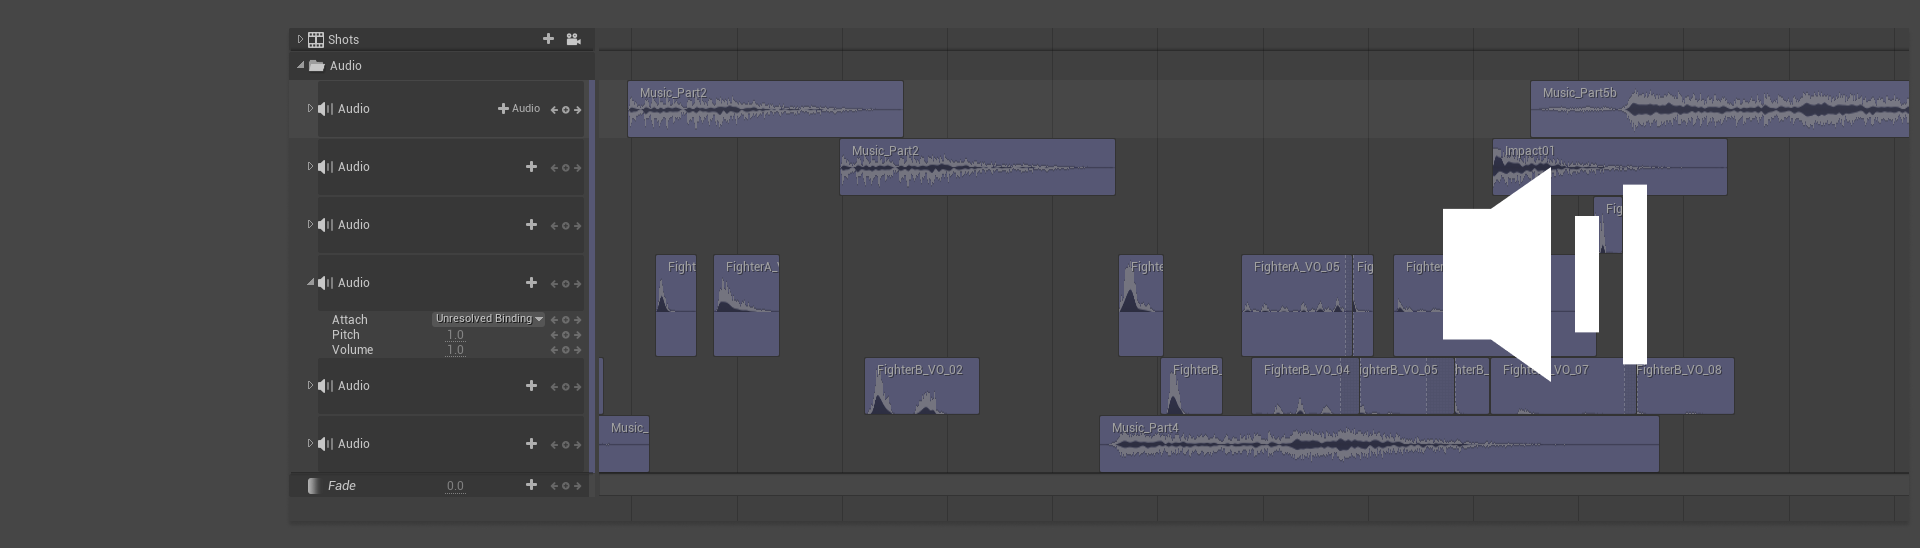
Sound Waves and Sound Cues can be played in Sequencer using the Audio Track . Similar to other film editing software, the audio track provides controls for adjusting the volume, pitch, and crossfading sounds together.
This guide provides an overview of the creation and usage of the audio track.
Prerequisites
-
You have a basic understanding of How to Import Audio Files or your project already contains audio files.
Creation
There are several ways to create an Audio Track and add a sound.
The first way is to click the Track (+) dropdown and select Audio Track . This will create the track in Sequencer.

Then you can add an audio section to the track by clicking the Audio (+) dropdown on the track and selecting a Sound Wave or Sound Cue asset. Doing this will create the audio section at the Playhead .

You can also drag Sound Waves and Sound Cues from the Content Browser into your sequence, which will automatically create the Audio Track and the sound.

You can continue to add as many sounds to the Audio Track as needed by either clicking the Audio (+) button or dragging sources from the Content Browser .

Although both Sound Waves and Sound Cues are playable in the Audio Track, Sound Cues are not fully supported at this time and their usage in Sequencer can lead to unintended results depending on the logic set up within the Sound Cue.
Usage
Similar to most Sections , Audio Sections can be trimmed, looped, and moved within the timeline region. You can also attach audio to Actors, skeletal meshes, and their bones, in order to create sound sources and spatial sounds.
Editing
Dragging the left and right edges of an audio section will trim the Start and End times. Dragging the end time past the duration of the clip will cause the sound to Loop for the trimmed duration.

For more information on all the editing techniques you can use on audio sections, please refer to the Section Interaction area of the Keyframing document.
Blending
Dragging the upper corner edges of an audio section will cause the volume to blend up and down for the duration of the blend.

Intersecting two or more sound sections will cause them to crossfade for the duration of the overlap.

For more information on all the blending techniques and properties you can use on audio sections, please refer to the Blending area of the Keyframing document.
Sound Attaching
Spatial audio can also be played from an Audio Track or section, allowing for sounds to have a 3D source and distance falloff. To do this, you must attach the Audio Track or section to an Actor, and then specify an Attenuation for it.
To attach an audio section to an Actor, expand the Audio Track and locate the Attach Track . Click the dropdown to select an Actor for this section to attach to. Only Actors that are currently referenced in Sequencer can be attached to this track.

If you are attaching to an Actor with a Skeletal Mesh Component , you can select that component after specifying the Actor and then select a bone for the sound to attach to instead.

The attach track can be keyframed as well, so you can change the audio source attachment at any point during playback. When you attach to multiple sources, selecting the Attach track will display a sound icon on all the attached sources. It will highlight in green when the current source is active.

You can also create an Audio Track under any Actor added to Sequencer by clicking the Actor's Track (+) dropdown and selecting an audio asset from the Audio menu. This automatically attaches the sound source to that Actor, but it does not allow the attachment to change to any other Actor, which is denoted by the lack of an Attach track.

Lastly, you will need to specify a Sound Attenuation which is an audio asset that specifies how sound behaves based on the listener's distance from the audio source.
If your Sound Wave already has a Sound Attenuation specified, then this step can be skipped.
Right-click the sound section and navigate to the Properties menu. Enable Override Attenuation and specify a Sound Attenuation asset in the Attenuation Settings property.

Now your sound should play as spatial audio in Sequencer with appropriate falloff denoted by the Sound Attenuation.
If you are unfamiliar with Sound Attenuation assets, the Subway Sequencer content sample contains a Sound Attenuation asset for you to reference and use. Additionally you can reference the Sound Attenuation page to learn more about it.
Track and Audio Properties
Once a sound asset is added to the Audio Track, it can be expanded to reveal the following keyframable tracks.

|
Name |
Description |
|---|---|
|
Attach |
Attaches this sound to an Actor in Sequencer for the purposes of spatial audio. |
|
Pitch |
Increases or decreases the pitch frequency of this sound. |
|
Volume |
Increases or decreases the overall volume of this sound. |
Right-clicking an audio section and navigating to the Properties menu will reveal the following properties.

|
Name |
Description |
|---|---|
|
Sound |
The Sound Wave or Sound Cue asset being used. |
|
Start Frame Offset |
The number of frames to offset the start time of this audio section by. This value provides a similar effect to Slip Editing , as it is used to adjust the playable region of a sound without affecting the duration. Holding the Shift key and dragging on the clip provides a shortcut to changing this property using your mouse. |
|
Looping |
Enables the audio section to loop or not. |
|
Suppress Subtitles |
Disables the display of subtitles if subtitles are being used on the Sound Wave asset. |
|
Override Attenuation |
Overrides the Sound Wave attenuation asset with the attenuation specified in Attenuation Settings . |
|
Attenuation Settings |
Specifies a Sound Attenuation asset to apply to this audio section. |