Choose your operating system:
Windows
macOS
Linux


The ability to reuse part of one Material Graph inside another Material Graph can greatly speed up both Material creation time and Material workflow. Unreal Engine 4 (UE4) offers users the ability to do this using what is known as a Material Function . In this How-to example, we will be re-creating the Fresnel style shading effect that you often see inside of Video Games using a Material Function. The Fresnel style effect is most commonly used for highlighting the edges of object to give them a fake rim light and also helps to make the object's silhouette better visible in the dark.
Do not forget to check out the Creating Material Functions document as it also contains a lot of valuable information about how to create and use Material Functions.
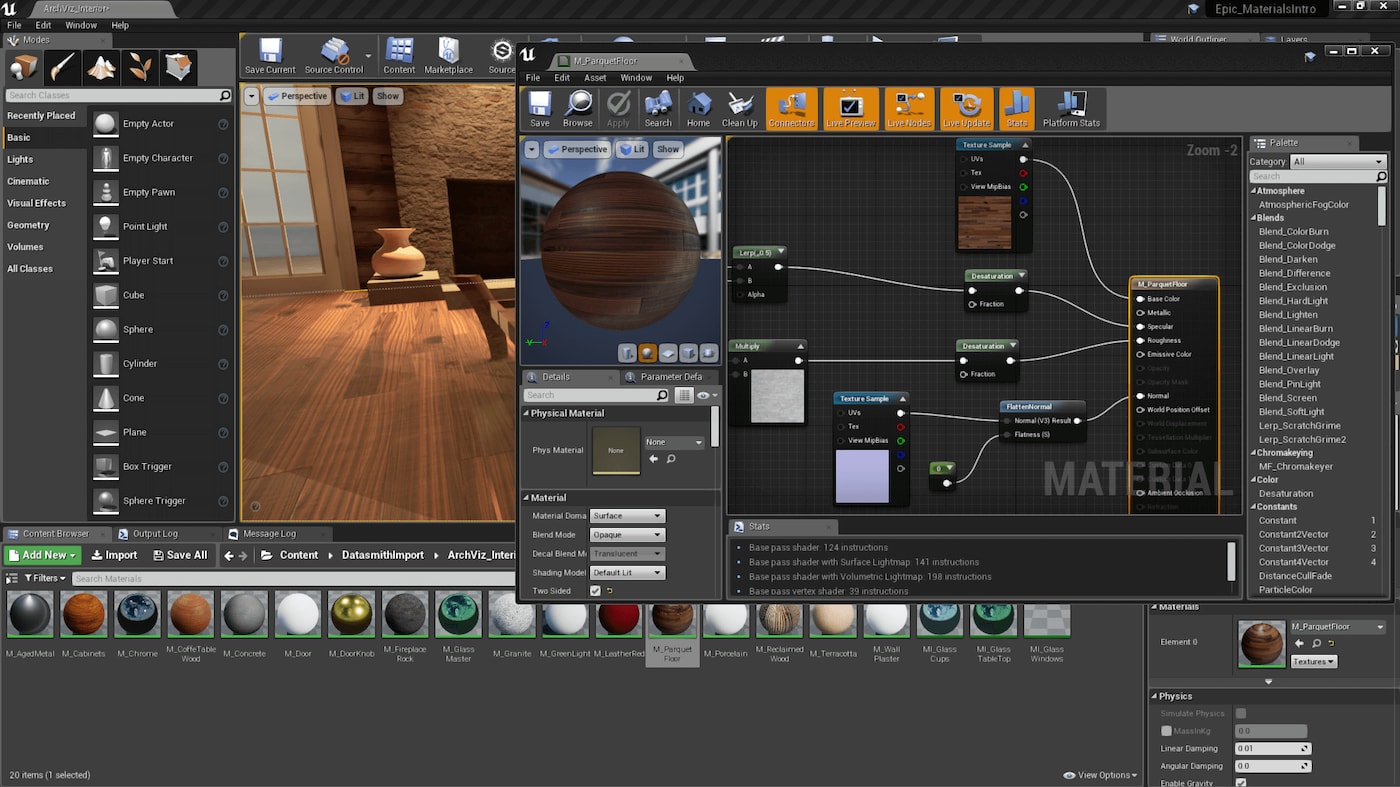
Material Functions
Material Functions are little snippets of Material graphs that can be saved in packages and reused across multiple Materials. Material Functions allow complex Material Graph networks to be saved out and quickly reused in other Materials, while also allowing more complex networks to be abstracted into single nodes, making material creation easier for artists.
Creating Material Functions
Creating Material Functions can be accomplished in the few following steps.
-
The first thing that we are going to need to do is to create a Material Function. This can be done within the Content Browser by Right-Clicking and choosing New > Materials & Textures > Material Function .
-
Once the Material Function has been created it needs to be named. Your name should be as descriptive as possible so that when someone goes to look at your Material Function they can easily understand what it does. For this example, we are going to call our node Custom_Fresnel. You can re-name your Material Function by selecting it in the Content Browser , pressing F2 on the keyboard, and then typing in the name that you want.
Building the Material Function
-
Now that the Material Function has been created and re-named, let us open it up by using your Left Mouse Button to Double-Click on it in the Content Browser . When you do this, you should have something that looks like the following.
![Material_Function_Editor.png]()
The Material Function editor works in a very similar manner to how the Material Editor works, the two biggest differences between being what the Details panel does and how the Final Material node works. You can read more about how the Material Function editor works but checking out the Material Functions Overview
-
Now with the Material Function Editor open, let us begin to create our Fresnel effect. Since the Fresnel Effect works based on glancing angles, we are going to need to compare the current surface angle with our camera angle and then use that to determine our Fresnel Value . To do this inside of our shader, we use the Dot Product node to compare our current camera angle with the angle of the surface currently being viewed. To perform this type of calculation with Material nodes, we are going to need to make use of the following nodes.
-
Transform Node x 1
-
Dot Product Node x 1
You can add the above nodes to the Material Function graph a number of ways, but the easiest is to search for each node in the Palette menu and then select the node with the Left Mouse Button and Drag it into the Material Graph. When completed, you should have something that looks like this:
![Material_Function_Needed_Nodes.png]()
The Fresnel Effect is the term used to describe how the light you see reflects at different intensities based off of the angle you are viewing it from. For example, if you are standing over a pool looking straight down at the pool, you will not see a lot of reflections in the water. As you start to move your head so that the water in the pool becomes more and more parallel to your eye level, you will begin to notice more and more reflections in the water and this is the type of behavior that we are trying to re-create in our shader, the ability to add or remove visual information based on viewing angle.
-
With the nodes placed down, it is now time to set them up and wire them together. First, set the Blue Channel of the Constant 3 Vector to 1.0 as this will represent the Z value in our Fresnel term. Then take the output of the Constant 3 Vector node and wire that into the Input of the Vector Transform node. Also make sure that the Transform Node is setup so that we are transforming from Tangent Space into World Space. Then take the output of the Vector Transform node and wire that into the A input of the Dot Product node. Once that has been completed, take the output of the Camera Vector node and wire that into the B input of the Dot Product node. When completed, you should have something that looks like this.
![Material_Function_Nodes_Setup.png]()
-
The next thing that we want to do is add a Clamp Node to clamp our results to the 0 to 1 range to make sure that we do not get any errors that might cause rendering artifacts. You can find the Clamp node by searching for it in the Palette menu and the Drag it into the Material Graph. When completed, you should have something that looks like this.
![Material_Function_Adding_Clamp_Node.png]()
-
After the Clamp node, we need to add a One-Minus node to invert our effect so that only the edges are effected. You can find the One-Minus node by searching for OneMinus in the Palette . When completed, you should have something that looks like the following.
![Material_Function_Adding_OneMinus.png]()
-
Next, we need to add two Function Input nodes. Function Input nodes are how we supply our Material Function with values or textures when placed inside of another Material. To add a Function Input to our material search for Function Input in the Palette and then drag it into the Material Graph. Once you have one placed, you can duplicate it by first selecting the node and then pressing Ctrl+W on the keyboard. When completed, you should have something that looks like this.
![Material_Function_Adding_Input_Nodes.png]()
When deleting Function Input nodes, you will get the following error. This error is warning you that if you delete this, then all other uses of this Material Function will have this input erased. This means that you could end up effecting lots and lots of other materials if this Material Function is used a lot in your project because a missing input could cause your Material to no longer compile correctly and then not work during game play.
![Material_Function_Delete_Function.png]()
-
Now we need to setup the two Function Input nodes that were created so that this Material Function can be used in Materials. If you select one of the Function Input nodes and then look at the Details panel, you will notice that there are quite a few options to fill in. For this example, we will only be filling in Input Name , Description , Input Type , and Preview Value . When completed, your Function Input nodes should look like the following.
-
Exponent Input
![Material_Function_Input_Node_Exp.png]()
-
Intensity Input
![Material_Function_Input_Node_Pow.png]()
For more information about what each option of the Function node does, check out the Function Input node documentation .
-
-
With the Function Input nodes now setup, we now need to add a Power Node to the Material Graph. We are using a Power Node so that we can either increase or decrease the falloff of our Fresnel effect. This will help to push the Fresnel effect either closer or further from the edges of the mesh that it is on. To add a Power Node search for it in the Palette and then Drag and Drop it into the Material Graph. When completed, you should have something that looks like this.
![Material_Function_Adding_Power.png]()
-
Next, we are going to add a Multiply Node so that we can control the intensity of the Fresnel effect. To add a Multiply Node search for it in the Palette and then Drag and Drop it into the Material Graph. When completed, you should have something that looks like this.
![Material_Function_Adding_Multiply.png]()
-
Now with all the nodes we need added to the Material Graph, it is now time to wire everything together. First, we need to wire the output of the OneMinus node to the Base input of the Power node. Then we need to connect our first Function Input node, Fresnel Exponent, into the Exp input of the Power node. Once that has been completed, we need to then connect the output of the Power node to the A input of the Multiply node and then connect our second Function Input, Fresnel Intensity, into the B input of the Multiply node. Finally we need to take the output of the Multiply node and connect that to the input of the Output Result node.
-
Once the Material nodes have all been connected, we need to compile the Material Function by pressing the Apply button on the main tool bar. If the Material Function compiled correctly, the Apply button will be grayed out. When completed, you should have something that looks like the following image.
![Material_Function_Completed_Material.png]()


Using Material Functions
-
With our Material Function finished, close the Material Function Editor and create a new Material in the Content Browser . To create a new Material, Right-Click in the Content Browser and then select Material from Basic Assets List and name your newly created Material, Fresnel_Material .
-
With the Fresnel_Material created, open it up by Double Clicking on it with the Left Mouse Button in the Content Browser . With the Material open, let us first add our newly created Material Function by dragging it from the Content Browser into our material.
-
For this example, we are going to add the following nodes to our Material so that we have a bit better looking preview. Remember to find the nodes listed below search for the nodes' name in the Palette menu and then Drag and Drop the node from the Palette menu right into the Material Graph. When completed, you should have something that looks like this.
![Material_Function_Adding_Nodes.png]()
-
Now that all the nodes have been added, it is now time to connect to the proper inputs and outputs. First, connect the Constant 3 Vector to the Base Color input on the Main Shader node. Then, connect one of the Constant One to the Metallic input on the Main Shader node. Then connect another of the Constant One to the Roughness input on the Main Shader node. Finally we are going to want to connect the final two Constant One nodes to the Fresnel Intensity and the Fresnel Exponent and then connect the output of the Custom_Fresnel node to the Emissive Color input on the Main Shader node. When completed, you should have something that looks like this.
-
With the nodes now connected to the Main Material input, it is time to start adding values to the nodes. Fill each of the corresponding nodes in with the following values and when completed, make sure to Compile your material . When completed, you should have something that looks like this.
-
Base Color: R:1.0 G:0 B:0
-
Metallic: 1.0
-
Roughness: 0.5
-
Fresnel Intensity: 1.0
-
Fresnel Exponent: 5.0
![Material_Function_Complted_Material.png]()
-
-
Now the Material is ready to be compiled and used in your level. Here is an example of what it looks like applied with some random mesh in the default level.
![Material_Function_Final_Results.png]()


Conclusion
Material Functions are a very powerful tool that can really help to speed up and unify Material creation and iteration. However like with every powerful tool, care must be taken to make sure that this power is kept in check. Keep in mind that any changes made to any existing Material Functions that are currently being used in Materials could break the Materials they are used in if the Material Function has errors or some functionality was removed while being edited.