Choose your operating system:
Windows
macOS
Linux


Unreal Engine 4 (UE4) now offers a specific shading method for rendering realistic skin or wax surfaces, which is called Subsurface Profile shading.
The Subsurface Profile shading method is similar to the Subsurface method, but with a fundamental difference in how it renders: Subsurface Profile is based in screen space . This is because screen space rendering is a more effective to display the subtle subsurface effects seen in human skin, where backscattering is a secondary effect only seen in few cases, such as ears. In the following document will cover what Subsurface Profiles are and how you can use them in your work.
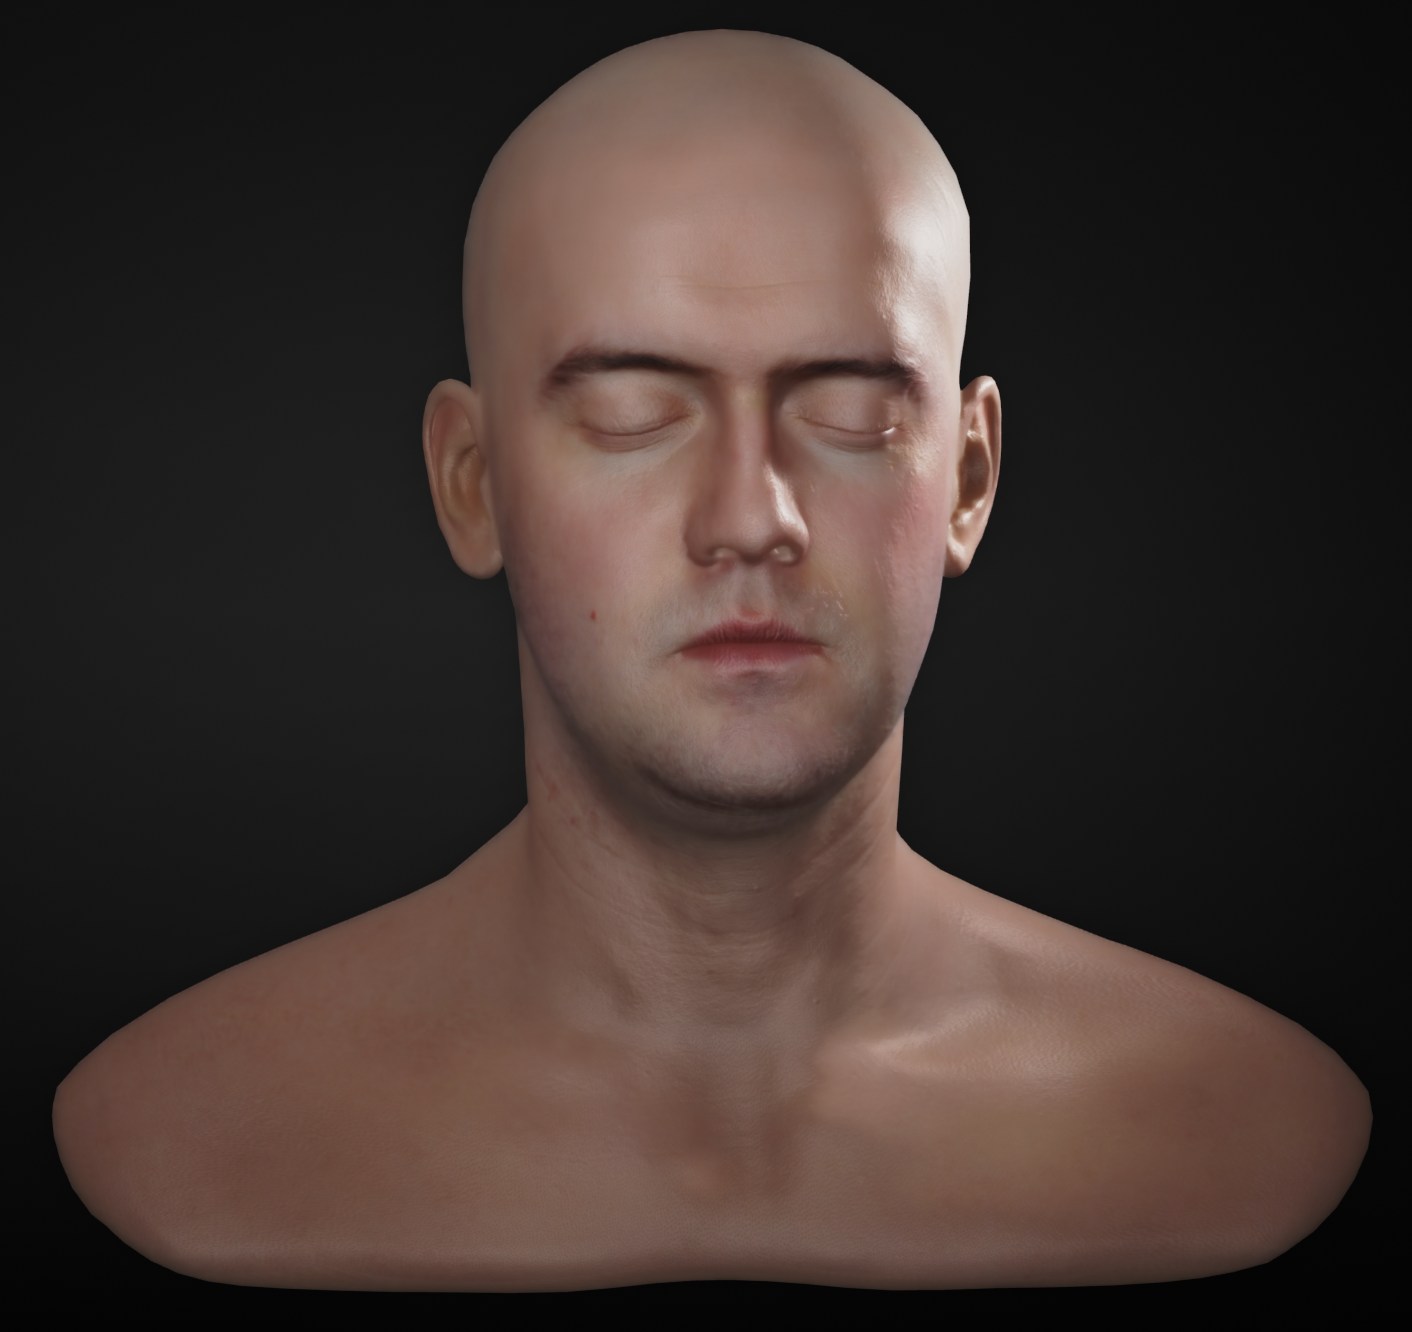
Special thanks to Lee Perry-Smith and his company Infinite Realities for their assistance with this documentation, also for providing the 3D scanned head model.
What is a Subsurface Profile
The Subsurface Scattering Profile data is an asset that can be created, shared, and saved in the Content Browser . The data is intended to be authored by artists and controls the distance the light in the Subsurface should scatter, the color of the Subsurface, and the falloff color of the light once it has exited the object. This data can then be applied to a Subsurface Material. Subsurface Profile data can also be tweaked interactively, meaning that you do not need to re-compile the material to see the results of edits.
Enabling, Creating, and Using a Subsurface Profile
There are many different ways of using Sub Surface profiles in UE4. In the following section, we will take a look at each of these ways.
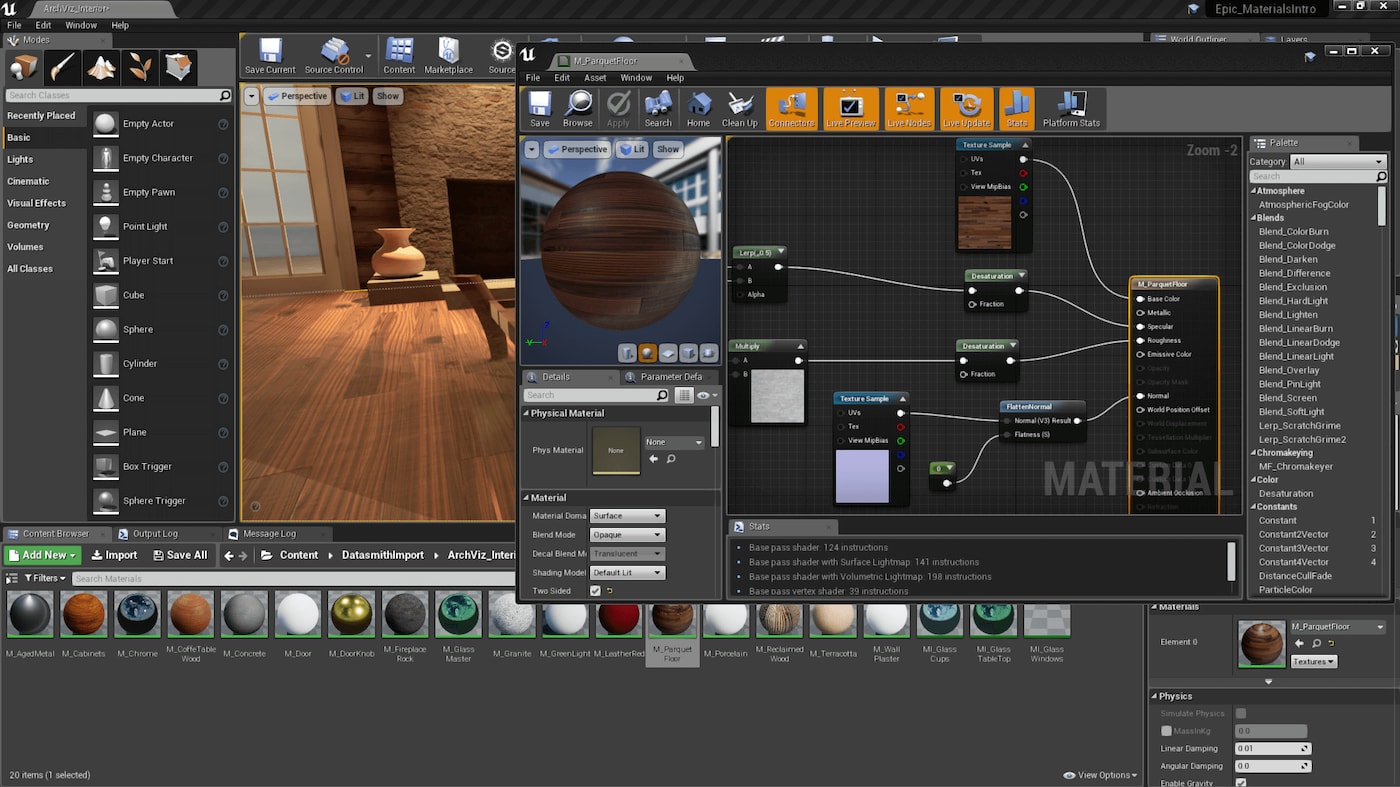
Creating A Subsurface Profile
To create a Subsurface Profile, first Right-click inside of the
Content Browser
. Then select the
Materials & Textures
option and then select the
Subsurface Profile
option.

You can edit Subsurface Profiles by Double-clicking on them with the Left Mouse Button in the Content Browser to open it up. Once open, you can adjust the individual properties of the Subsurface Scattering Profile by either inputting a number using the keyboard or by using the Left Mouse Button to Click on the color bar to expose the color picker.
Enabling Subsurface Profile
To use a Subsurface Profile in a Material, you must first enable it by setting the Materials Shading Model to Subsurface Profile in the Details panel of the Material. Once enabled, you can override the default Subsurface Profile that is used by inputting a new one into the Subsurface Profile input.
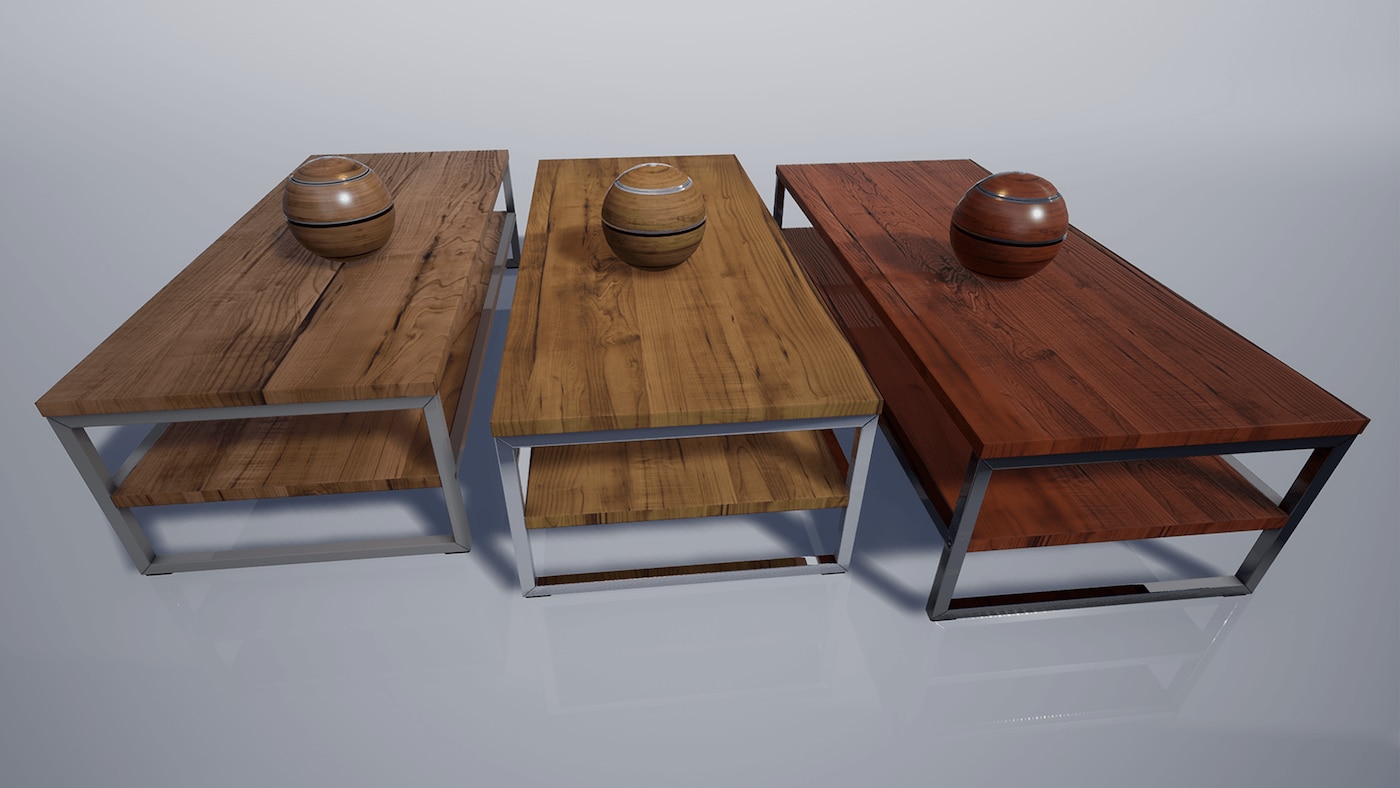
The default settings for the Subsurface Profile are close to the Caucasian skin type. Please note that this is just one component to getting a realistic looking skin. Always make sure the base color of your texture fits your Subsurface scattering profile.

The Subsurface Profile can also be overridden in a Material Instance. To do this go the Details pannel of the Material Instance and enable the Override Subsurface Profile . Once enabled, supply the Subsurface profile you want to use in the Subsurface Profile input.

Remember that the whole computation is energy-conserving, so it is not possible to create additional light through scattering.
Burley SubSurface Profile
Burley subsurface scattering uses a screen space model using the Burley algorithm. It is more physically accurate and aims to improve the quality of skin shading while simplifying setup using physically based material properties. It targets high-end skin rendering at much higher quality than the traditionall separable SSS algorithm, which has a cleaner, more accurate fall off.

To use this subsurface scattering model, place a check next to Enable Burley in the SubSurface Profile Asset.
This method requires Temporal Anti-Aliasing to display properly.
Material Input Channels
The Screen Space Subsurface shading profile does not differ much from the Lit shading mode, with the main difference being that the Metallic input has been repurposed and is not available to be used.
Base Color Input: The Base Color input is used as usual for Diffuse lighting. There is no extra Subsurface Scattering color as the Screen Space Subsurface Scatter is not supposed to change color or brightness, it is just redistributing the lighting to nearby pixels. So, if a material should scatter in a specific color, it needs to be expressed as part of the Base Color. The Base Color should be the final color as if the material is viewed from a large distance where the scattering cannot be distinguished from diffuse lighting.
Human skin is a thin layer that blocks a certain amount and color of light, and it covers vibrant, red-colored flesh below its surface. The visible scatter distance for light-colored human skin is about 1.2 CM.
Metallic Input: The Metallic input channel is not available when using a Subsurface Profile because the GBuffer space for the Metallic input has been repurposed to accommodate the Subsurface Profile data.
Opacity Input: The Opacity input channel is used to mask the Subsurface scattering contribution. It works by using a value in the 0 to 1 range to allow for smooth transitions between different areas of Subsurface scattering intensity, where 0 is no scattering, and 1 is full scattering.
To better control where the Subsurface scattering is stronger or weaker, it is best to use a mask texture.
Areas in the mask Texture that have values closer to 1, or white, will have the strongest Subsurface scattering effect while areas that are closer to 0, or black, will have less of an effect.
Adjusting the Subsurface Color will help to compensate if areas get too dark. Remember that using brighter colors results in more Subsurface scattering.
Here you can see how the mask can be used to render two surface types with one material. Note that the transition is soft and not limited to triangle borders.
Click for full image.
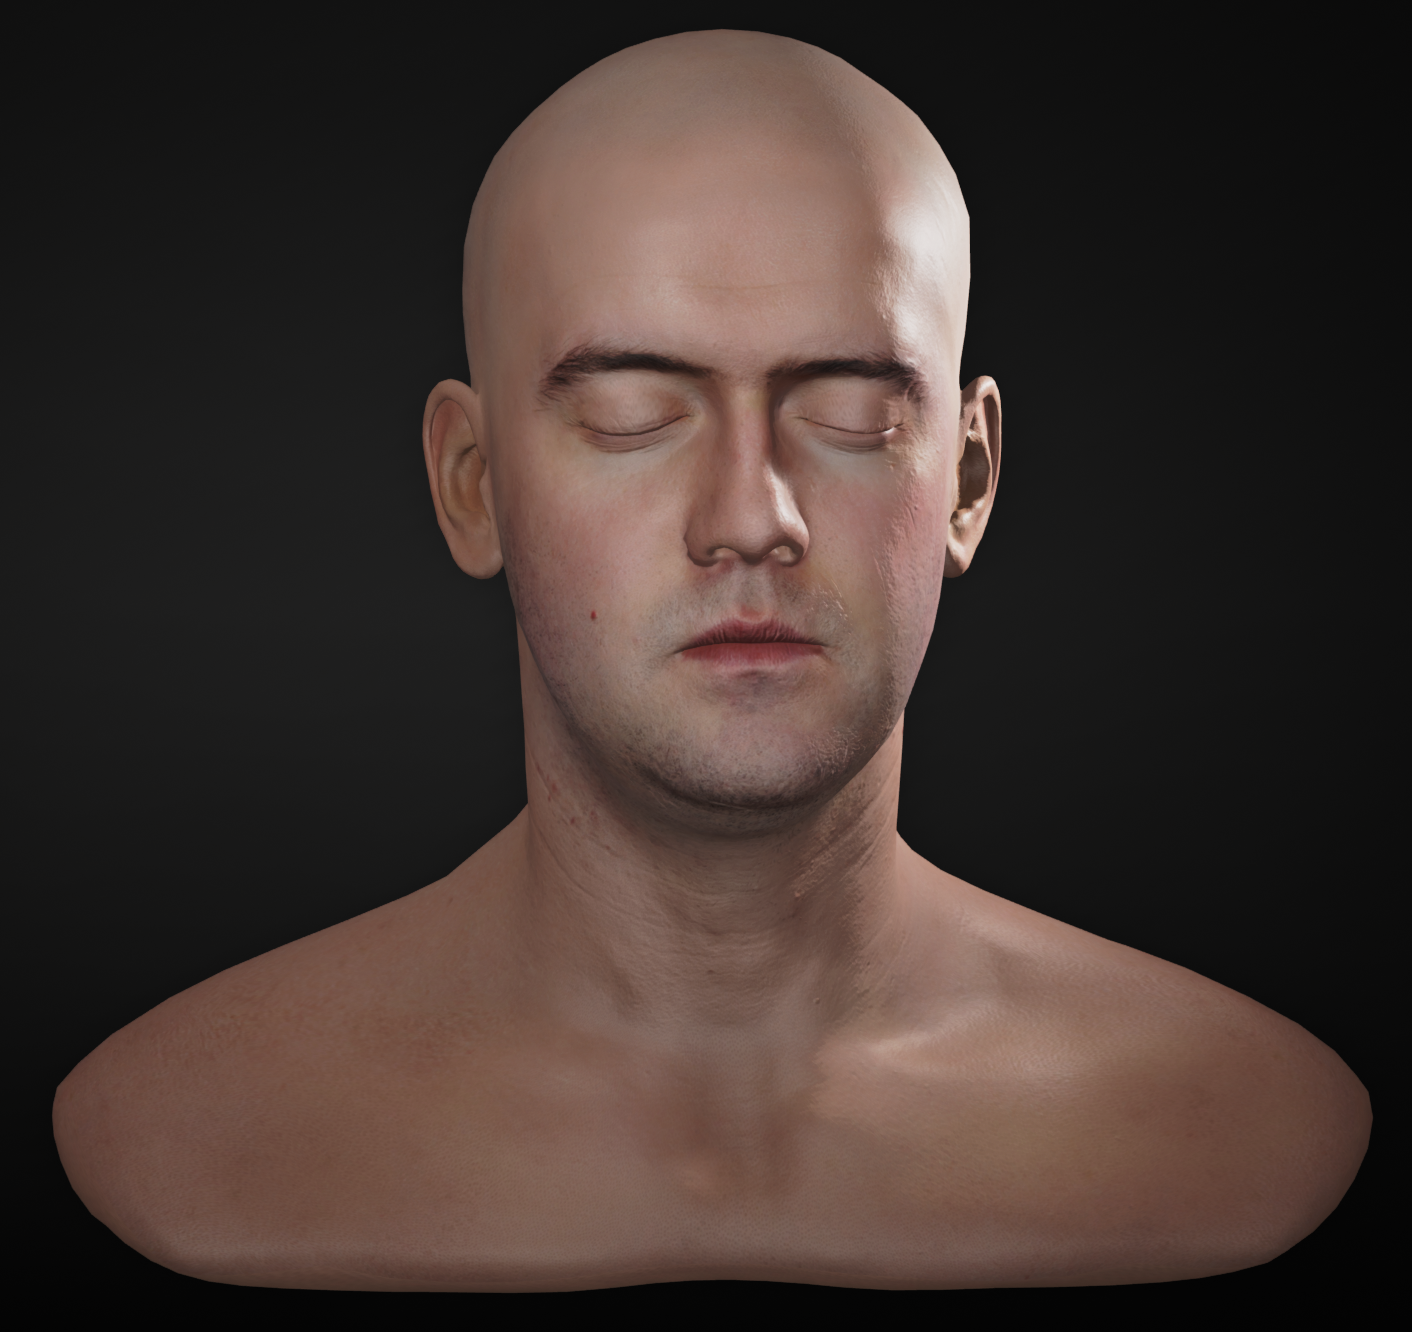
Full-Resolution Skin Shading
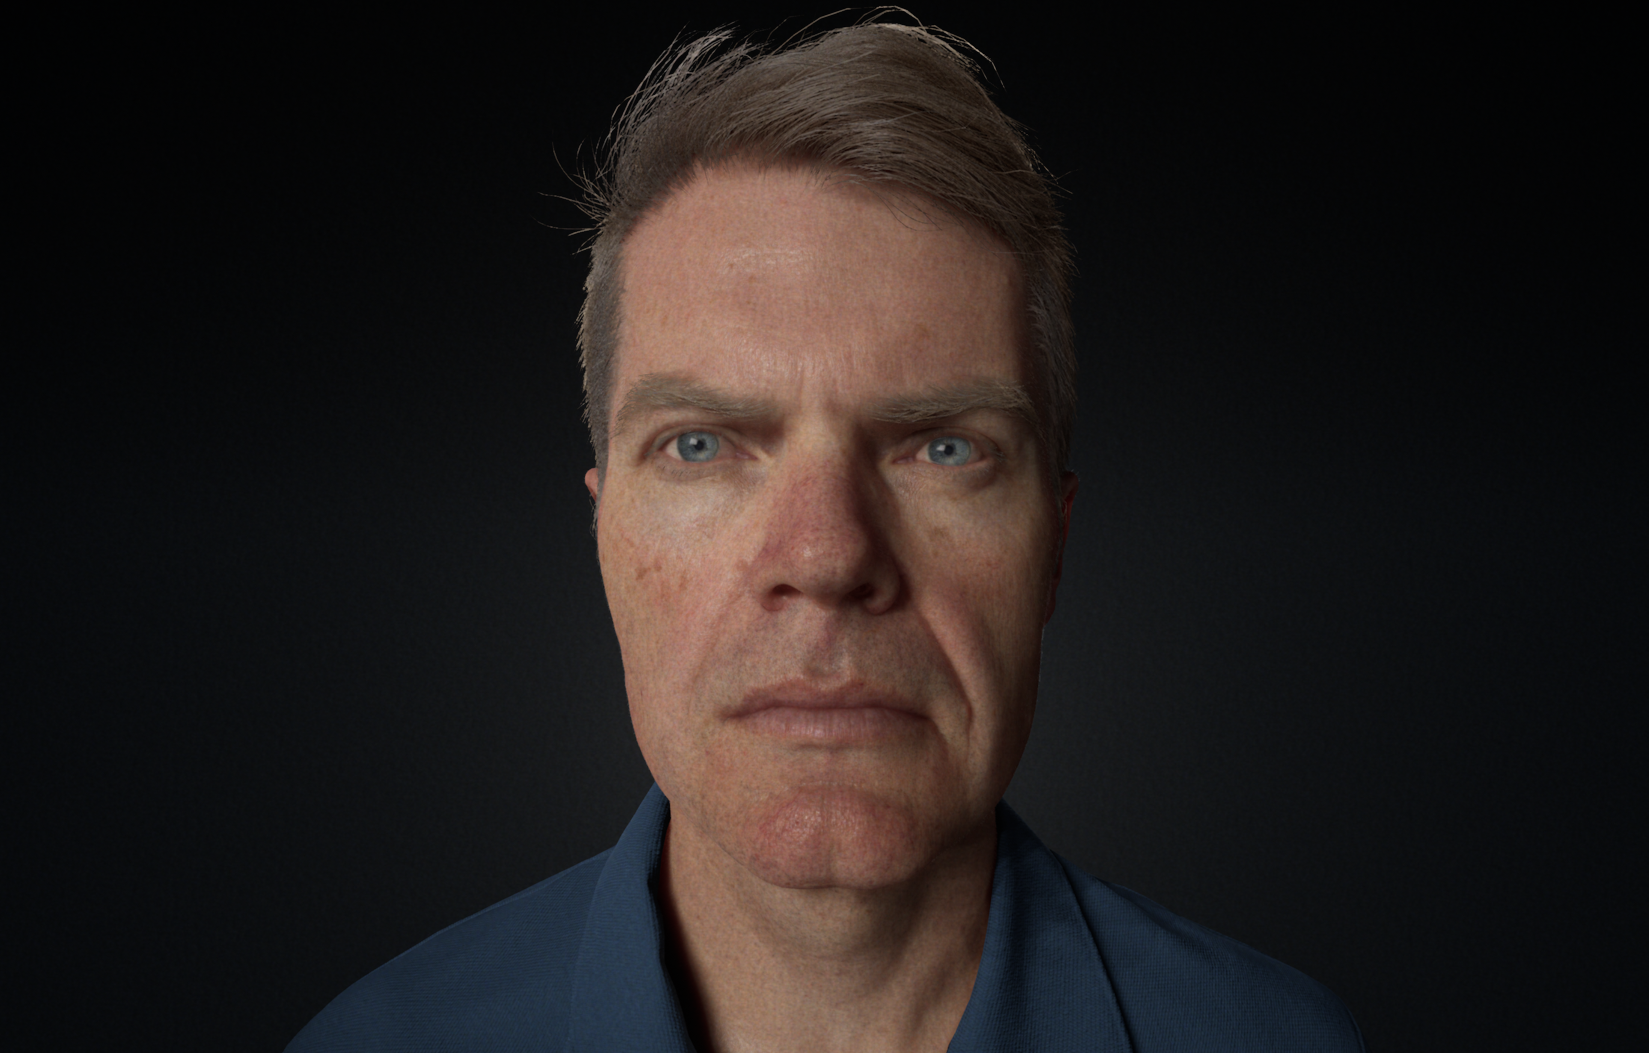
UE4 supports full-resolution skin shading for the Subsurface Profile shading model. This provides high-fidelity lighting for surface details, such as pores and wrinkles.


Previously, lighting on the skin was represented using a checkerboard pattern, where half the pixels used only Diffuse lighting and the other half used Specular lighting. The lighting was recombined during a final Subsurface profile fullscreen pass. That approach gave good results for Subsurface lighting (which is low-frequency by nature), but it could result in lower-fidelity lighting for surface details. With the new approach, every pixel contains Diffuse and Specular lighting information, packed into an RGBA encoding. This allows us to reconstruct full-resolution lighting during the final Subsurface profile fullscreen pass, giving better results for surface details and more stable behavior with Temporal Antialiasing.
Compatibility
Full-resolution skin shading requires at least a 64-bit scene color format with a full alpha channel. The default FloatRGBA Scene Color format works fine, but 32-bit representations such as FloatRGB are not supported. If the scene color format is not compatible with full resolution skin, we fall back to checkerboard-based lighting.
This behavior can be overridden using the r.SSS.Checkerboard console variable. The possible values for this are:
|
Property Name |
Value |
Description |
|---|---|---|
|
r.SSS.Checkerboard |
0 |
Checkerboard disabled |
|
r.SSS.Checkerboard |
1 |
Checkerboard enabled (old behavior) |
|
r.SSS.Checkerboard |
2 |
Automatic (default) - Full resolution lighting will be used if the scene color pixel format supports it. |
Limitations
It�s worth noting that the full-resolution skin shading is an approximation. It works well in the vast majority of cases, but certain material features can be problematic due to the encoding method. In particular:
-
Metallic Materials
-
Emissive Materials
These features will work, but you may notice differences in output compared to checkerboard due to the packed RGBA diffuse/specular encoding. It is possible to work around some issues when authoring materials by setting the Opacity to 0 in areas where skin shading is not desirable. Pixels with an Opacity of zero are treated as default lit for shading.
Masking non-opaque pixels in this way is also worthwhile for performance reasons since these pixels are bypassed by the Subsurface Postprocess.
Performance Considerations
If your title has a 64-bit scene color format, full-resolution Subsurface lighting will typically be faster than checkerboard due to the reduced number of Texture fetches. However, if your title has a 32-bit scene color, the performance gain from the reduced Texture bandwidth will likely outweigh the benefits (although this is hardware dependent).
Technical Details
Currently, e Subsurface scattering profile shading model does not differ much from Lit (Lambert diffuse, GGX for specular, no Metallic). Most of the effect happens in a post process after all lighting has been computed.
The Subsurface scattering profile is based on work from Jorge Jimenez . Make sure to check out his web page for useful tips on how to make your 3D images look more realistic.
We separate the non-specular (non-view dependent) lighting contributions to support a specular on top of Subsurface Material and down sample for better performance. Similar to a Gaussian blur, we filter the image with a two-pass (assuming a separable kernel) post process. The filter kernel depends on the Subsurface scattering profile which is stored in the GBuffer (Max 255 active profiles per scene). The kernel has colored weights and specific sample positions which can be scaled in the profile (defined in units/cm). In the final step, we recombine the scattered light contribution with the full resolution image. To separate the view-dependent and non-view-dependent lighting, we store a weighting value in the scene color alpha channel. This approximation requires a 64-bit render target (see r.SceneColorFormat), and this approximation works for most cases.
It successfully takes out the specular, but you get a more desaturated on view dependent color for those specular pixels. This can be improved by using two 32-bit render targets for all lighting passes. That has the same memory bandwidth, but on some hardware, this might be slower. This might be something we want to change (added code complexity).
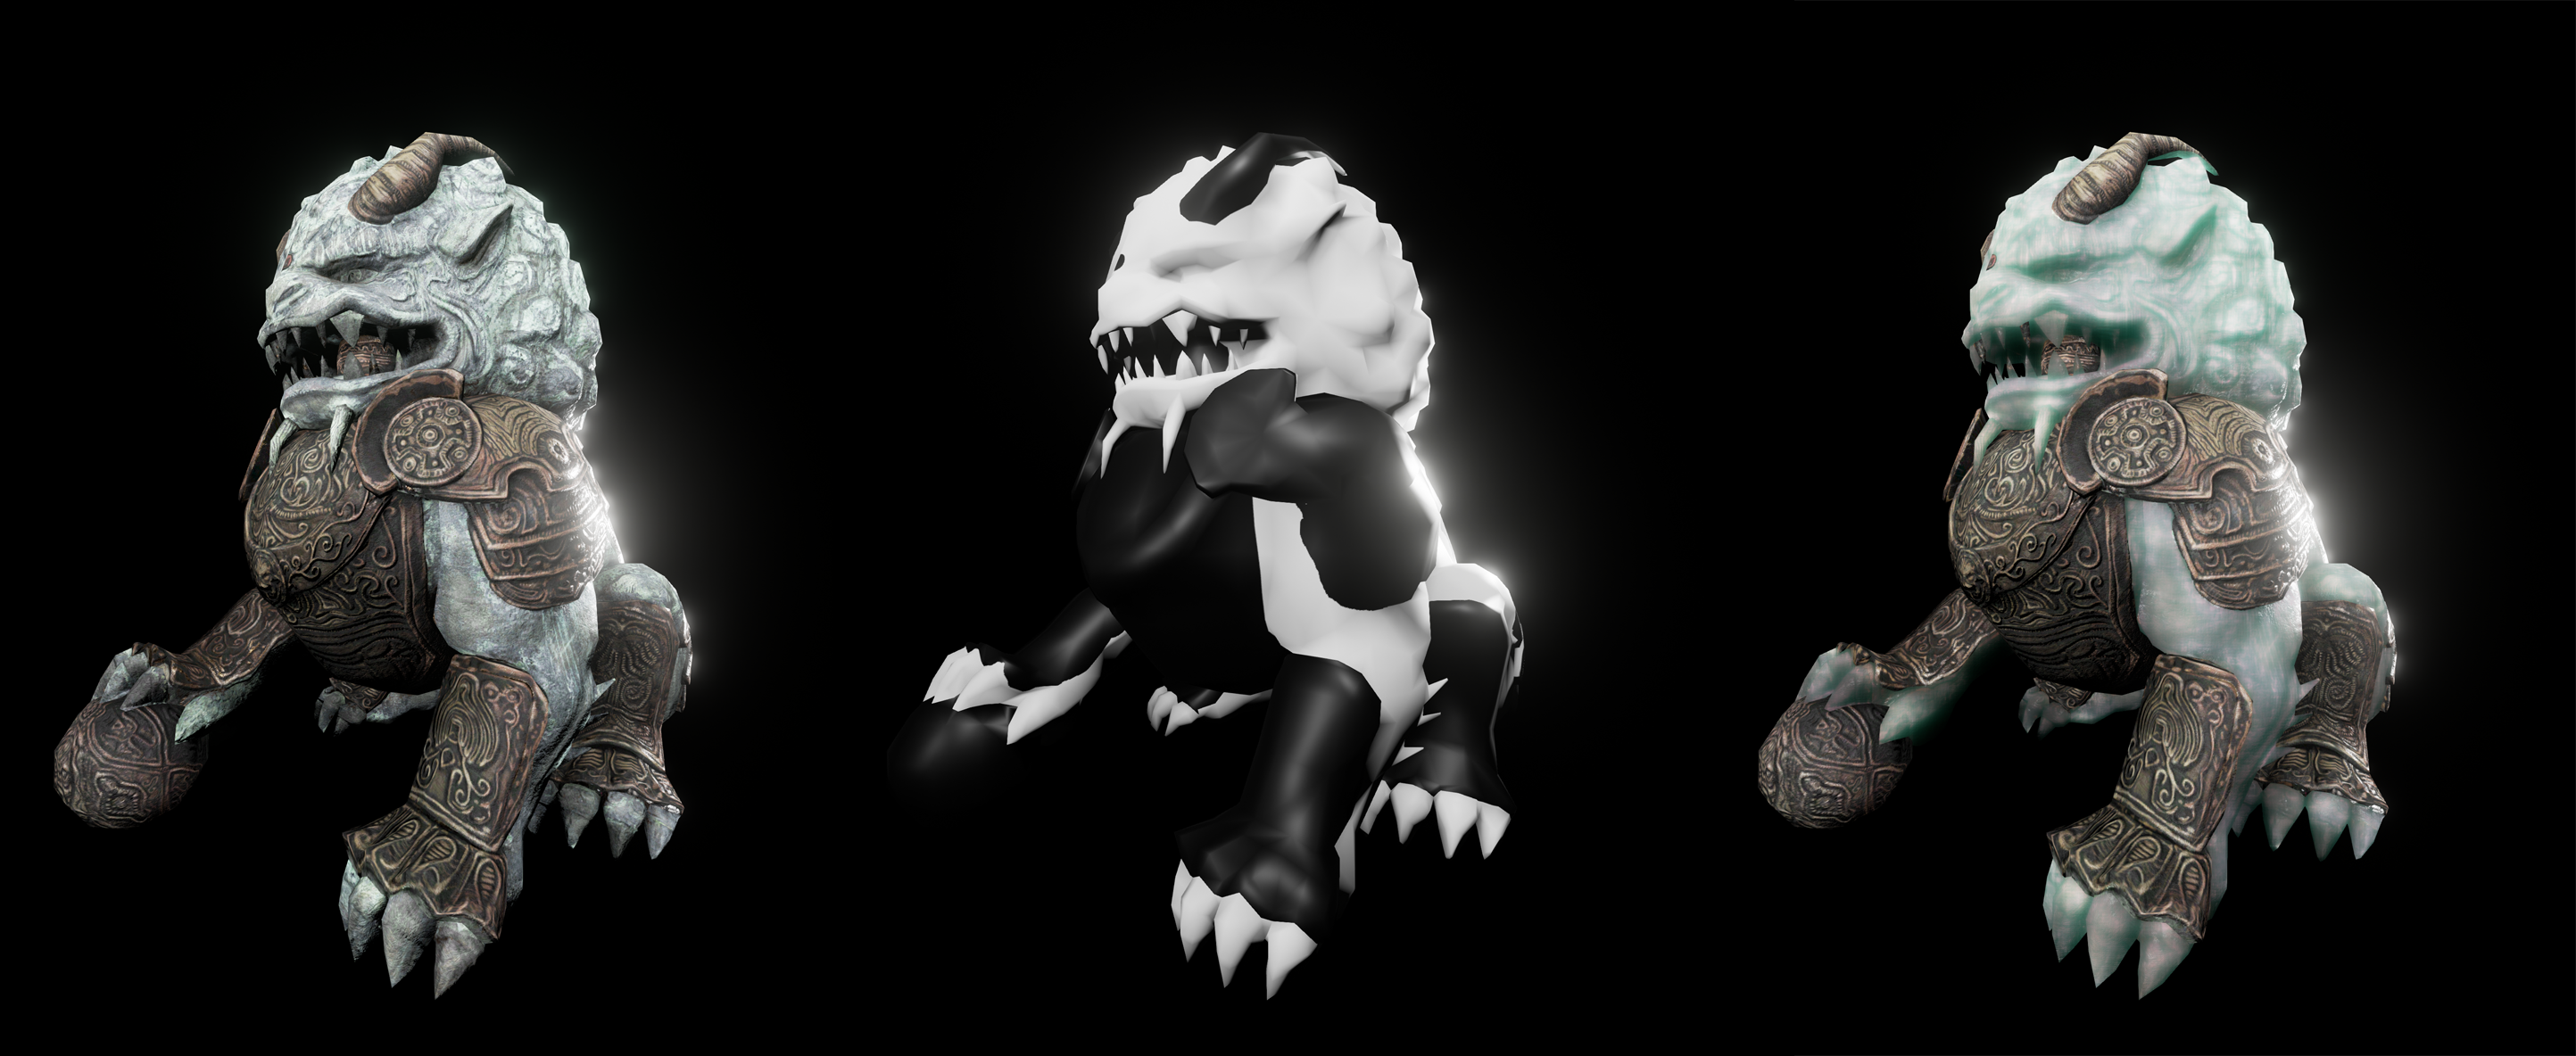
Here we have an example where the Specular was removed before the blurring was applied. Notice how the Specular reflection is crisp and smooth in the end image (image on the far right). This is the effect we wanted to achieve.

Click for full image.
Here we have an example where the Specular was not removed before the blurring was applied. Notice how the Specular reflection is dull and looks a bit stretched in the end image (image on the far right). This is not the correct way to render this effect.

Click for full image.
Scalability and Console Commands
There are some scaling and performance console commands that you can use to help you get a good trade off between high quality visuals and better performance.
r.SSS.Scale : Can be used to scale the effect for quick experiments. Setting this to 0 will disable the effect. Setting numbers higher than 0 will increase the effect that can be seen in the image sequence below.
Dragging the slider will show what happens when r.SSS.Scale is set from 0 to a value of 10.


r.SSS.SampleSet : Sets the number of samples used. Decreasing this will cause the effect to run faster. However, this will mean that the effect will have a lower quality, and rendering artifacts could show up.


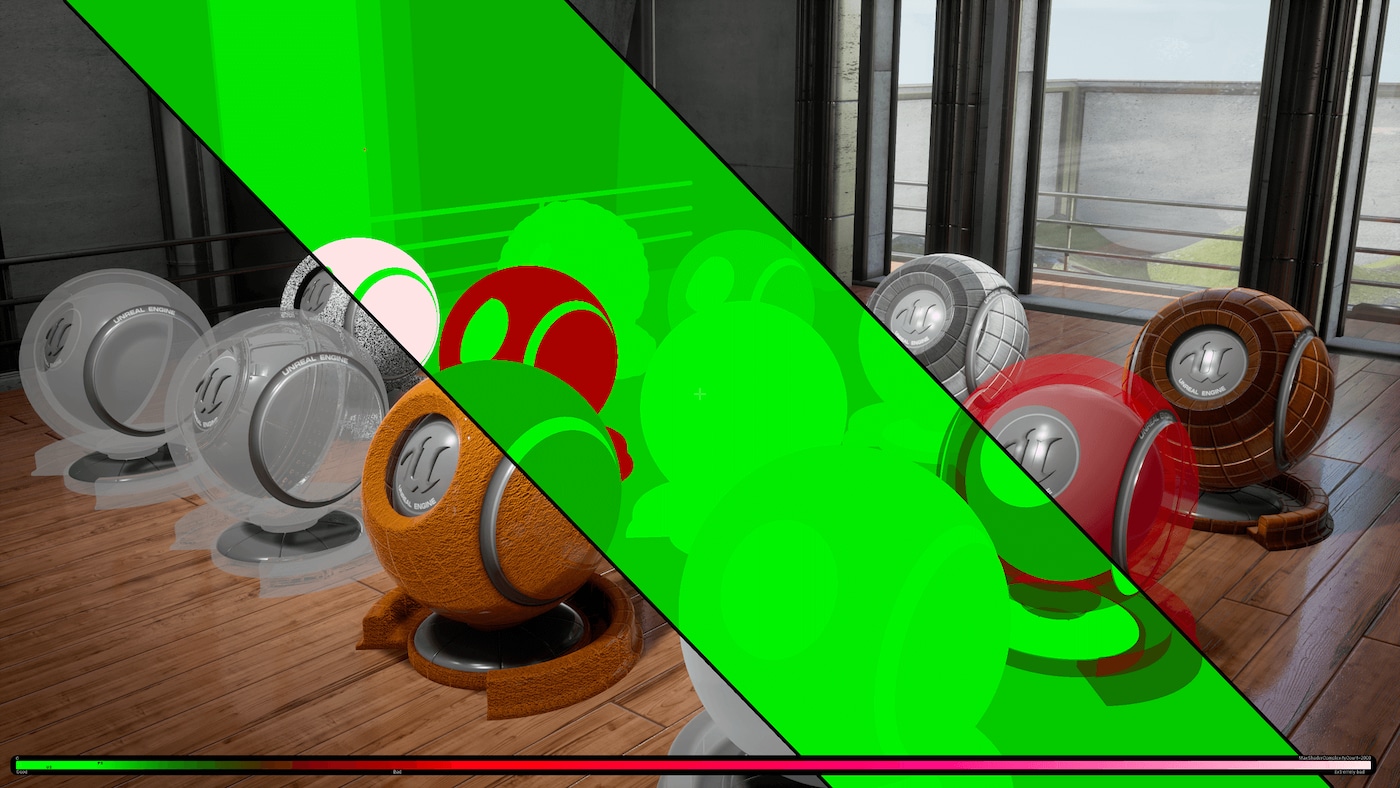
The following image shows a bit more of the internals of the system. This view can be enabled using ShowFlag.VisualizeSSS 1 .
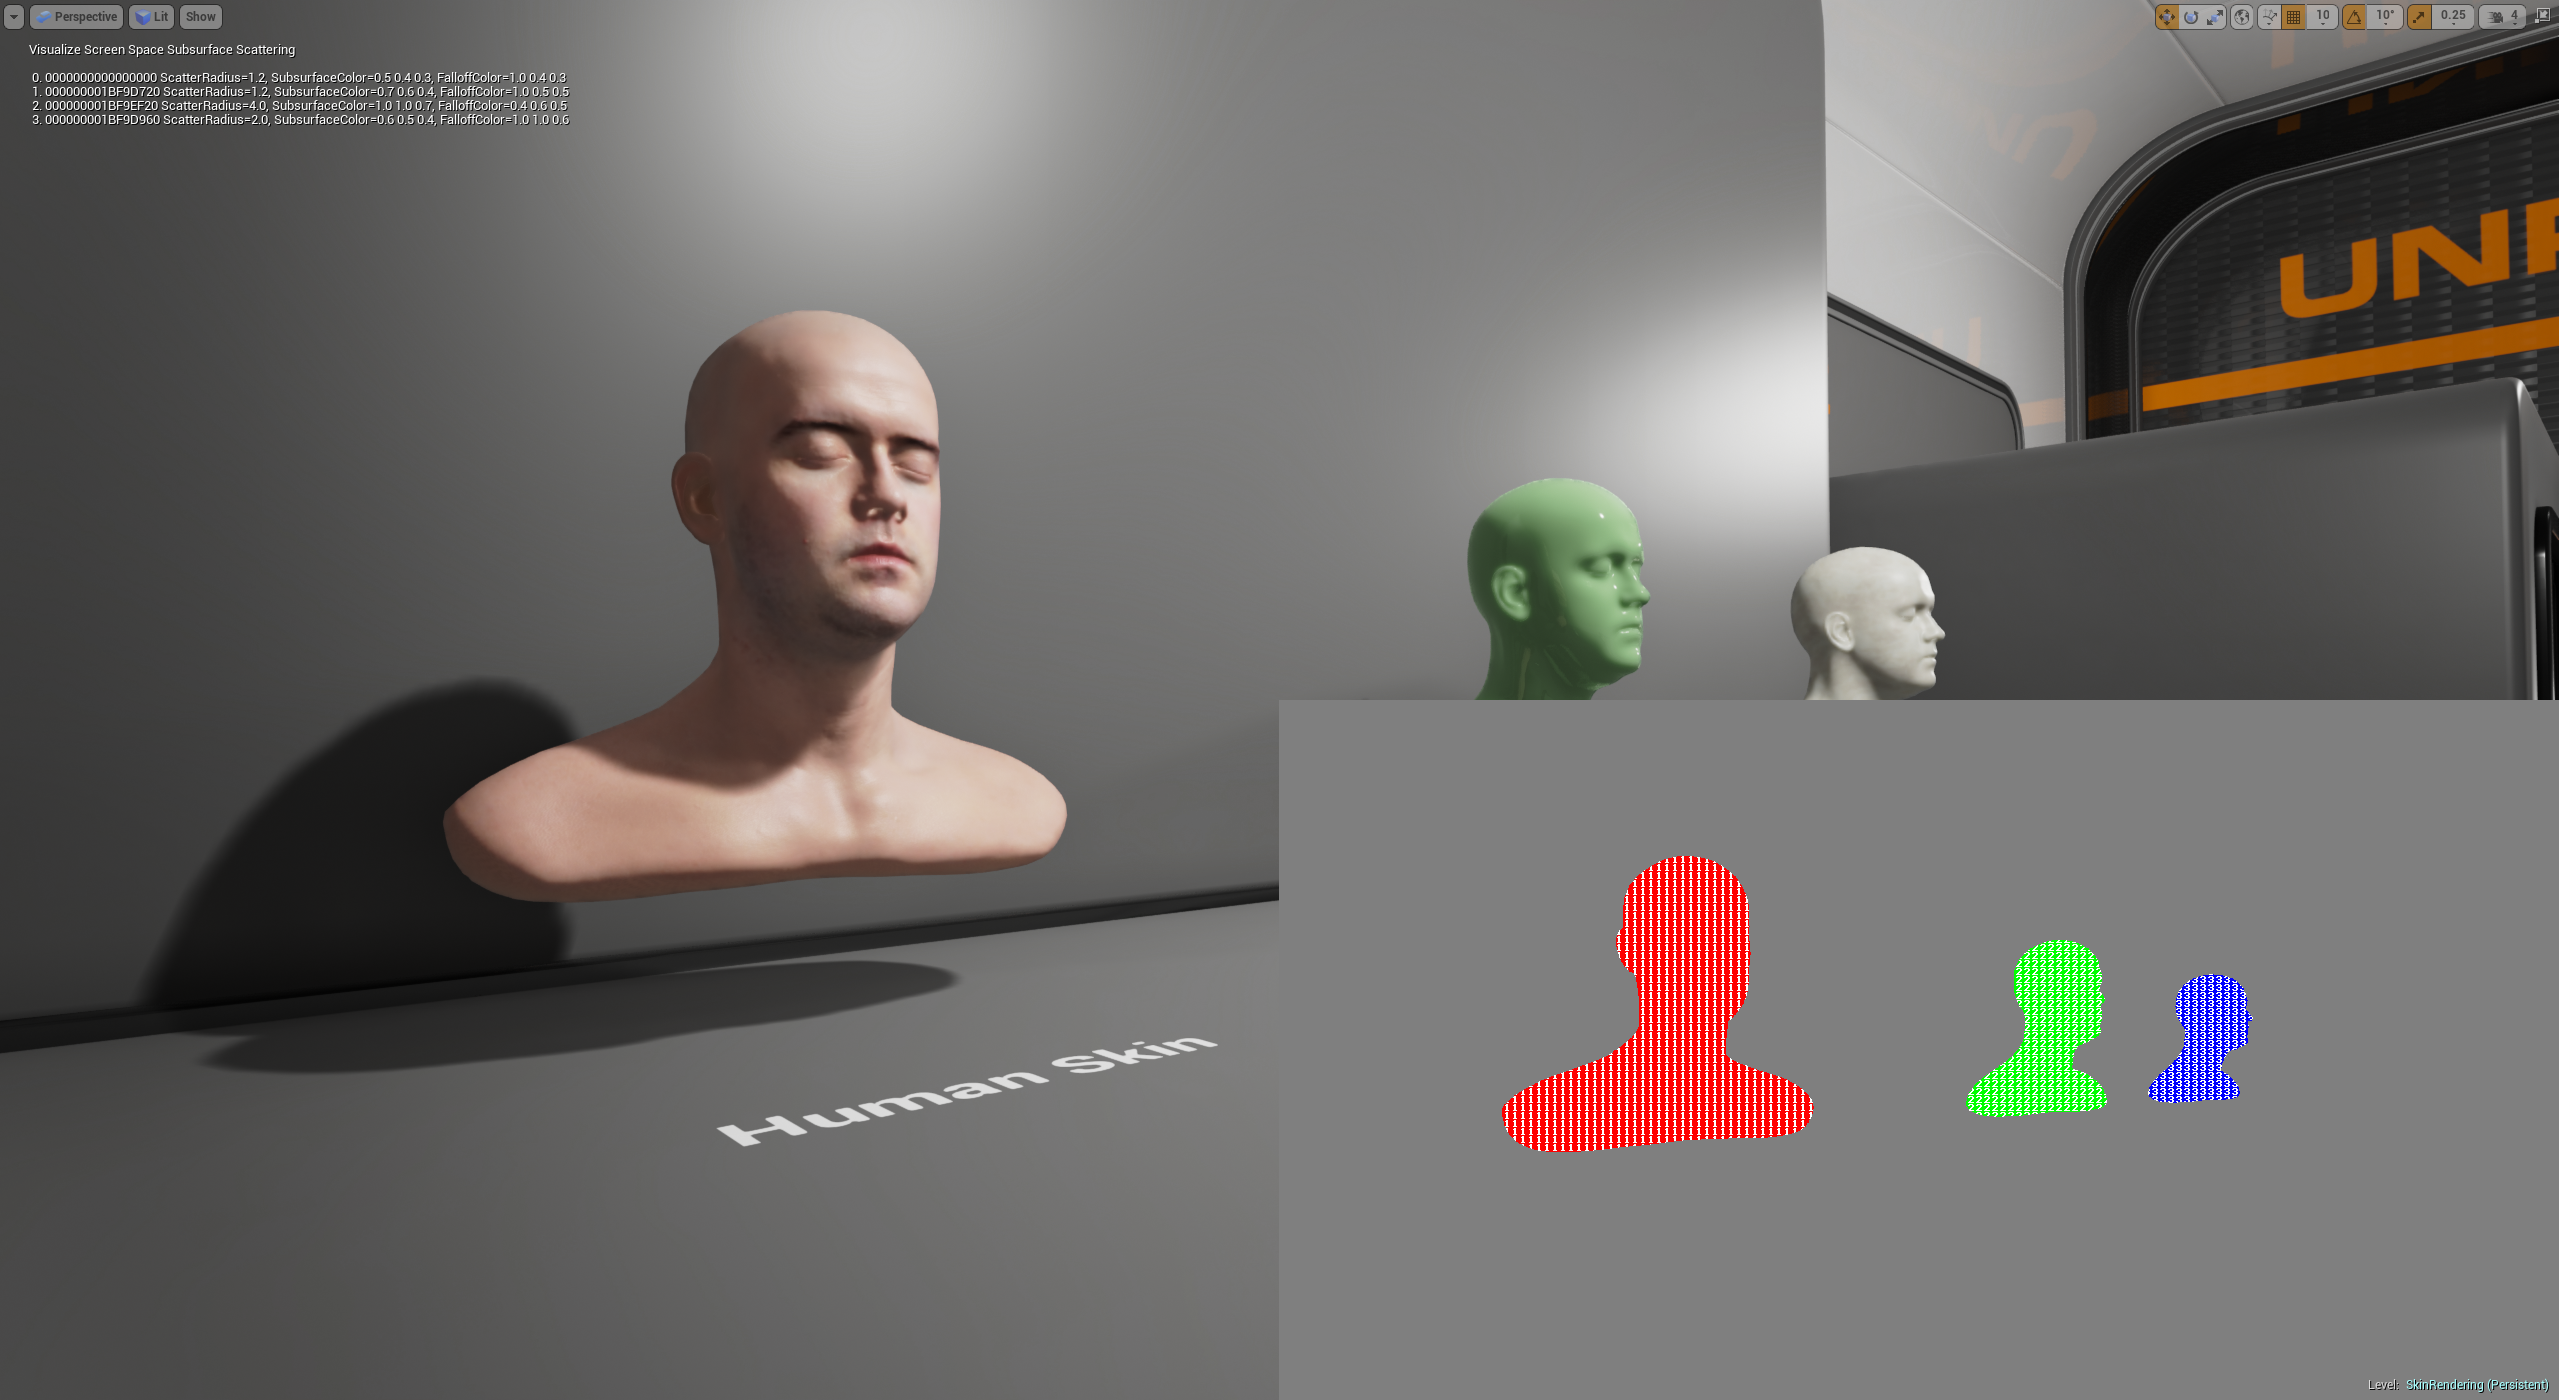
Click for full image.
While the Subsurface scattering profile shading model is a step forward when it comes to rendering skin, there are some limitations in what it can do. Please note that as this system becomes more and more polished, this list could change.
-
The feature does not work in the non-deferred (mobile) rendering mode.
-
Setting a large screen to scatter radius will show banding artifacts in extreme lighting conditions.
-
Currently, there is no backscatter of light.
-
Currently, a gray outline appears when non-SSS Materials occlude SSS Materials.
Subsurface Profile Property Reference

|
Property Name |
Description |
|
|---|---|---|
|
Burley Normalized |
||
|
Surface Albedo |
This should be set to match the base color of the corresponding material as closely as possible. |
|
|
Mean Free Path Color |
Controls how far light goes into the subsurface in the red, green, and blue channel. It is scaled by the Mean Free Path Distance . |
|
|
Mean Free Path Distance |
Controls the distance that Mean Free Path Color goes into subsurface. |
|
|
World Unit Scale |
Controls the scale of world/Unreal Units in centimeters (cm). |
|
|
Enable Burley |
Effective only when Burley |
|
|
Subsurface Profile |
||
|
Scatter Radius |
The distance in world space units to perform the scatter. |
|
|
Subsurface Color |
The Subsurface Color can be used as a weight for the Subsurface effect. Black means there is no Subsurface scattering. White means all lighting is entering the material and gets scattered around. A non-grayscale value gives more control over what color contributions are entering the surface, resulting in a more complex looking shading. |
|
|
Falloff Color |
The Falloff Color defines the material scattering color once the light has entered the material. You should avoid using a vivid color here if you want to get a more complex shading variation over the area where you see the scattering. |
|
|
Boundary Color Bleed |
Controls how one subsurface material blends into another. |
|
|
Transmission |
||
|
Extinction Scale |
Controls the absorption scale. |
|
|
Normal Scale |
Controls the normal contribution to transmission. |
|
|
Scattering Distribution |
Controls the scattering distribution for the transmission results. |
|
|
IOR |
Sets the index of refraction on the transmission results. |
|
|
Transmission Tint Color |
Controls the transmission tint by multiplying it on the transmission results. Requires that Enable Burley box to be enabled in the Burley Normalized category. |
|
|
Dual Specular |
||
|
Roughness 0 |
Controls the softer lobe's roughness. |
|
|
Roughness 1 |
Controls the tighter lobe's roughness. |
|
|
Lobe Mix |
Controls roughness values for two separate lobes that are combined for the final results. When combined these provide a nice subpixel micro frequencies in the skin for a natural look. Use Roughness 0 and Roughness 1 to control the separate lobes for Dual Specular |
|
Special Thanks
-
Special thanks to Lee Perry-Smith and his company Infinite Realities for providing the head model and assistance. Also a very special thanks to Jorge Jimenez for releasing his implementation as this feature is based on his work.
-
Special thanks to Mike Seymore and 3Lateral for their contributions with the "Meet Mike" digital scan.