Choose your operating system:
Windows
macOS
Linux
The RenderToTexture Blueprint works by using a bare-bones GameMode setup. There is a companion asset called the RenderToTexture_Game which references the RenderToTexture_Pawn . The Pawn is a basic Blueprint that has a Camera Component set to orthographic and a few event graph nodes to set up the rendering console commands.
The basic setup for using the Render to Texture tools is as follows:
-
Create a new blank level.
-
In the Place Actors panel, from the Basic tab, place a Player Start at a location of 0,0,0 . Make sure its rotation is set to 0,0,0 .
![ZeroedTrans.png]()
-
In the Content Browser , open View Options , and enable Show Engine Content .
![viewOptions.png]()
-
In the Content Browser , browse to Engine > ArtTools > RenderToTexture > Blueprints .
-
Place a RenderToTexture_LevelBP Blueprint at location 0,0,0 in the world.
![placeRTT_LBP.png]()
-
In the Main Toolbar, from the Settings dropdown, select World Settings to display the World Settings panel. (By default, this panel opens where the Details panel is docked.)
![worldSettingsBar.png]()
-
In the World Settings panel, assign the RenderToTexture_Game Blueprint (also found in
Engine/ArtTools/RenderToTexture/Blueprints/) as the GameMode Override .![worldSettings.png]()
-
You must enable the ability to export buffer visualization targets in the editor. In the upper-left corner of the Perspective viewport, click the Down-Arrow button to open the Viewport Options menu, select High Resolution Screenshot , then enable Include Buffer Visualization Targets .
![Enable_IBVT.png]()
Leave this window open! This window will move behind the editor and should not interfere. If you accidentally close the window, the buffer images will not render.
-
Leave the High Resolution Screenshot dialog open.
-
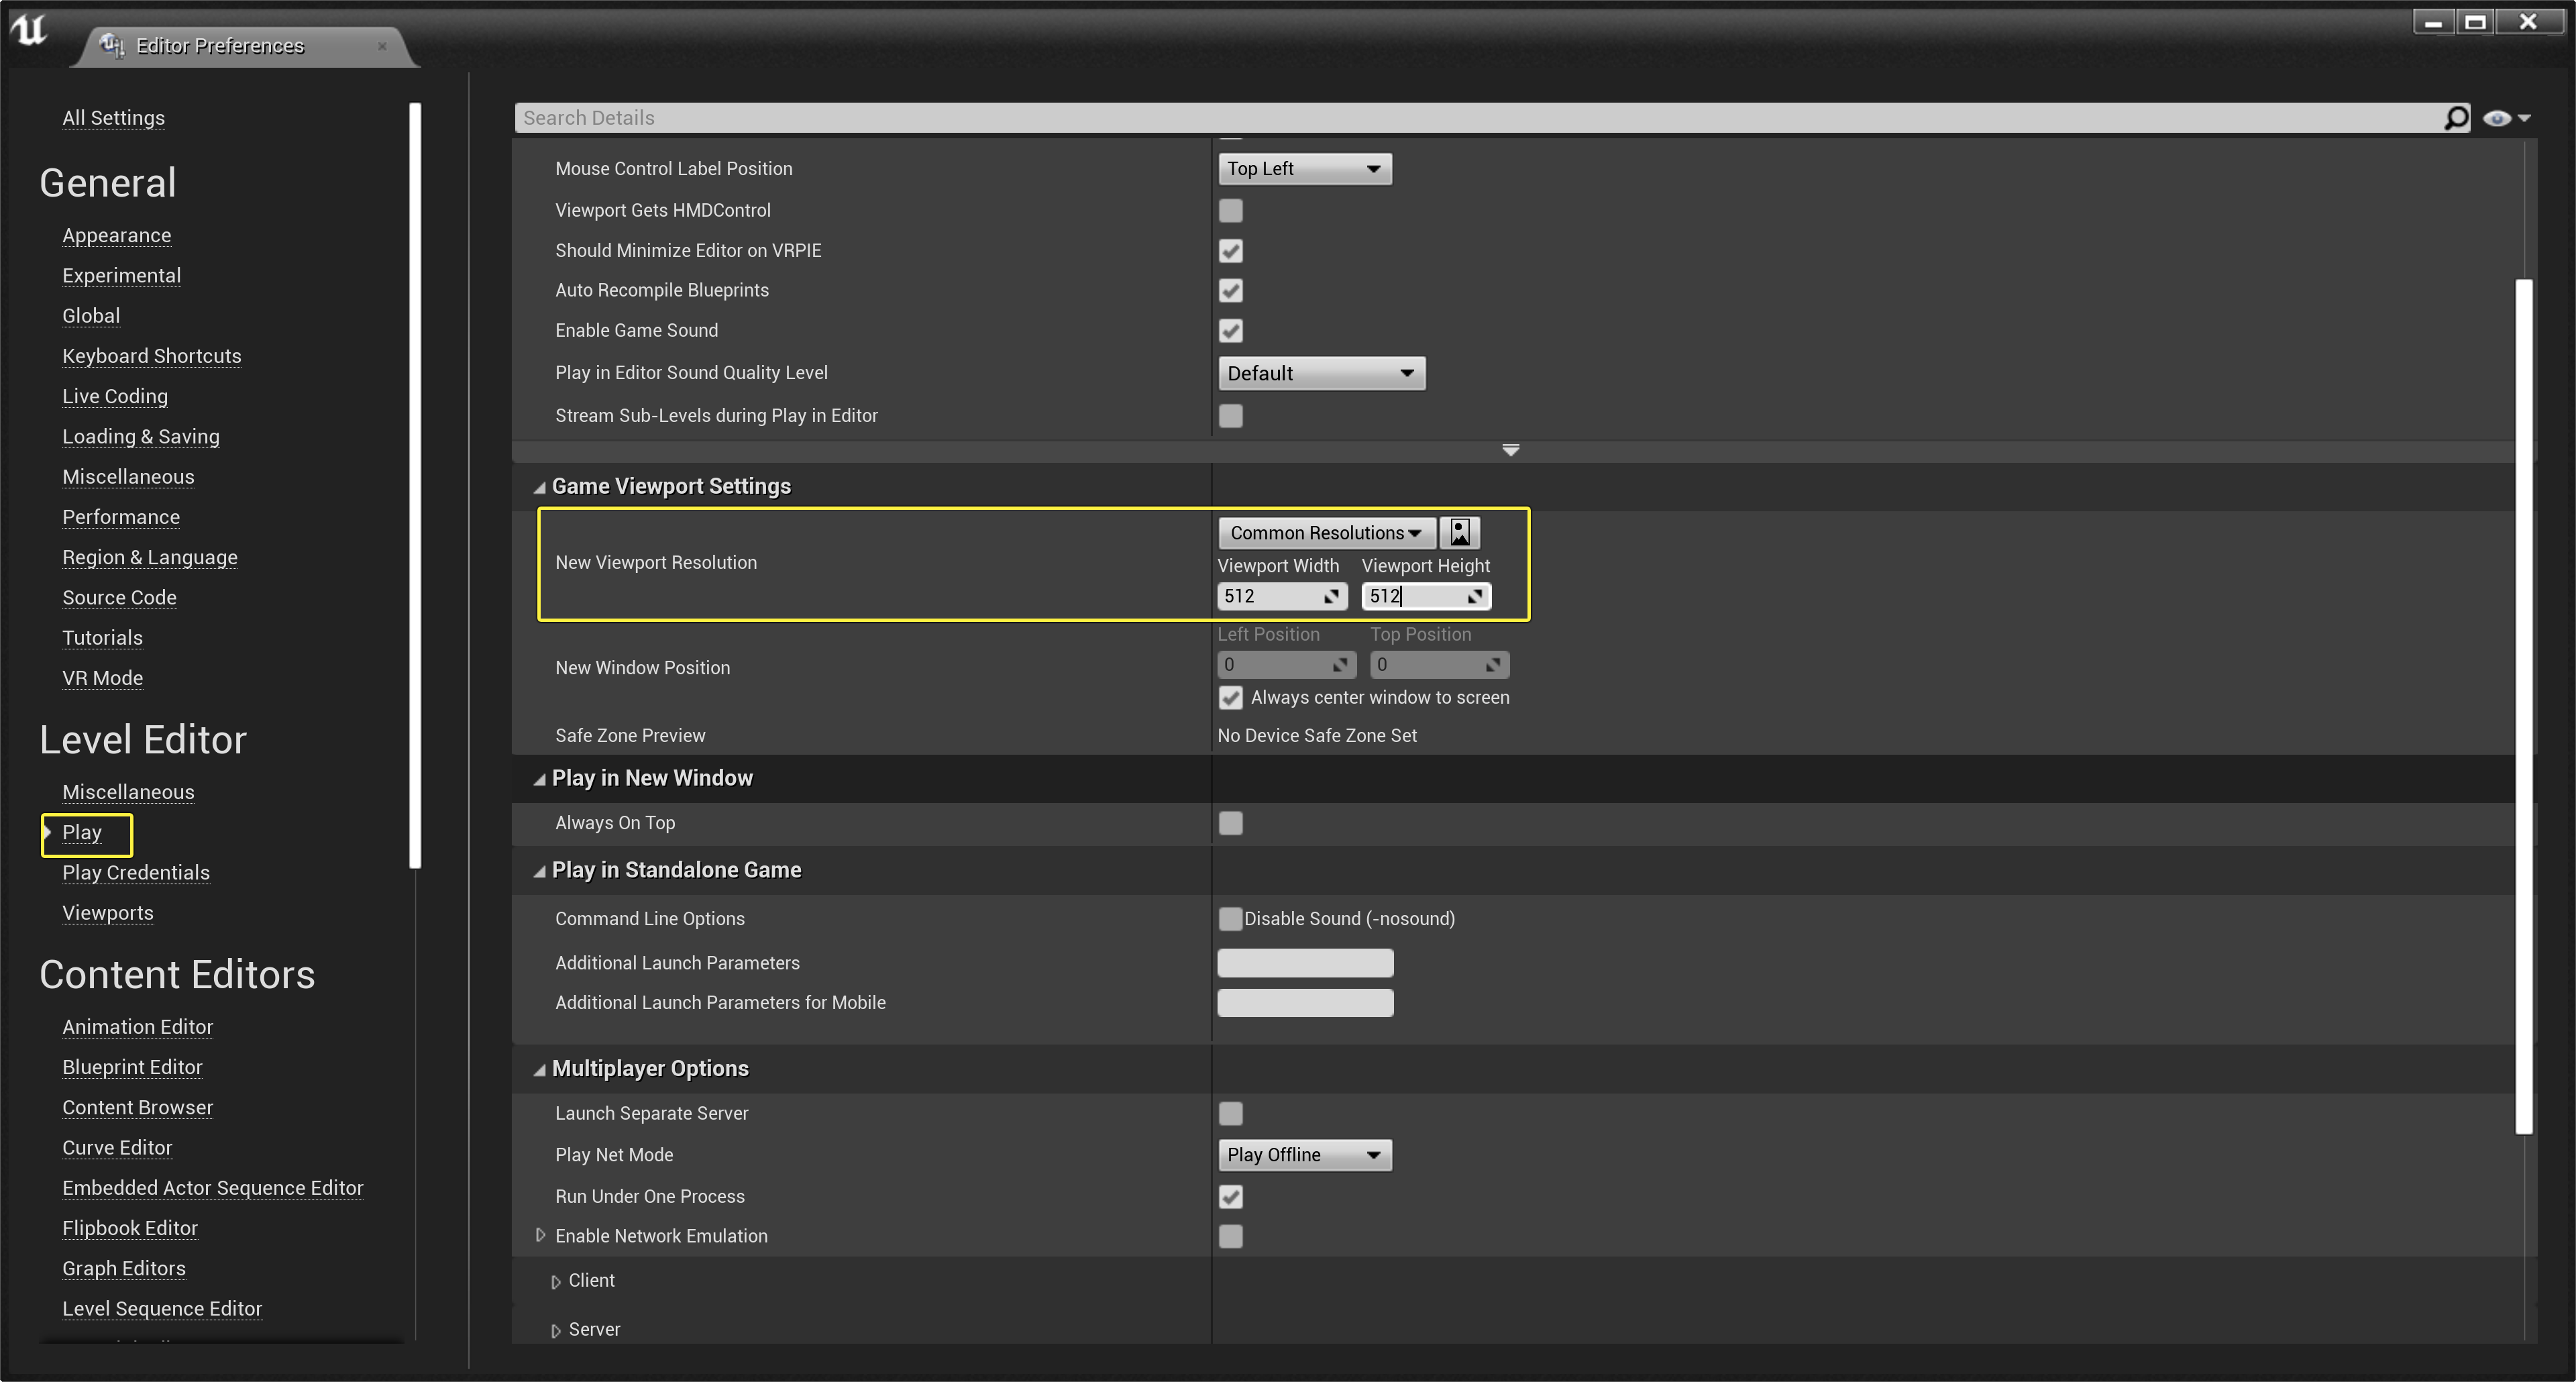
In Editor > Preferences > Level Editor > Play , adjust the New Viewport Resolution property to a size that is a power of 2. A size of 512x512 is suggested and will not affect the quality of the output images.
![windowSize.png]()


In the Details panel, the setting to choose which type of basic function will be performed is located under the Capture Settings category.
Below this category, you will find categories that correspond to the options in the Render Type property.

The only Property category besides Default that is relevant to all functions is the Capture Settings category. This category enables you to select which buffer targets you wish to save. For most cases, Base Color and Normal are sufficient. To render out opacity masks the Decal Mask option works well.
The resolution multiplier will multiply the settings you entered into the New Viewport Resolution in the Editor Preferences. So if you entered 512x512, a multiplier of 2 would result in a 1024x1024 texture size. A multiplier of 4 would result in a 2048x2048 texture size. Depending on the desired results, you may want to render textures as high as 4096 or 8192 in order to downsample them in Adobe Photoshop. In those cases, it is usually suggested that you add a post process volume and set the Anti Aliasing setting to None to get a more crisp result.
This method currently saves .bmp format images. It is currently necessary to open and resave as .tga using an image processing tool. In practice, you will usually want to render at a large resolution and down-ample using an image processing pass later.
Finally, you can choose to add a light to the scene. It has no effect on the visualization buffers that are rendered out.