Choose your operating system:
Windows
macOS
Linux
This Quick Start guide will walk you through how to set a fixed real-world location in AR to which you can attach virtual content in Unreal. In this example, we will use the HoloLens as our platform.
By following this guide, you will know how to:
-
Save ARPins locally on device.
-
Delete local ARPins.
-
Load local ARPins.
Before getting started, make sure your project is set up for AR. See Setting Up a New AR Project before continuing.
ARPin Local Storage only works with certain platforms. As of 4.26, the Windows Mixed Reality plugin and some OpenXR extension plugins, such as the Microsoft OpenXR plugin, are supported. See ARPin documentation for more information on platform support.
Step 1 - Adding and Saving ARPins
Follow these steps to spawn a virtual object in 3D space and save its data with ARPin. First, you need to set up the SpawnActor Function and then connect it to a Pin Component to pin the object to a specific location.
This guide uses the location of the user's hand provided by the HoloLens platform as the spawn location To be able to access the Motion Controller information on HoloLens, follow these steps:
-
Add the component Motion Controller to ARPawn in the Blueprint Editor.
![add motion controller component]()
-
In the Details panel, set the Motion Source to the Right hand in order to match the hand that's placing the pins.
![motion controller details]()


Setting Up the Spawn Actor Function
Follow these steps to set up the Spawn Actor function. This section uses a custom Blueprint Actor called Pin Object for the virtual content.
-
Double-click the project's Pawn to open it in the Blueprint Editor .
-
Add the following functions by right-clicking in the Event Graph tab of the Blueprint Editor and searching for the names:
-
Is ARPin Local Store Supported
-
Is ARPin Local Store Ready
![searching for AR Pin nodes]()
-
-
Use the boolean return values from the two functions as input to an AND logic node. Connect the result of the AND node to a Branch node. This setup makes sure both scenarios are true before executing any ARPin functions.
![adding boolean and branch to blueprint]()
-
From the Branch node, add the SpawnActor from Class function. Then, set the node's Class parameter to Pin Object.
-
Add a Make Transform function to specify the local transform where the object will be spawned relative to the spawn position. Keep the default values for the local space because the world transform will be specified later.
![adding make transform function]()
For details on how to add input actions to your project, see Input for general input actions.


Adding the Pin Component
Follow these steps to pin the object that was spawned in the previous section. The SpawnActor from Class function returns an Object . However, the Pin Component function expects a Scene Component . In order to pin the object, grab the object's RootComponentRootComponent, which is a Scene Component that defines the object's transformation.
-
Add the function Pin Component .
-
Drag the Return Value pin from the SpawnActor node and select Get Root Component .
![adding get root component]()
-
Right-click in the Event Graph and search for the variable that holds the location where you want to pin the object. In order to spawn where your hand is on HoloLens, search for Get Motion Controller . Add it to the graph.
-
Pass the variable in as a Target to the function GetWorldTransform . Then, pass the Return Value of the function to the Pin to World Transform input of the Pin Component node. The world transform defines the world space location the component pins to.
![adding world transform and pin componenets to blueprint]()
-
Add the function Save ARPin to Local Store and pass the ARPin Object Reference , which is returned by Pin Component to the In Pin input for the Save ARPin to Local Store node. Make sure each pin has a unique save name. Then, convert the world transform to a String to set the save name.
![adding save AR pin to local store function]()
-
Run the app on your AR device. When you perform the Select (R ) action, the pin object appears and the ARPin Local Store adds an entry for the ARPin.
![example of adding and removing objects in AR]()


Step 2 - Removing ARPins
Follow the steps below to remove ARPins from the local storage and destroy the virtual content associated with them.
-
Call Get All Pins and add a For Each Loop node to iterate through the returned array of ARPins.
![add a for each loop node to blueprint]()
-
Add the function Remove Pin to stop updating the pinned component.
![add remove pin function]()
-
Add the function Destroy Actor to remove the virtual pin object. Call Get Pinned Component and Get Owner to get the Actor from the ARPin and its pinned Scene Component.
![adding destroy actor]()
-
Add the function Remove All ARPins from Local Store to remove all the saved pins from the local store after iterating through all the ARPins and destroying their pinned components.
![adding remove all AR pins from local store function]()
-
Run the app on your AR device. When you perform the Select (L ) action, the pin object disappears and the ARPin Local Store removes the entry for the ARPin.
![adding objects to the AR environment]()


Step 3 - Loading ARPins
Follow these steps to load all ARPins saved on the device in a previous session of the app and spawn the virtual content again for the ARPins.
-
Call Load ARPins from Local Store to access all the ARPins that are saved locally on device.
![add local AR pins from local store node]()
-
Load ARPins from Local Store returns a map of ARPin names. In order to iterate through the items in the map, convert the map to an array by using the Values function. To access every item in the array, add a For Each Loop node.
![adding for each loop node]()
-
In the loop body, call SpawnActor from Class with a default Make Transform function. Use the default values for the transform unless you want to offset the object from where it's going to be spawned.
![adding spawn actor from class node]()
-
Convert the returned object to a Scene Component with Get Root Component and pass to Pin Component to ARPin .
![adding pin component to AR pin]()
-
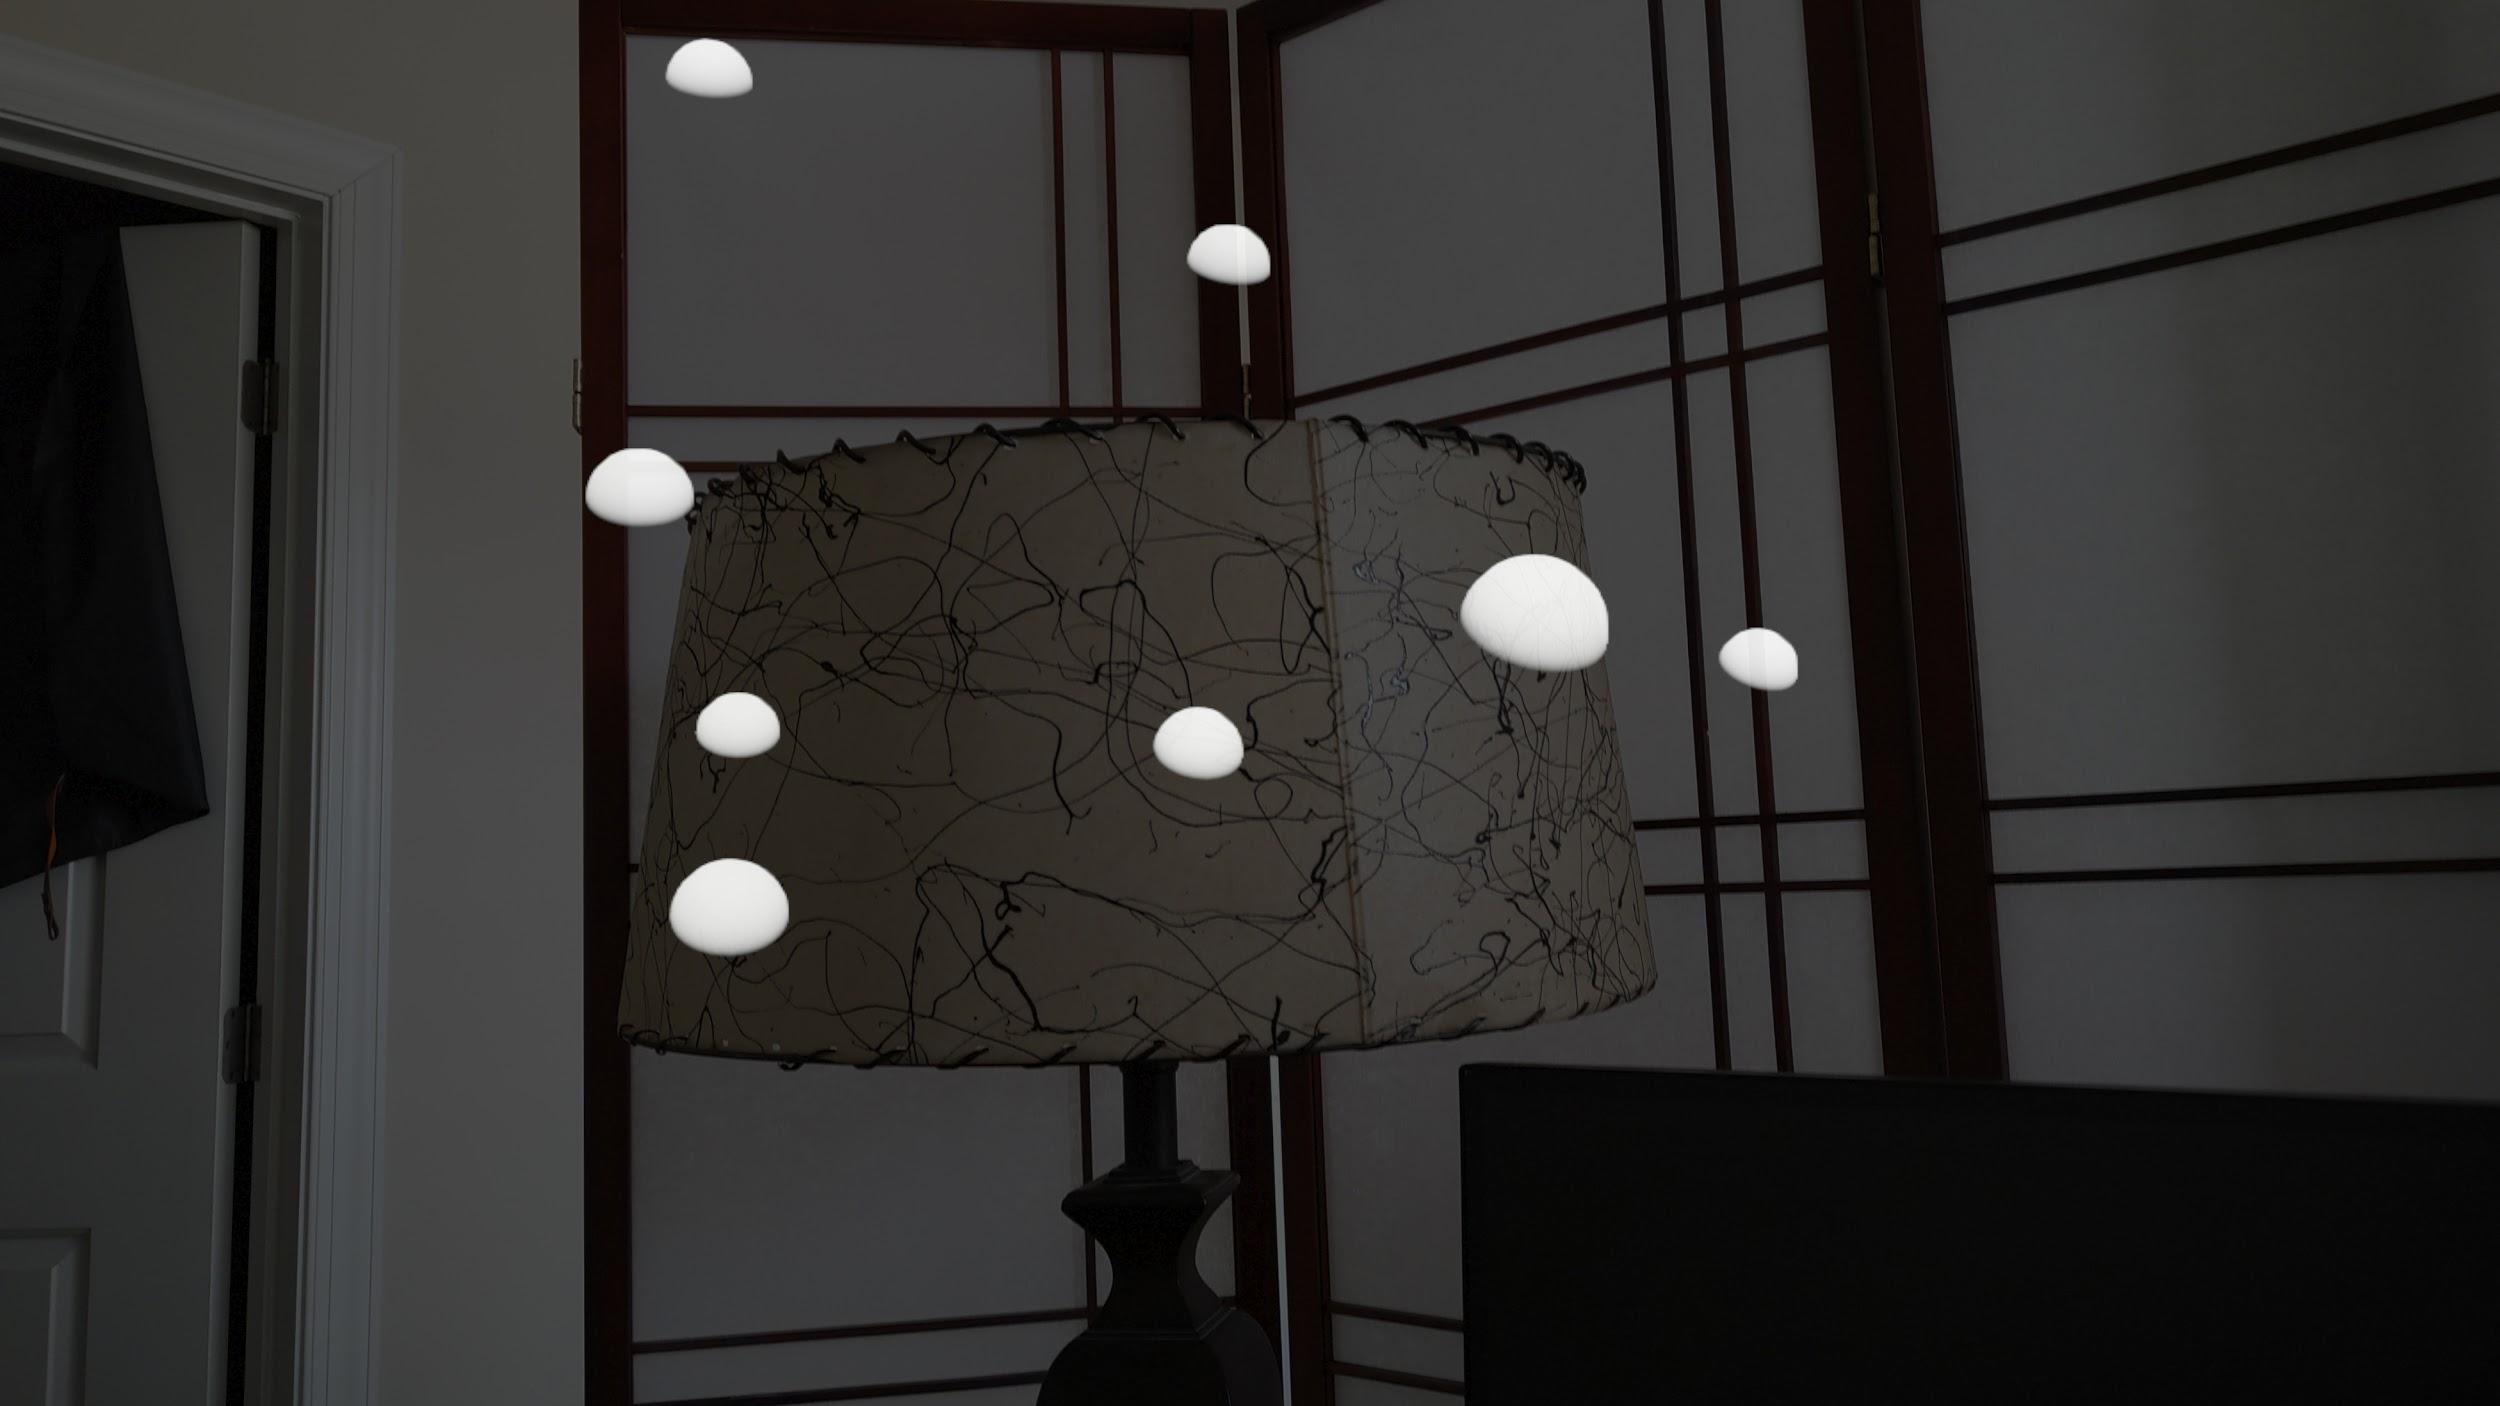
Run the app on your AR device and create a few ARPins. Restart the app and see all the pins you created previously appear in the same place when the app starts.
![current pins in AR environment]()
![loaded pins in AR environment]()
To differentiate the loaded pins from newly created pins, a different material for the object was used.


Step 4 - On Your Own
In this guide, you created ARPins that are stored locally on the device. To create pins that are stored using a cloud computing service such as Azure and can be shared between multiple devices and platforms, see Microsoft's documentation for Azure Spatial Anchors in Unreal Engine .