Choose your operating system:
Windows
macOS
Linux
This guide shows how to create a new empty project in Unreal Engine and add the necessary Blueprints and configurations to turn it into an AR experience.
If you want to start with an AR project that is set up already, see the following AR templates:
Setting Up a Blank Project
Follow these steps to create a new Unreal Engine project and level with minimal rendering features enabled. Blank projects open with the default level, which includes a Sky Sphere and Atmosphere Fog objects. These objects will persistently overlay everything in AR, so it's useful to start with an empty level when creating an AR experience to control what will be displayed.
-
Launch Unreal Engine from the Epic Games Launcher .
-
In the Unreal Project Browser window, choose Games and click Next .
![create new project]()
-
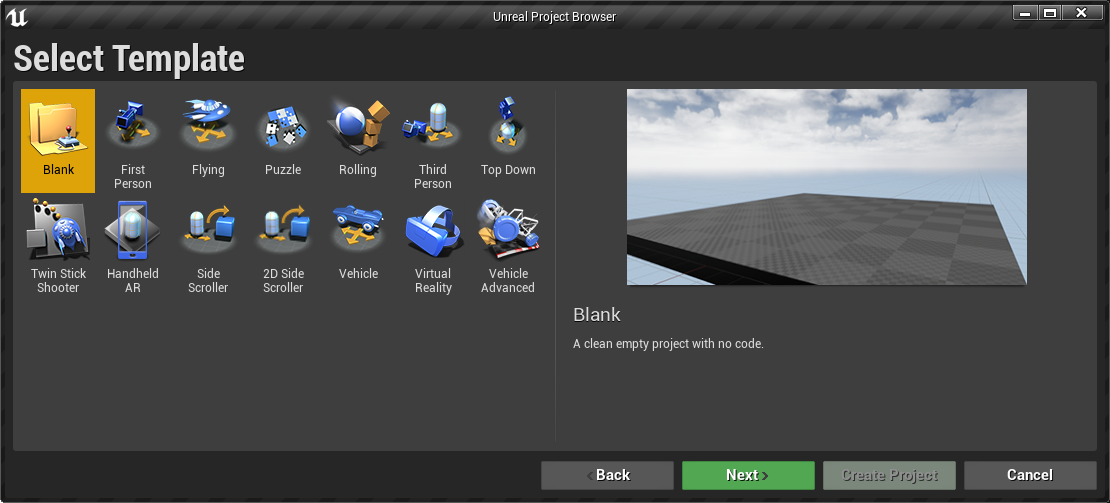
Select the Blank Template and click Next .
![select blank tempate]()
-
For the Project Settings, choose the following:
-
Blueprint
-
Scalable 3D or 2D
-
Raytracing Disabled
-
Mobile / Tablet
-
No Start Content
![project settings]()
-
-
From the Editor Choose File > New Level… and choose Empty Level. Make sure to name and save your level. In this example, the level is named Main .
![adding an empty level]()
-
In the main navigation, choose Edit > Project Settings .
-
In the Project Settings window, select Maps & Modes under the Project section. Set the Editor Startup Map and the Game Default Map to the new level Main .
![setting the maps and modes]()


Adding a Pawn and Game Mode
In Unreal Engine, a
pawn
is the physical representation of the user and defines how the user interacts with the world. The
Game Mode
object defines the rules of the experience, such as which pawn object to use. In order to build a new AR project, you need to set up the pawn so you can interact with the environment when you run your app.
Follow the steps below to create a Pawn and Game Mode for your AR project.
-
Right-click in the Content Browser and choose Blueprint Class from the list. In the Pick Parent Class window, select Pawn . Name the asset ARPawn .
![selecting AR pawn]()
-
Double-click the ARPawn object in the Content Browser to open it in the Blueprint Editor . In the Blueprint Editor, choose Add Component and search for Camera .
![adding camera component]()
-
Make sure the Camera component's parent is DefaultSceneRoot .
![camera default scene root]()
-
Right-click in the Content Browser and choose Blueprint Class from the list. In the Pick Parent Class window, select Game Mode Base . Name the asset ARGameMode .
![adding blueprint class]()
![add AR game mode class]()
-
Double-click ARGameMode to edit the settings. Set Default Pawn Class to ARPawn .
![AR game mode settings]()
-
In the main navigation, choose Edit > Project Settings to open the Project Settings window.
-
In the Project Settings window under the Project section on the left, select Maps & Modes .
-
Set Default GameMode to ARGameMode
-
Set Default Pawn Class to ARPawn .
![assigning project settings]()
-


Creating an AR Session
The function Start AR Session requires an ARSessionConfig object, which defines all the AR-specific capabilities for the project. See UARSessionConfig for more information on what each setting is.
Follow the steps below to add the AR session logic to your project.
-
Right-click in the Content Browser . Choose Miscellaneous > Data Asset to open the Pick Data Asset Class window.
![adding a data asset]()
-
In the Pick Data Asset Class window, choose ARSessionConfig . Name the data asset ARSessionConfig . Open the asset and select Save to confirm the default AR options.
![opening AR session config]()
-
Double-click the ARPawn asset to open it in the Blueprint Editor . Add the function Set Tracking Origin . Set the Origin value to Floor Level .
![blueprint set tracking origing to floor level]()
-
Add the function Start AR Session . Set Session Config asset to ARSessionConfig .
![blueprint adding start AR session]()
-
Add the function Stop AR Session .


When you launch your project on your device, you will now be able to navigate your AR environment. See the documentation for your AR platform for detailed steps on how to launch your Unreal project on your device.
Step 4 - On Your Own
In this guide, you learned how to create a new AR project, and add the necessary Blueprints to get started building an AR app.