Choose your operating system:
Windows
macOS
Linux
This page describes how Datasmith imports scenes from Autodesk Navisworks into Unreal Engine (UE) . It follows the basic process outlined in the Datasmith Overview and About the Datasmith Import Process documentation, but adds some special translation behaviors specific to Navisworks. If you are planning to use Datasmith to import scenes from Navisworks into UE, reading this page can help you understand how your scene is translated, and how you can work with the results in Unreal Editor.
Navisworks Workflow
Similar to the Revit or 3ds Max Datasmith Exporters, our Navisworks Exporter uses an export workflow. This means that to get your content into the editor using Datasmith, you need to:
-
Install the Datasmith Exporter for Navisworks. See Installing the Datasmith Exporter for Navisworks .
-
Export your Navisworks content using the Datasmith Export button added to the toolbar by the plugin. See Exporting Datasmith Content for Navisworks .
-
Use the Datasmith importer available in the Toolbar of the Unreal Editor to import your
.udatasmithfile. See Importing Datasmith Content into Unreal Engine 4 .
To read more about other types of Datasmith workflows, see Datasmith Supported Software and File Types .
Converting Geometry to Static Meshes
The Datasmith Exporter for Navisworks works to preserve the geometry, materials, and metadata contained in your file by using a process similar to our Revit and 3ds Max exporters:
-
To maintain performance, Datasmith merges objects in the hierarchy at a user defined level to create larger meshes and maintain triangle counts of less than one million.
-
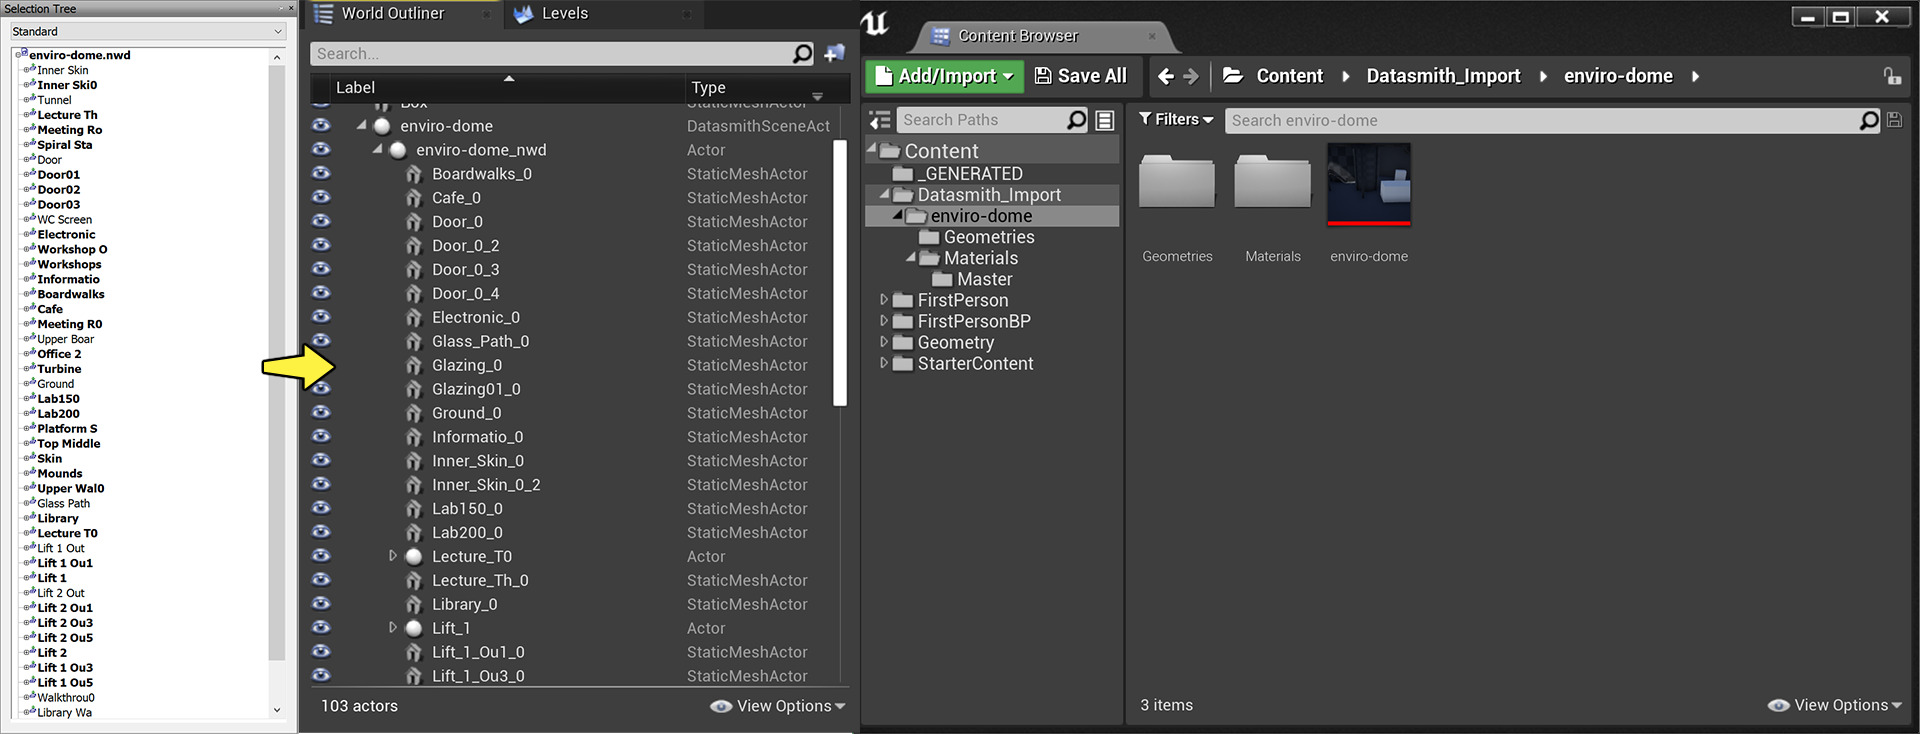
Once meshes have been merged, the exporter creates a new Static Mesh asset in your Content Browser for each of the remaining meshes. It preserves the Name of each mesh as set in the Properties panel in Navisworks and places them in a Geometries folder.
-
The Navisworks hierarchy is maintained in the World Outliner by using empty Actor objects.
-
Your scene is assembled around a user-defined origin point.
Merging Objects in the Hierarchy
As a Navisworks scene contains a significant amount of data from multiple sources, it is necessary to consolidate the number of assets during the export process. Datasmith does this with a process that merges objects at a user-defined depth of the hierarchy:

In the example below, we can see when the value is set to 2 how the objects are merged 2 levels from the bottom:

If the node subtree contains more than 1M triangles, Datasmith merges objects up to a level where the resulting meshes do not exceed 1M triangles.
Setting the Origin
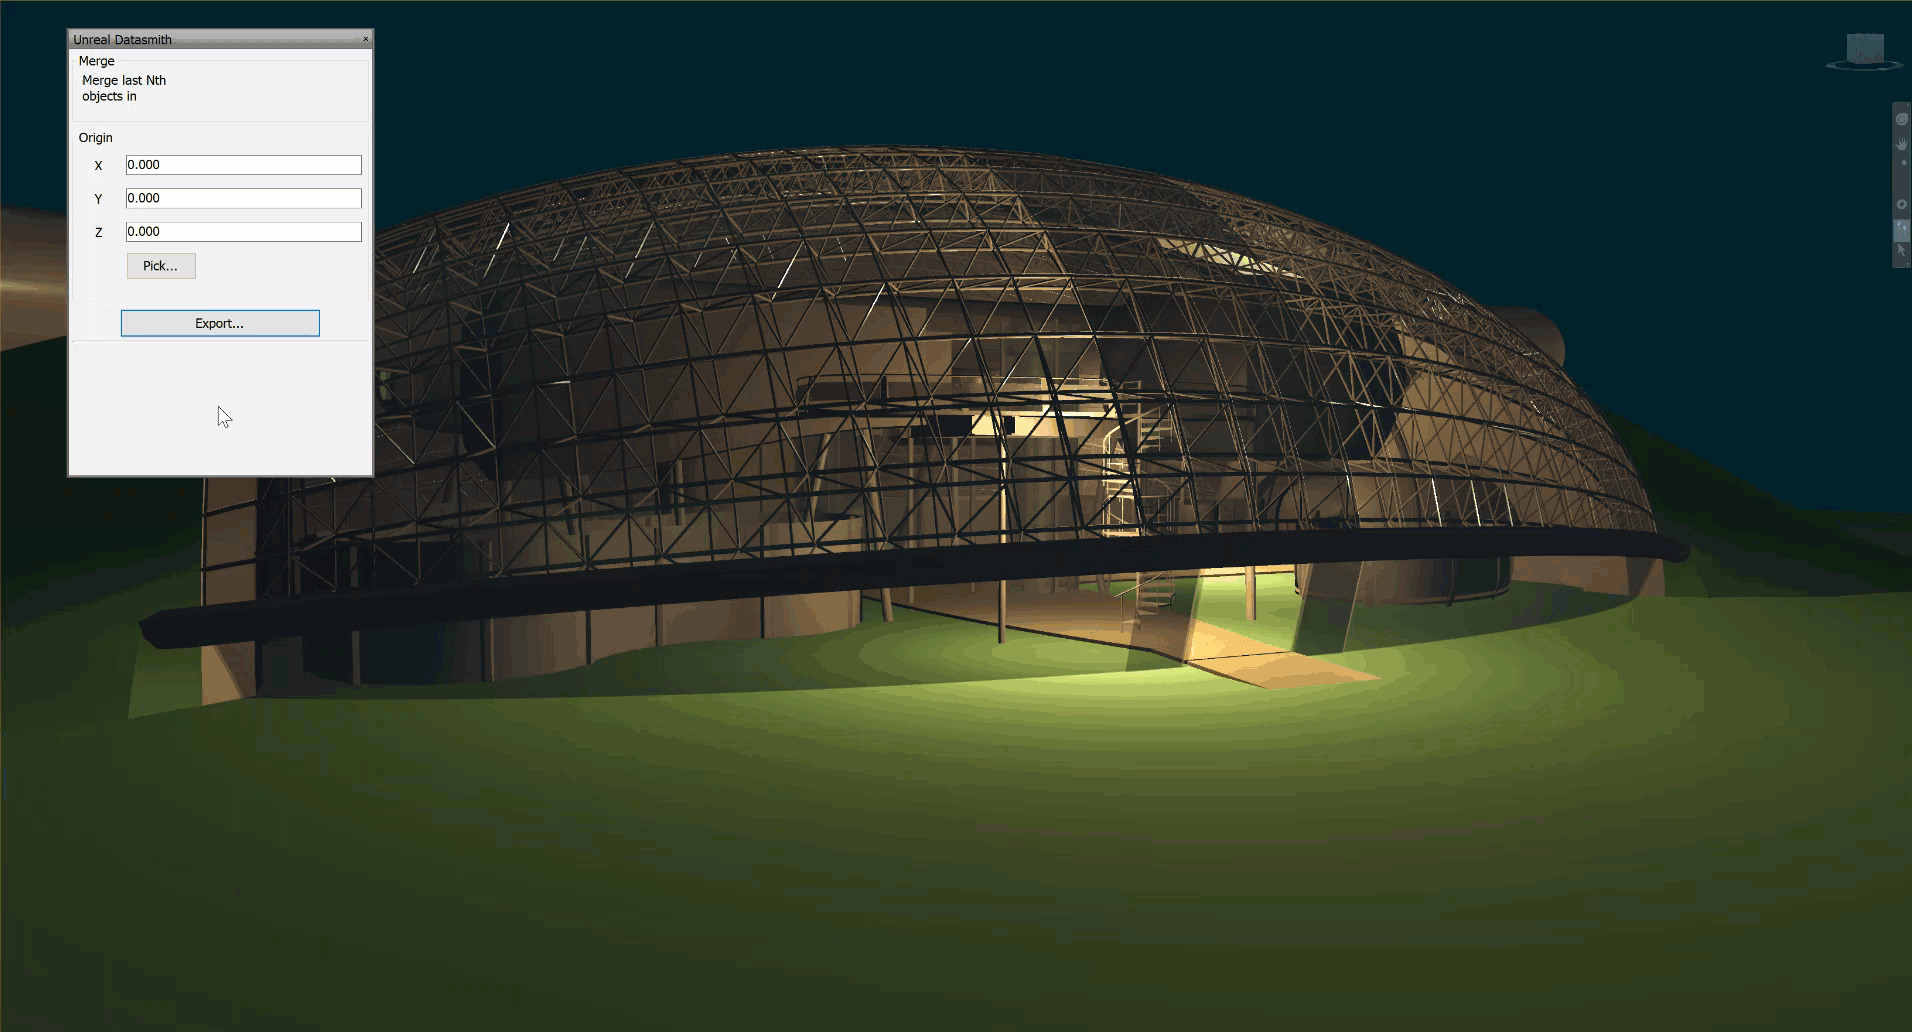
Autodesk Navisworks uses a double precision coordinate system that allows support for models that are very far away from the origin. This is not compatible with Unreal and can lead to imprecision on import. For this purpose, when using the Datasmith Exporter for Navisworks users can designate the origin point of the scene. This specific point becomes the origin point (0,0,0) inside of UE:

Navisworks Metadata
Datasmith imports metadata stored on objects in Navisworks as Tabs :

The data is prepended with tab names using the following format:
_[TabName]_[PropertyName] = [Value]_
So in the image above, the resulting data would be:
_MyTab_MyStringProperty = "MyStringValue"
MyTab_MyBooleanProperty = "Yes"
MyTab_MyFloatProperty = "0.000"
MyTab_MyIntegerProperty = "0"_
Navisworks Materials
For each surface material in your Navisworks scene, Datasmith will create a Material asset in Unreal with the same name. These assets are placed in the Material folder next to your Datasmith Scene Asset.
-
Each asset that is placed in the Materials folder is a Material Instance that exposes properties set in Navisworks. You can change these exposed parameters to modify the way the Material looks when applied to a surface. Datasmith assigns these Materials to the Static Mesh assets it creates during the import process.
-
Datasmith also creates a set of master Materials that can be found in the Materials/Masters folder, one for Translucent Materials and another for Opaque Materials. Each of these master Materials is the parent of at least one of the Material Instances found in the Materials folder. You can edit these Materials if you want greater control over the Material graph that defines how each surface appears in Unreal, exposing additional parameters to child Material Instances or chase the way these parameters are processed during rendering.
Changing a Master Material also changes all Material Instances that inherit from that parent automatically. It's usually a good idea to duplicate a Master Material before you modify it, then make your changes to the duplicate, then finally update specific Material Instances to use your new duplicate as their parent. For details, see Modifying a Datasmith Master Material .
