Choose your operating system:
Windows
macOS
Linux
This Quick Start guide covers the following steps:
-
Enabling the LiDAR Point Cloud plugin.
-
Importing a point cloud and placing it into a scene.
-
Building collision for the point cloud so you can explore it in real time.
-
Editing the point cloud.
1. Enabling the Plugin
The LiDAR Point Cloud plugin is included with the Unreal Engine, but you must enable it for your Project before you can use it.
-
Open the Plugins window (main menu: Edit > Plugins ).
-
In the Plugins window, search for the LiDAR Point Cloud Support plugin , then click the Enabled option.
![Enabling the LiDAR Point Cloud plugin]()
-
Save your project and restart Unreal Engine.

2. Importing the Point Cloud
-
Create a new project. Use a template that includes a character controller, such as Third Person .
-
Choose the point cloud file you want to import and drag it into the Content Browser .
-
Drag the point cloud from the Content Browser into the Viewport . This will automatically create an instance of a LidarPointCloudActor and assign your specified cloud to it.
3. Building and Testing Collision
Before you can move around the imported point cloud scan like any other Level, you need to build and enable collision for it.
-
Double-click the point cloud asset in the Content Browser to edit it. Alternatively, right-click it and select Edit . This opens the point cloud in a separate editor window.
-
On the main toolbar, click Collison , then select Build Collision .
![Building collision for a point cloud]()
-
Click Save to save your changes, then close this window.
-
Back in the main editor window, from the Place Actors panel, search for a Player Start component and drag it into your level. Place it above the ground.
-
Click Play to start Play in Editor mode and move around the imported scan.
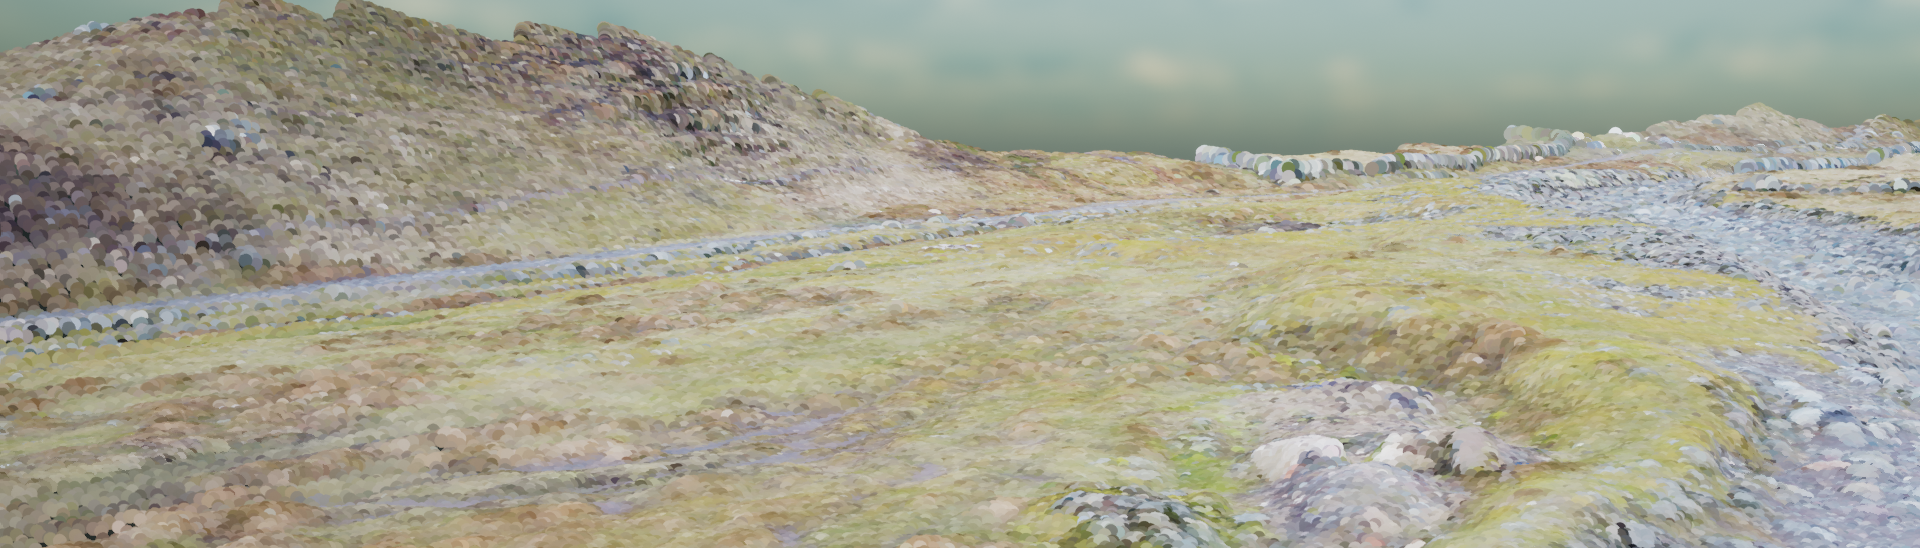
![A point cloud with collision inside Unreal Enigne 4]()


4. Editing the Point Cloud
Next, you'll be making some simple edits to the point cloud. You can select and edit individual points and point groups using a range of tools.
-
Double-click the point cloud asset in the Content Browser to edit it. Alternatively, right-click it and select Edit . This opens the point cloud in a separate editor window.
Clicking the Center button on the main toolbar will recenter the point cloud data around its center. This is useful if the data has been defined using coordinates that are far away from the model's origin.
-
On the main toolbar, click Edit Mode .
![Entering Edit Mode for a point cloud]()
You will need to fully load the point cloud into memory to edit it. When prompted to do so, click Yes . The full message is:
The asset needs to be fully loaded into memory to enable editing. This may take a while, depending on the size of the asset. Are you sure you want to continue?
After the point cloud has finished loading and Edit Mode has been enabled, you can make edits to individual points or selected point groups.
-
To edit points, you must select them first. Click the Selection button and, from the dropdown menu, choose one of the three available selection methods:
-
Box Selection
-
Polygonal Selection
-
Paint Selection
![Selection tools available in the LiDAR Point Cloud Editor]()
Selected points will be highlighted in orange. Press the Esc key on your keyboard to clear your selection.
![Selected points in a point cloud]()
-
-
You can Hide , Delete , or Extract the selected points.


After you edit the point cloud, you must rebuild its collision.
On Your Own!
Explore some of the other functionality the LiDAR Point Cloud plugin offers:
-
Enable Eye-Dome Lighting to enhance depth perception.
-
See the LiDAR Point Cloud Reference for the full range of available options.