Choose your operating system:
Windows
macOS
Linux
Media Framework in Unreal Engine 4 (UE4) supports video and audio capture devices as a form of media that can be played inside the Engine. For example, you can take a live video feed from your webcam and play it directly inside UE4 on a Static Mesh or as part of a HUD. Or, you can deploy your project to a mobile device and retrieve the front or rear camera video feed and play that back inside your application.
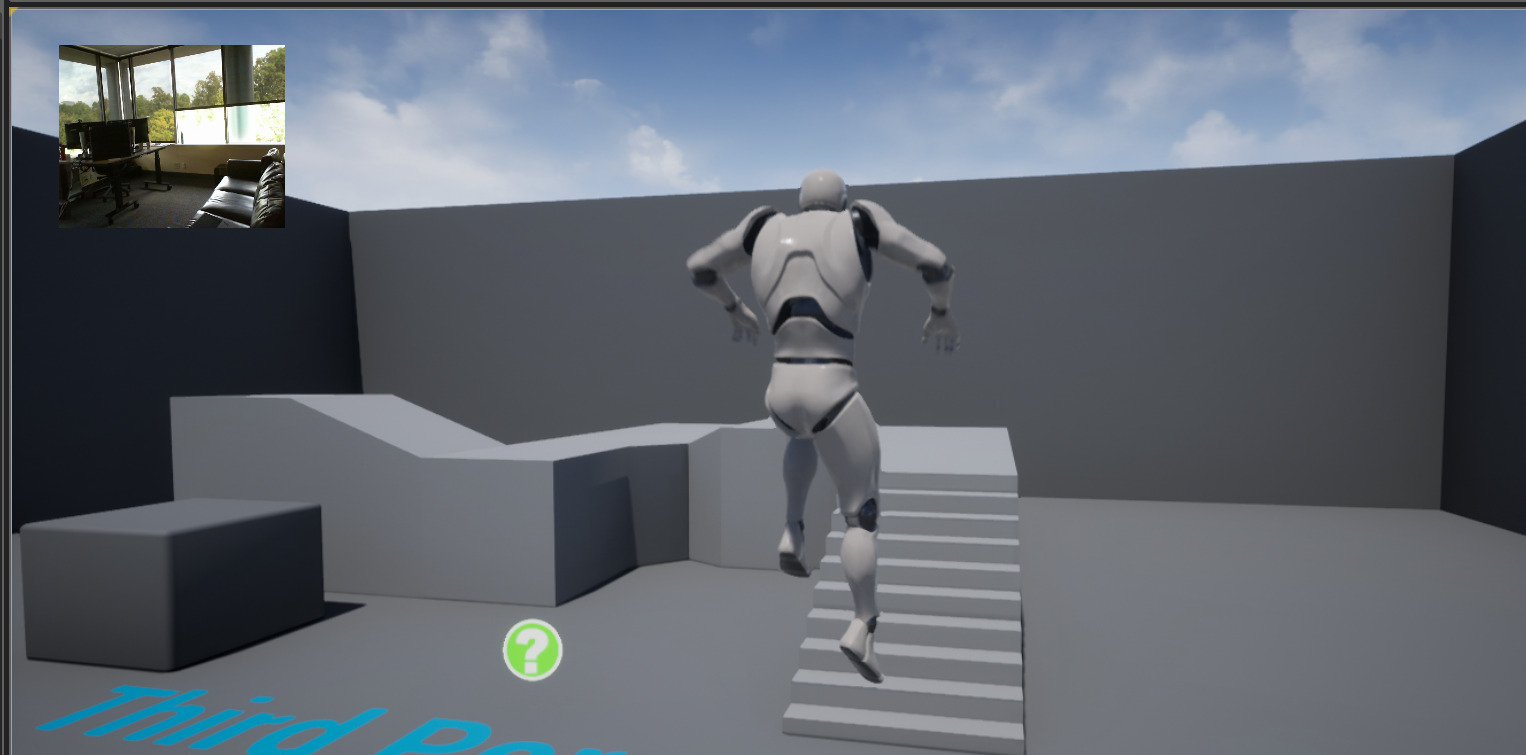
In this example, we take the video capture feed from a webcam and display it as part of a HUD during gameplay.

The Electra Media Player does not currently support Live Video Capture playback.
Steps
For this how-to we are using the Blueprint Third Person Template project with Starter Content enabled. You must also have a webcam attached to your computer.
-
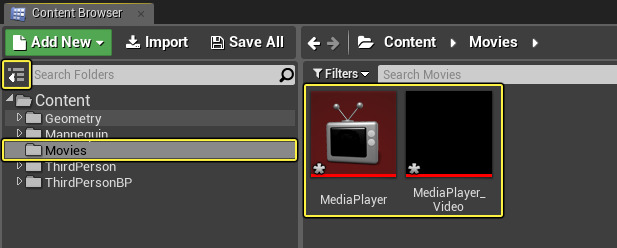
Expand the Sources panel and create a folder called Movies , then inside it, create a Media Player and linked Media Texture asset called MediaPlayer .
![WebCam_01.png]()
-
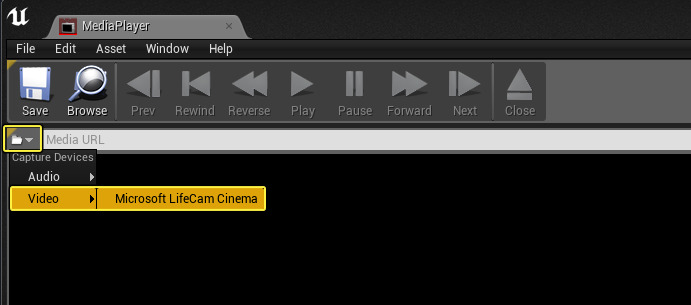
Open the MediaPlayer asset, then next to the Media URL field, click and expand the Capture Devices and find your camera under Video .
![WebCam_02.png]()
The number of capture devices and names displayed may differ from the screenshot based on your computer setup.
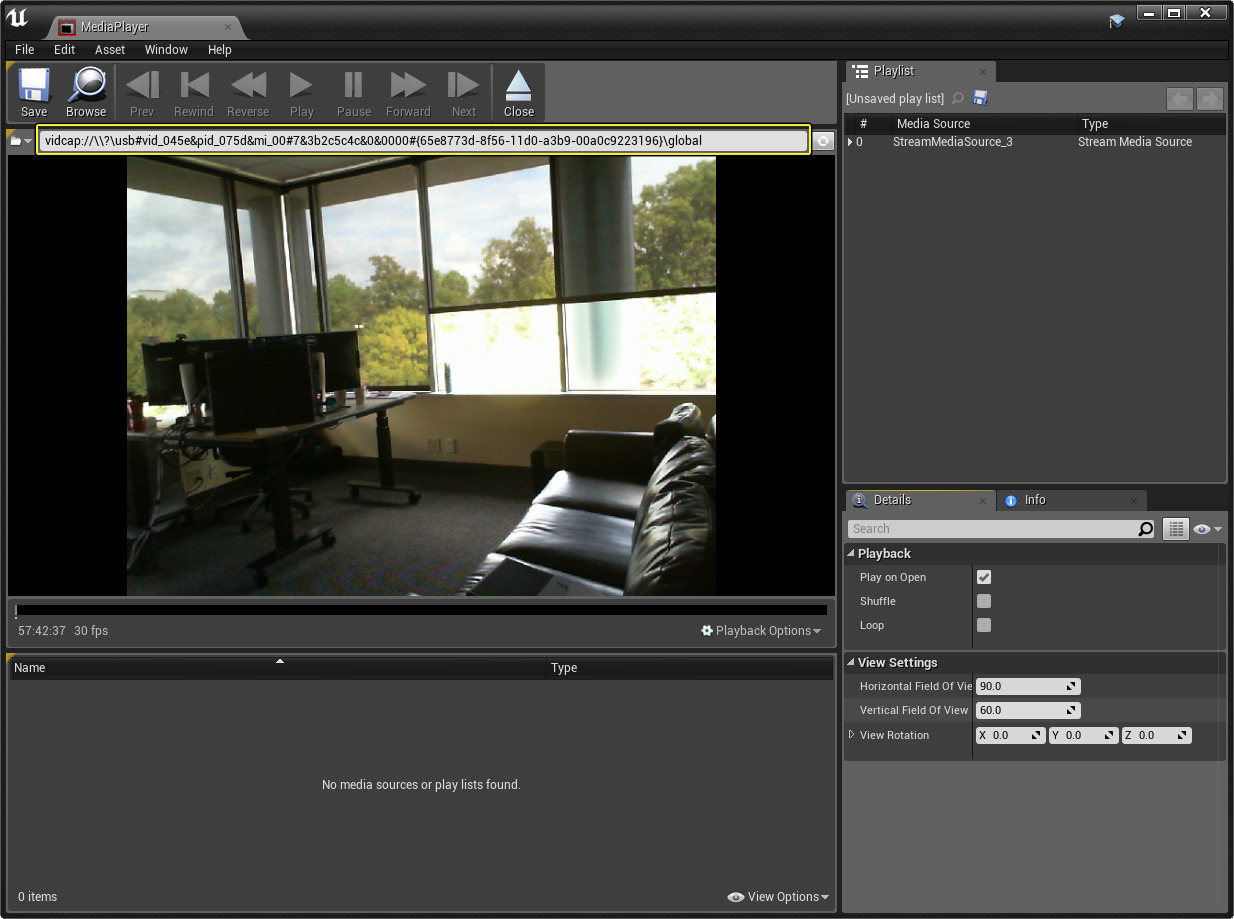
When selecting your video capture device, video from the camera will be displayed inside the Media Editor Player.
-
Highlight and right-click copy the Media URL string displayed in the Media URL field.
![WebCam_03.png]()
The URL string displayed may differ from the screenshot based on your computer setup.
-
Inside the Content Browser , right-click and under User Interface select Widget Blueprint and call it HUD .
![WebCam_04.png]()
We are going to use our Media Texture inside our User Interface to display a picture-in-picture style HUD taking in and using our webcam video.
-
Open the HUD Widget Blueprint, then from the Content Browser , drag-and-drop the MediaPlayer_Video texture into the HUD graph. You will see the video populate the Image field under Appearance .
![WebCam_06.png]()
-
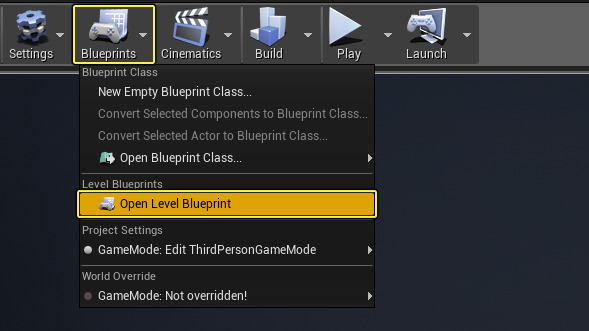
Close the HUD Widget Blueprint, then from the Main Editor Toolbar, click Blueprints then select Open Level Blueprint .
![WebCam_07.png]()
While we are not directly opening a Media Source and instead have copied the Media URL, we still need to open it in order for it to play at runtime.
-
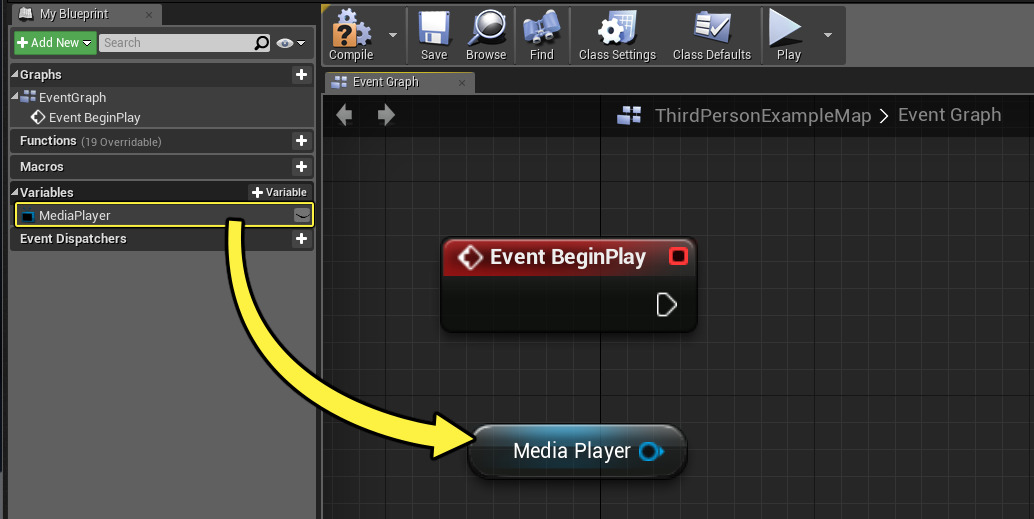
In the My Blueprint panel, create a variable called Media Player of the Media Player Object Reference type and assign your Media Player .
![WebCam_08.png]()
You may need to click Compile to compile the Blueprint before assigning the Default Value of the Media Player variable.
-
Hold Ctrl and drag the MediaPlayer variable into the graph, then right-click and add an Event BeginPlay node.
![WebCam_09.png]()
We have created a reference to our Media Player that we want to perform actions on, and an Event to signify the start of gameplay.
-
Right-click and add a Create Widget node (with HUD as the Class ), then off the Return Value use Add to Viewport and connect as shown.
![WebCam_10.png]()
Here we are saying when the game begins, create the HUD Widget Blueprint and add it to the player's viewport.
-
Off the Media Player node in the graph, use Open URL and paste the URL copied from Step 3 and connect as shown.
![WebCam_11.png]()
If you play in the Editor now, video from your webcam will appear on the HUD image you placed in your desired location.
![WebCam_12.png]()
In our example we specified the Media URL to open, however, knowing what this is may not always be the case. You may package and distribute your project to others with this functionality and want to get what capture devices the end users have connected and use one of those. Or you may want to deploy your project to a mobile device and want to get the front or rear camera video feed and use that as the media source. You can use the Enumerate Capture Devices function to return all of the attached capture devices and get information about those devices.
-
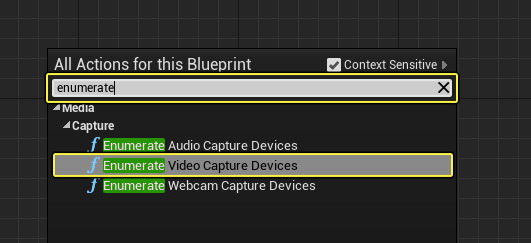
Right-click in the graph and search for and add the Enumerate Video Capture Devices function.
![WebCam_13.png]()
There are enumerators for Audio, Video and webcam capture devices (where webcam is used for Mobile devices as you can get the Front or Rear cameras).
-
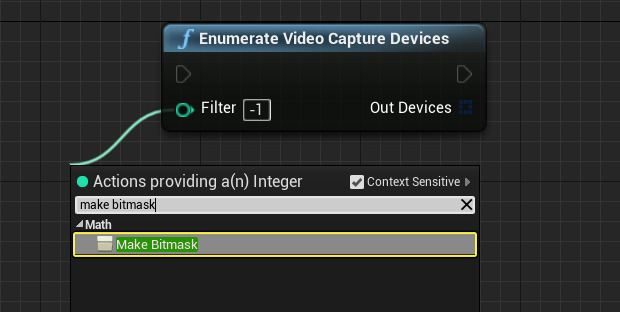
Drag off the Filter pin and use the Make Bitmask node.
![WebCam_14.png]()
Using the Make Bitmask node will enable you to filter for a specific subset of devices.
-
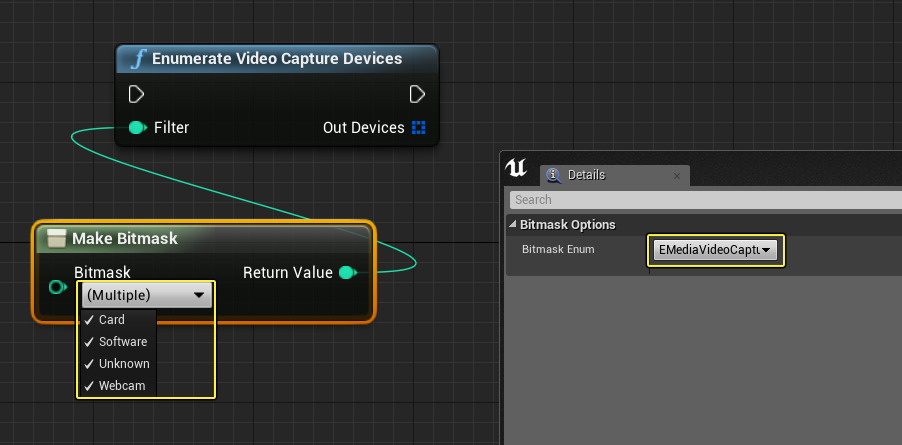
With the Make Bitmask node selected, in the Details panel, change the Bitmask Enum to EMediaVideoCaptureDeviceFilter then enable each in the filter.
![WebCam_14b.png]()
Here we are filtering for each of the enabled options to return the capture devices (you could exclude the ones you want to omit to narrow the list of returned devices).
-
From the Out Devices use the Get Copy node and off its out pin, use the Break MediaCpatureDevice node and connect to an Open URL as shown below.
Click image for full view.
This process will find the first available capture device and return its URL that is then used with Open URL to open the source for playback.
-
Compile and close the Level Blueprint then click the Play button from the Main Toolbar to play in the Editor.
End Result
When you play in the Editor, the video feed from your camera will get pushed through to the Engine and appear on your HUD.
To get the Front or Rear camera on a mobile device:
-
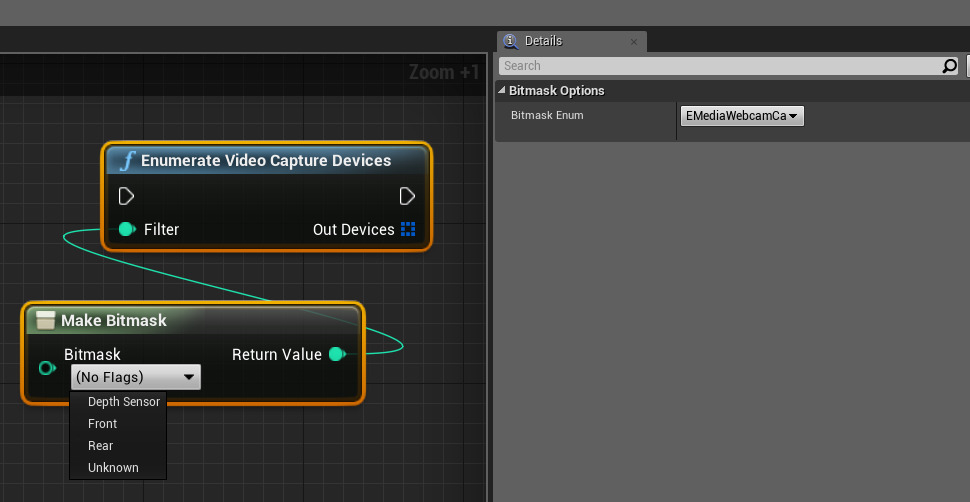
Use the Enumerate Video Capture Devices node and set the Bitmask Enum to EMediaWebcamCaptureDeviceFilter option.
-
On the Make Bitmask node, flag which camera you want to get.
