Choose your operating system:
Windows
macOS
Linux
概要
このドキュメントでは、ナビゲーション システムのカスタム領域とクエリ フィルタについて学ぶ準備作業として、レベルと AI エージェントを作成する手順を説明します。
なお、 完全なサンプル プロジェクト をダウンロードすることもできます。サンプル プロジェクトには、このガイドで取り上げるすべてのマテリアルが含まれています。
目的
-
新しいレベルを作成し、レベルにナビゲーション メッシュ アクタを配置してナビゲーションをセットアップする。
-
特定のクエリ フィルタを使用してターゲットに移動するように ThirdPersonCharacter ブループリントを変更する。
1 - 必要な設定
-
Unreal プロジェクト ブラウザの [New Project Categories (新規プロジェクト カテゴリ)] セクションにある [Games (ゲーム)] を選択し、 [Next (次へ)] をクリックします。
![Select the Games category and click Next]()
-
[Third Person (サードパーソン)] テンプレートを選択し、 [Next (次へ)] をクリックします。
![Select the Third Person template and click Next]()
-
[Blueprint (ブループリント)] 、 [No Starter Content (スターターコンテンツ無し)] オプションの順に選択して、 [Create Project (プロジェクト作成)] をクリックします。
![Select Blueprint and No Starter Content and click Create Project]()


このセクションの結果
新規のサードパーソン プロジェクトを作成し、領域のクラスとナビゲーション クエリ フィルタの作成について学ぶ準備ができました。
2 - テスト レベルを作成する
-
メニューバーで [File (ファイル)] > [New Level (新規レベル)] の順にクリックします。
![Click New Level]()
-
[Default (デフォルト)] レベルを選択します。
![Select the Default Level]()
-
[World Outliner (アウトライナ)] で [Floor] スタティック メッシュ アクタを選択し、 [Details (詳細)] パネルで [Scale (拡大・縮小)] を X = 10、Y = 10、Z = 1 に設定します。
![Select the Floor Static Mesh Actor in the World Outliner]()
![Set the Scale to X = 10, Y = 10, Z = 1]()
-
[Place Actors (アクタを配置)] パネルに移動し、「 Nav Mesh Bounds Volume 」を検索します。これをレベルにドラッグして、Floor メッシュ上に配置します。
![Drag a Nav Mesh Bounds Volume Actor to the Level]()
-
[Nav Mesh Bounds Volume] を選択した状態で [Details] パネルに移動し [Scale] を X = 5、Y = 10、Z = 1 に設定します。
![Set the Scale to X = 5, Y = 10, Z = 1]()
-
[Place Actors] パネルの [Basic (基本)] カテゴリに移動します。 [Sphere (スフィア)] アクタをレベルにドラッグします。
![Drag a Sphere Actor into the Level]()


このセクションの結果
このセクションでは、新規レベルを作成し、ナビゲーション メッシュとスフィア アクタを追加しました。スフィア アクタを目的地に歩くエージェントを作成する準備が整いました。
3 - エージェントを作成する
このセクションでは、ターゲット アクタに向かって移動するエージェントを作成します。
-
コンテンツ ブラウザ で右クリックし、 [New Folder (新規フォルダ)] を選択して新しいフォルダを作成します。このフォルダに「 NavigationSystem 」という名前を付けます
-
コンテンツ ブラウザ で、 「ThirdPersonBP」>「Blueprints」 の順に移動し、 [ThirdPersonCharacter] ブループリントを選択します。これを「 NavigationSystem 」フォルダにドラッグし、 [Copy Here (ここにコピー)] オプションを選択します。
![Drag the Third Person Character Blueprint to the Navigation System folder and select Copy Here]()
-
「 NavigationSystem 」フォルダに移動して、ブループリントの名前を「 BP_NPC_CustomZone 」に変更します。ブループリントをダブルクリックして開き、 イベント グラフ に移動します。すべての入力ノードを選択し、削除します。
-
イベント グラフ を右クリックし、「 Add Custom Event 」を検索、選択します。イベントに「 MoveNPC 」という名前を付けます。
![Right-click the Event Graph, then search for and select Add Custom Event. Name the event Move NPC]()
-
[My Blueprint (マイ ブループリント)] パネルに移動し、 [Variables (変数)] の隣の 追加 (+) ボタン をクリックして新しい変数を作成します。変数に「 Target 」という名前を付けます。
![Click the Add next to Variables to create a new variable and name it Target]()
-
[Details] パネルに移動し、 [Variable Type (変数の型)] ドロップダウンをクリックします。「 Actor 」を検索して、 [Object Reference (オブジェクト参照)] を選択します。 [Instance Editable (インスタンス編集可能)] チェックボックスをオンにします。
![Click the Variable Type dropdown and select the Actor Object Reference]()
![Enable the Instance Editable checkbox]()
-
Target 変数を イベント グラフ にドラッグして [Get Target (Target を取得)] オプションを選択します。以下のように、 Target ノードからドラッグして「 Is Valid 」マクロを検索、選択します。
![Drag from the Target node, then search for and select the Is Valid macro]()
-
イベント グラフ を右クリックし、「 Get reference to self 」を検索して選択します。
![Right-click the Event Graph, then search for and select Get reference to self]()
-
Self ノードからドラッグして、「 Get AIController 」を検索、選択します。
![Drag from the Self node, then search for and select Get AI Controller]()
-
AI Controller ノードからドラッグして、「 Move to Actor 」を検索、選択します。
![Drag from the AI Controller node, then search for and select Move to Actor]()
-
Is Valid ノードの Is Valid ピンを Move to Actor ノードに接続します。 Move to Actor ノードの Acceptance Radius を 50 に設定します。 Target 変数をドラッグして Move to Actor ノードの Goal ピンに接続します。
![Connect the Is Valid pin of the Is Valid node to the Move to Actor node]()
-
Move to Actor ノードの Filter クラス ピンを右クリックして [Promote to Variable (変数へ昇格)] を選択します。 [Details] パネルに移動して [Instance Editable] チェックボックスをオンにします。
![Right-click the Filter Class pin of the Move to Actor node and select Promote to Variable]()
![Enable the Instance Editable checkbox]()
-
イベント グラフ を右クリックし、「 Event Begin Play 」を検索して選択します。 Event Begin Play ノードからドラッグして「 MoveNPC 」を検索、選択します。
![Right-click the Event Graph, then search for and select Event Begin Play]()
![Drag from the Event Begin Play node and search for and select MoveNPC]()
-
ブループリント を コンパイル して 保存 します。完成したブループリントは、次の画像のようになります。
![This is the final Blueprint Setup]()
-
BP_NPC_CustomZone ブループリントをレベルにドラッグします。 [Details] パネルに移動し、 [Target] の隣のドロップダウンをクリックします。以下のように、「 Sphere 」を検索、選択します。
![Drag the BP_NPC_CustomZone Blueprint into your Level]()
![Navigate to the Details panel and click the dropdown next to Target. Search for and select Sphere]()
-
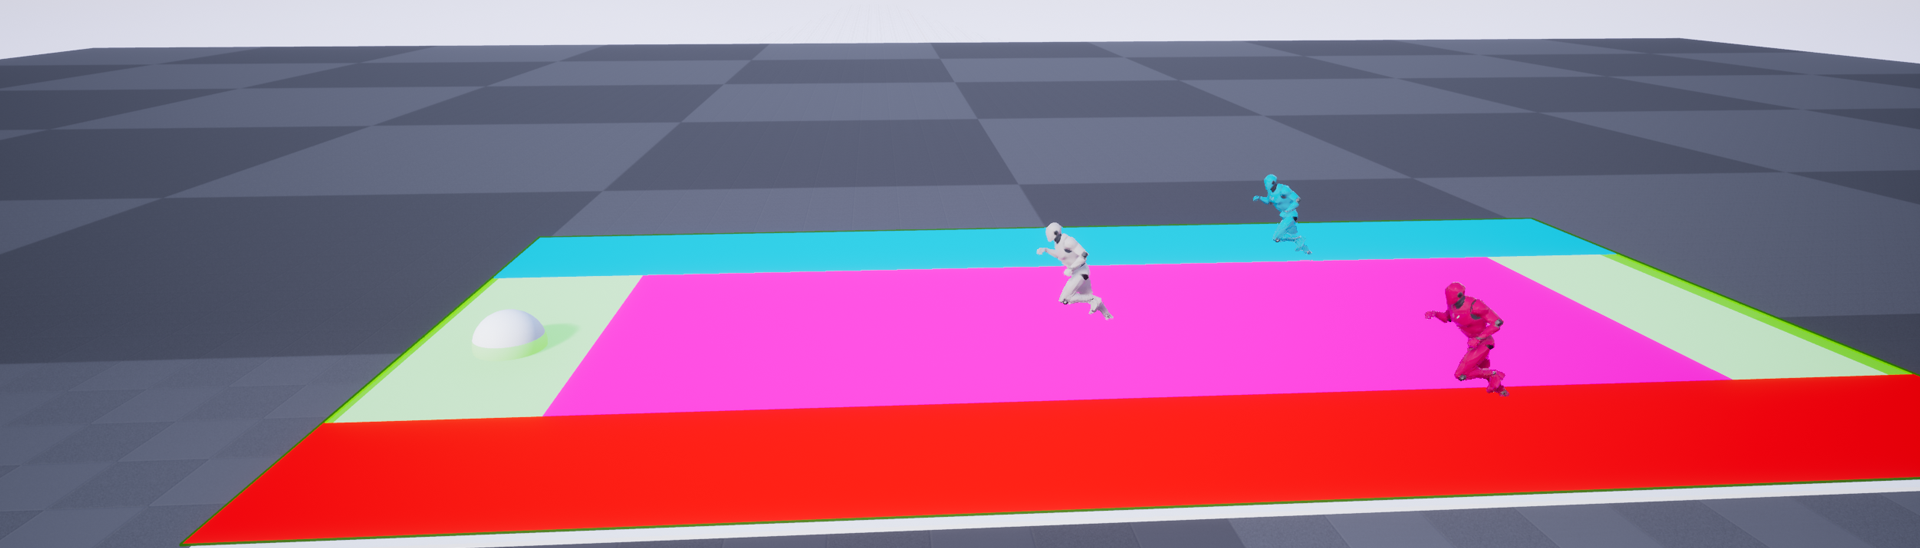
[Simulate (シミュレート)] を押し、エージェントがスフィアに向かって移動する様子を観察します。
![Your Agent is now moving towards the Sphere]()


このセクションの結果
このセクションでは、目的地に向かって移動し、ナビゲーション クエリ フィルタを使用できるエージェントを作成しました。これで、 カスタム ナビゲーション領域とクエリ フィルタ の追加について学習する準備ができました。