Choose your operating system:
Windows
macOS
Linux
概要
Unreal Engine の ナビゲーション システム では、エージェントがパス検索に ナビゲーション メッシュ を使用してレベルを移動できます。システムには、ナビゲーション メッシュのさまざまな ランタイム生成 手法に加え、特定のターゲットの周りだけにナビゲーションを局地的に作成する方法が用意されています。
Navigation Invoker は、ランタイム時にエージェントの周囲にナビゲーション メッシュを生成するブループリント アクタ コンポーネントです。Navigation Invoker を使用すると、エディタでナビゲーション メッシュを作成する必要性がなくなります。また、ランタイム時に生成されるタイル数を制限することができます。
Navigation Invoker は、エディタでナビゲーション メッシュを作成するのが現実的ではない大規模なレベルに最適です。
目標
このガイドでは、エージェントに Navigation Invoker を使用して、ゲームプレイ中にナビゲーション メッシュを生成する方法を学習します。
目的
-
新しいレベルを作成し、Navigation Invoker を使用するようにナビゲーション システムを設定する。
-
Navigation Invoker を使用してレベル内を歩き回るように ThirdPersonCharacter ブループリントを変更する。
1 - 必要な設定
-
メニューの [New Project Categories (新規プロジェクトカテゴリ)] セクションにある [Games (ゲーム)] を選択して [Next (次へ)] をクリックします。
![Select the Games category and click Next]()
-
[Third Person (サードパーソン)] テンプレートを選択し、 [Next (次へ)] をクリックします。
![Select the Third Person template and click Next]()
-
[Blueprint (ブループリント)] 、 [No Starter Content (スターターコンテンツ無し)] オプションの順に選択して、 [Create Project (プロジェクト作成)] をクリックします。
![Select Blueprint and No Starter Content and click Create Project]()


このセクションの結果
新しいサード パーソン プロジェクトを作成し、Navigation Invoker について学ぶ準備が整いました。
2 - テスト レベルを作成する
-
メニューバーで [File (ファイル)] > [New Level (新規level)] の順にクリックします。
![Click New Level]()
-
[Default (デフォルト)] レベルを選択します。
![Select the Default Level]()
-
[World Outliner (アウトライナ)] で [Floor] スタティック メッシュ アクタを選択し、 [Details (詳細)] パネルに移動します。 [Scale (拡大・縮小)] を X = 100、Y = 100、Z = 1 に設定します。
![Select the Floor Static Mesh Actor in the World Outliner]()
![Set the Scale to X = 100, Y = 100, Z = 1]()
-
[Settings (設定)] > [Project Settings (プロジェクト設定)] の順にクリックして [Navigation System (ナビゲーション システム)] カテゴリに移動します。 [Generate Navigation Only Around Navigation Invokers (Navigation Invoker の周囲にのみナビゲーションを生成する)] チェックボックスをオンにします。
![Click Project Settings]()
![Enable the Generate Navigation Only Around Navigation Invokers checkbox]()
-
[Navigation Mesh (ナビゲーション メッシュ)] カテゴリに移動し、 [Runtime (ランタイム)] セクションまで下にスクロールします。 [Runtime Generation (ランタイム生成)] ドロップダウンをクリックして [Dynamic (ダイナミック)] を選択します。
![Click the Runtime Generation dropdown and select Dynamic]()
-
[Place Actors (アクタを配置)] パネルに移動し、「 Nav Mesh Bounds Volume 」を検索します。これをレベルにドラッグして、Floor メッシュ上に配置します。 ナビメッシュ バウンズ ボリューム の [Scale] を X = 500、Y=500、Z = 10 に設定します。
![Drag the Nav Mesh Bounds Volume to the Level]()
![Set the Scale to X = 500, Y=500, Z = 10]()


このセクションの結果
このセクションでは、新規レベルを作成し、Navigation Invoker を使用するようにナビゲーション システムを設定しました。
3 - エージェントを作成する
-
コンテンツ ブラウザ で右クリックし、 [New Folder (新規フォルダ)] を選択して新しいフォルダを作成します。このフォルダに「 NavigationSystem 」という名前を付けます
-
コンテンツ ブラウザ で、 「ThirdPersonBP」>「Blueprints」 の順に移動し、 [ThirdPersonCharacter] ブループリントを選択します。これを「 NavigationSystem 」フォルダにドラッグし、 [Copy Here (ここにコピー)] オプションを選択します。
![Drag the Third Person Character Blueprint to the Navigation System folder and select Copy Here]()
-
「 NavigationSystem 」フォルダに移動して、ブループリントの名前を「 BP_NPC_Invoker 」に変更します。ブループリントをダブルクリックして開き、 イベント グラフ に移動します。すべての入力ノードを選択し、削除します。
-
イベント グラフ を右クリックし、「 Add Custom Event 」を検索、選択します。イベントに「 MoveNPC 」という名前を付けます。
![Right-click the Event Graph, then search for and select Add Custom Event. Name the event Move NPC]()
-
イベント グラフ を右クリックして、「 Get Actor Location 」を検索、選択します。
![Right-click the Event Graph, then search for and select Get Actor Location]()
-
GetActorLocation ノードからドラッグし、「 Get Random Reachable Point In Radius 」を検索、選択します。 [Radius (半径)] を 1000 に設定します。
![Drag from the Get Actor Location node and search for and select Get Random Reachable Point In Radius]()
-
GetRandomReachablePointInRadius ノードの Random Location ピンからドラッグして [Promote to variable (変数へ昇格)] を選択します。
![Drag from the Random Location pin of the Get Random Reachable Point In Radius node and select Promote to variable]()
-
MoveNPC ノードを先ほど作成した RandomLocation ノードに接続します。
![Connect the Move NPC node to the Random Location node]()
-
イベント グラフ を右クリックし、「 AI Move To 」を検索、選択します。 RandomLocation ノードを AI Move To ノードに接続します。
![Right-click the Event Graph, then search for and select AI Move To]()
-
イベント グラフ を右クリックして、「 Get reference to self 」を検索、選択します。
![Right-click the Event Graph, then search for and select Get a reference to self]()
-
Self ノードを AI Move To ノードの Pawn ピンに接続します。以下のように、 Random Location ノードの 黄色 のピンを AI Move To ノードの Destination ピンに接続します。
![Connect the Self node to the Pawn pin of the AI Move To node. Connect the yellow pin of the Random Location node to the Destination pin of the AI Move To node]()
-
AI Move To ノードの On Success ピンをドラッグして、「 Delay 」を検索、選択します。以下のように、このノードの [Duration (期間)] を 4 に設定します。 Delay ノードの Completed ピンをドラッグして、「 MoveNPC 」を検索、選択します。
![Drag from the On Success pin of the AI Move To node and add a Delay node. Set the Duration to 4. Drag from the Duration node and add a Move NPC node]()
-
上記の手順を繰り返して、これらのノードを AI Move To ノードの On Fail ピンに追加します。 Delay ノードの [Duration] を 0.1 に設定します。
![Repeat the steps above to add these nodes to the On Fail pin]()
-
イベント グラフ を右クリックし、「 Event Begin Play 」を検索して選択します。 Event Begin Play ノードからドラッグして、「 MoveNPC 」を検索、選択します。
![Right-click the Event Graph, then search for and select Event Begin Play]()
![Drag from the Event Begin Play node, then search for and select Move NPC]()
-
[Components (コンポーネント)] タブで [Add Component (コンポーネントを追加)] ドロップダウンをクリックし、「 Navigation Invoker 」を検索、追加します。
![Go to the Components tab, click the Add Component dropdown, then search for and select Navigation Invoker]()
-
Navigation Invoker コンポーネントを選択した状態で [Details] パネルに移動し、 [Navigation (ナビゲーション)] セクションを見付けます。ここで、 [Tile Generation Radius (タイル生成半径)] (ナビゲーション メッシュ タイルを生成するために使用するアクタ周囲の半径) と [Tile Removal Radius (タイル削除半径)] (ナビゲーション メッシュ タイルの削除に使用するアクタからの半径) を変更できます。この例では、これらの値をそれぞれ 3000 と 5000 に設定します。
![Set the Tile Generation Radius to 3000 and the Tile Removal Radius to 5000]()
-
ブループリントを コンパイル して、 保存 します。
-
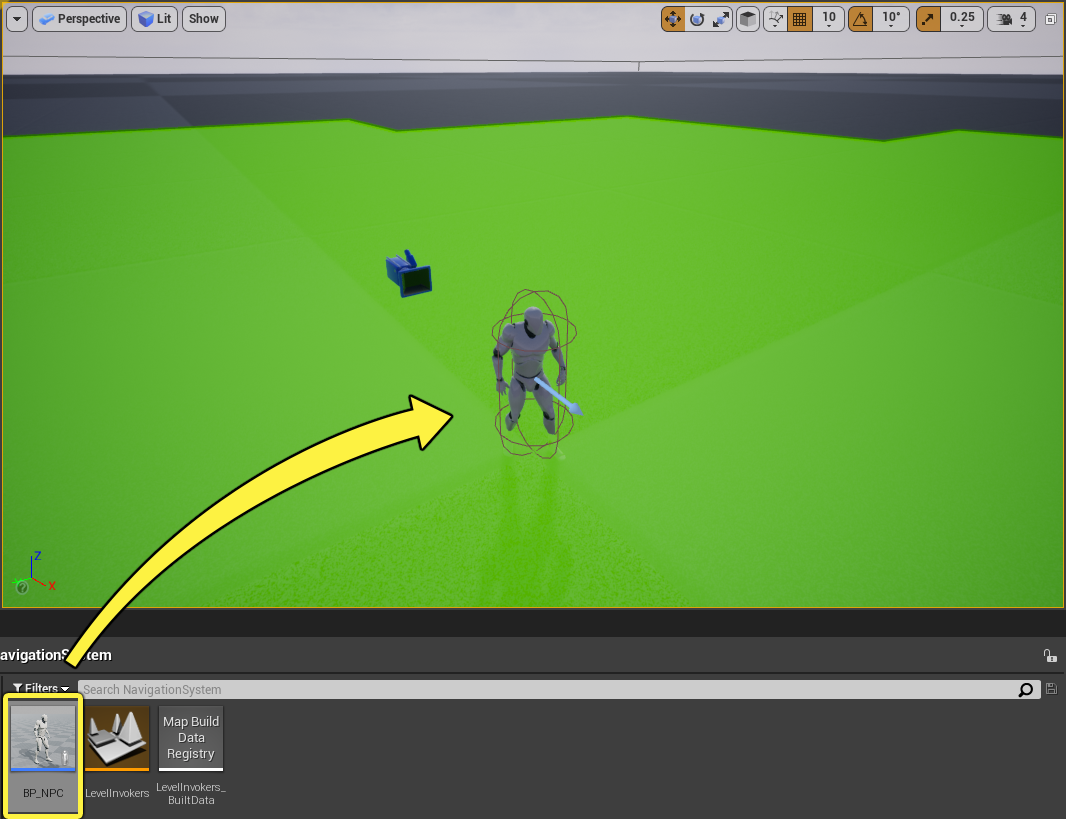
BP_NPC_Invoker ブループリントをいくつかレベルにドラッグし、 [Simulate (シミュレート)] をクリックして、各エージェントの周囲に生成されるナビゲーションを確認します。
![Drag several BP_NPC_Invoker Blueprints to your Level]()
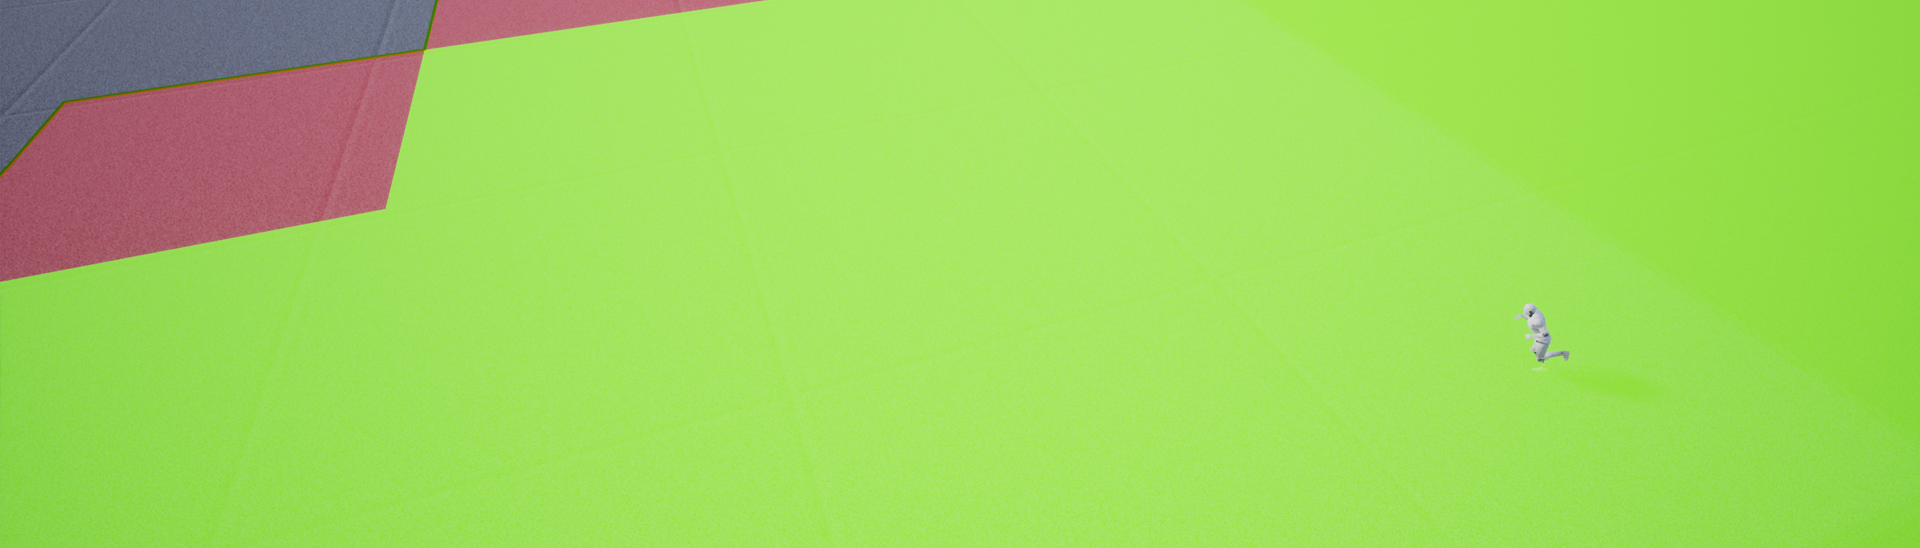
ナビゲーションが見えない場合は、キーボードの P キーを押してナビゲーション メッシュを視覚化します。
![Yours Agents are now moving in the Level]()


このセクションの結果
このセクションでは、レベル内を歩き回り、Navigation Invoker コンポーネントを使用して自信の周囲にナビゲーション メッシュを作成するエージェントを作成しました。