Choose your operating system:
Windows
macOS
Linux
Overview
This document will guide you through the preliminary steps of creating a Level and AI Agent to demonstrate the different ways you can modify the Navigation System.
Alternatively, you can download the full sample project , which includes all the material covered in this guide.
Objectives
-
Create a simple Level and add navigation by placing a Nav Mesh Bounds Volume Actor in the Level.
-
Modify the ThirdPersonCharacter Blueprint to roam around the Level using the Navigation System.
1 - Required Setup
-
In the New Project Categories section of the menu, select Games and click Next .
![Create-Project.png]()
-
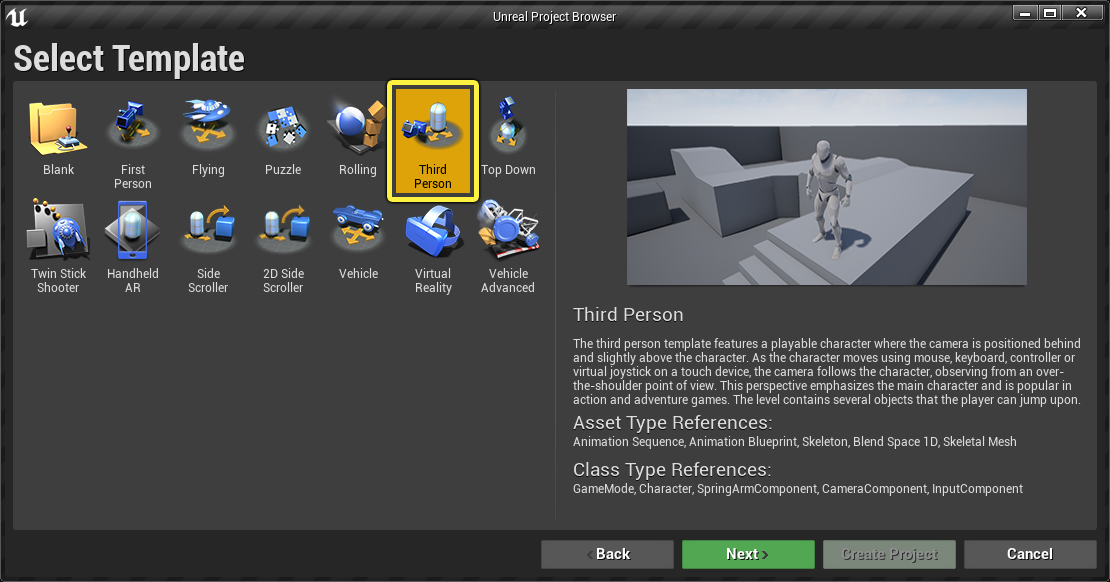
Select the Third Person template and click Next .
![Create-Project2.png]()
-
Select the Blueprint and No Starter Content options and click Create Project .
![Basic-Create-Settings.png]()


Section Results
You have created a new Third Person project and are now ready to build a basic Level with a Navigation Mesh.
2 - Creating Your Test Level
-
Click File > New Level on the Menu Bar.
![Mod-NewLevel.png]()
-
Select the Default Level.
![Mod-NewLevel2.png]()
-
Select the Floor Static Mesh Actor in the World Outliner and from the Details panel, set the Scale to X = 10, Y = 10, Z = 1.
![Mod-Level-FloorSelected.png]()
![Mod-Level-FloorSelected2.png]()
-
Inside the Content Browser , go to Geometry > Meshes and drag the TemplateFloor Static Mesh into the Level.
![Mod-Level-DragTemplateFloor.png]()
-
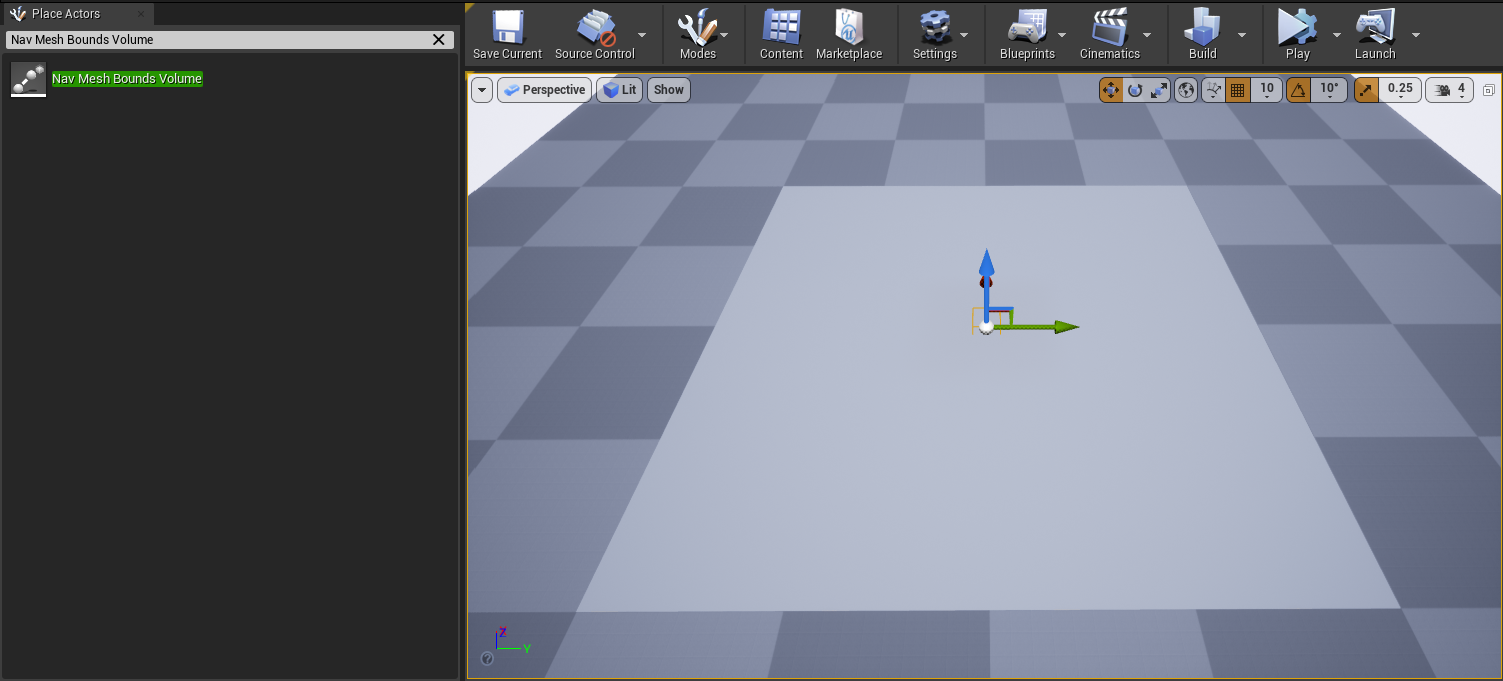
Go to the Place Actors panel and search for Nav Mesh Bounds Volume . Drag it into the Level and place it above the floor mesh.
![Mod-Level-NavBounds-Drag.png]()
-
With the Nav Mesh Bounds Volume selected, go to the Details Panel and set the Scale to X = 20, Y = 20, Z = 5 to cover the entire floor area. Unreal Engine will automatically generate navigation inside the navigation bounds by default. A Navmesh Actor RecastNavMesh-Default should have also been added to the Level. Press the P key to visualize the Navigation Mesh in the Level.
If no navigation is generated, go to Project Settings > Navigation System and enable the Auto Create Navigation Data checkbox.
![Mod-Level-NavBounds-Scale.png]()
![Mod-Level-NavBounds-P.png]()
-
Go to the Place Actors panel and under the Basic category drag the Cube Static Mesh Actor into your Level.
![Mod-Level-Cube-Drag.png]()
-
With the Cube selected, go to the Details Panel and set the Scale to X = 1, Y = 1, Z = 5
![Mod-Level-Cube-Scale.png]()
![Mod-Level-Cube-Scale2.png]()
-
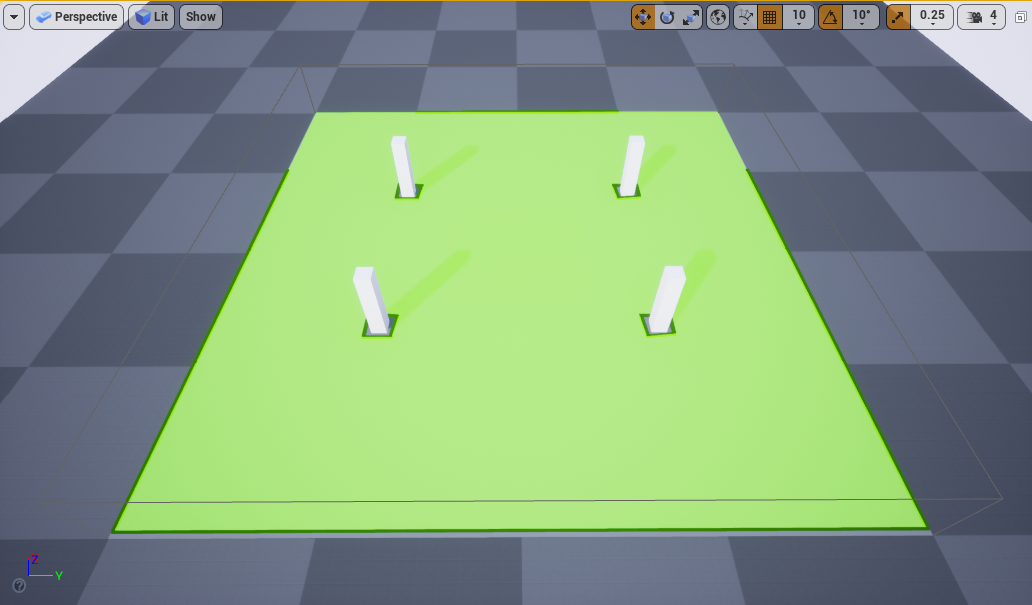
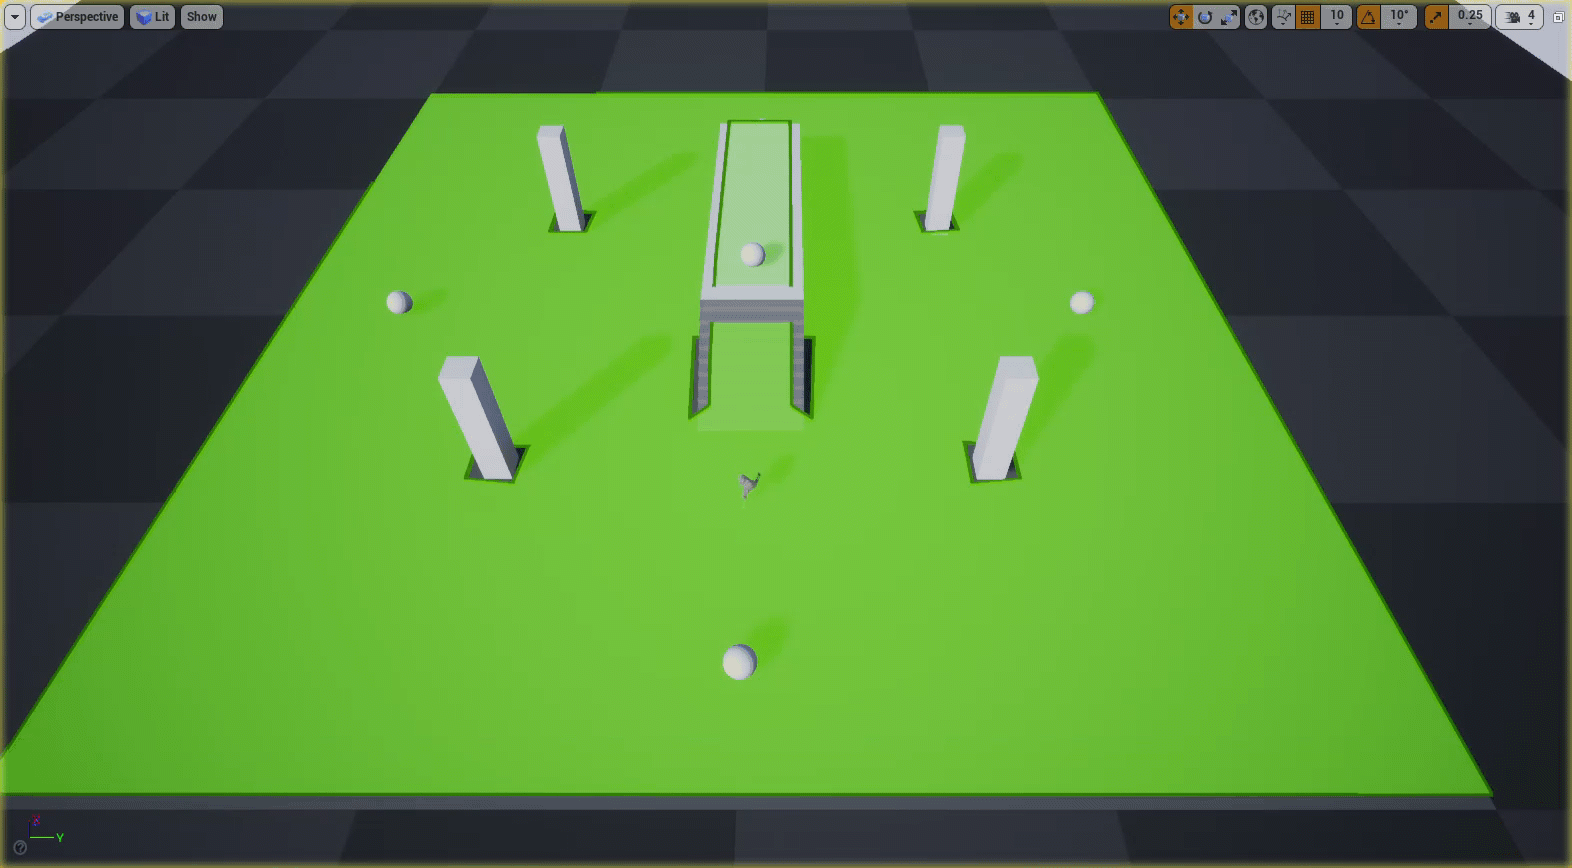
Drag three more Cubes into the level and scale them as the one above. Place them around your floor to create four pillars as seen below.
![Mod-Level-Pillars.png]()
-
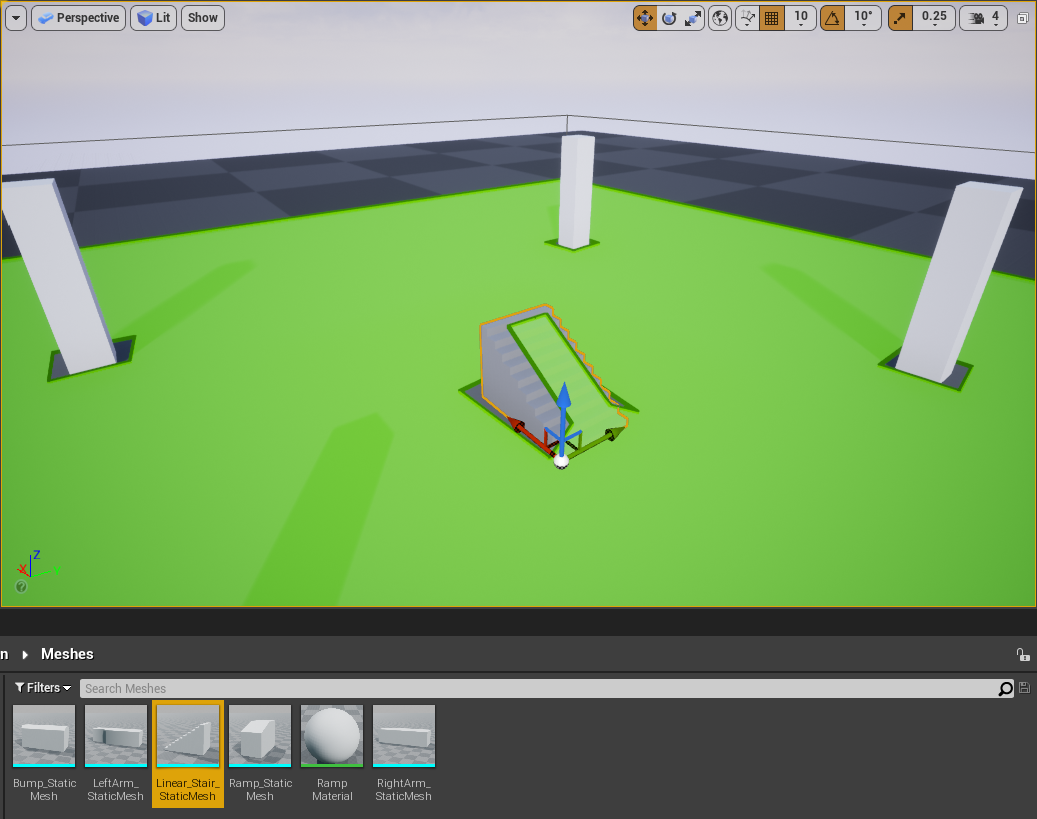
Next, add a stair and a platform in the middle. Inside the Content Browser , go to ThirdPerson > Meshes and drag the Linear_Stair_StaticMesh into the Level.
![Mod-Level-Stairs-Drag.png]()
-
With the stairs selected, go to the Details Panel and set the Scale to X = 1.5, Y = 1, Z = 1.3
![Mod-Level-Stairs-Scale.png]()
-
With the stairs selected, drag the mesh while holding the Alt key to duplicate it.
![Mod-Level-Stairs-Duplicate.png]()
-
Go to the Place Actors panel and under the Basic category drag the Cube Static Mesh Actor into your Level. Go to the Details Panel and set the Scale to X = 14, Y = 4, Z = 0.1. Place the Actor on the edge of the stairs to create a platform, as seen below.
![Mod-Level-Bridge.png]()
-
Go to the Place Actors panel and under the Basic category drag the Sphere Static Mesh Actor into your Level.
![Mod-Level-Goal-Drag.png]()
-
With the sphere selected, go to the Details Panel and from the Collision section, set the Collision Presets to No Collision .
![Mod-Level-Goal-Collision.png]()
-
Finally, duplicate the spheres and place them around your Level as shown below.
![Mod-Level-Goal-Duplicate.png]()


Section Results
In this section you created a simple Level and added a Nav Mesh Bounds Volume. You also added five spheres that will serve as target Actors for the Agent.
3 - Creating Your Agent
In this section you will create an AI Agent that will move between a list of target Actors.
-
In the Content Browser , right-click and select New Folder to create a new folder. Name the folder NavigationSystem .
-
In the Content Browser , go to ThirdPersonBP > Blueprints and select the ThirdPersonCharacter Blueprint. Drag it into the NavigationSystem folder and select the option Copy Here .
![Drag-Blueprint.png]()
-
Go to the NavigationSystem folder and rename the Blueprint to BP_NPC_ModNavMesh . Double-click the Blueprint to open it in the Blueprint Editor and go to the Event Graph . Select all input nodes and delete them.
-
Right-click the Event Graph , then search for and select Add Custom Event . Name the event MoveNPC .
![Add-Custom-Event.png]()
-
Go to the My Blueprint panel and click the Add (+) button next to Variables to create a new variable. Name the variable TargetList .
![Mod-NPC-TargetList-Create.png]()
-
Go to the Details panel and click the dropdown next to Variable Type . Search for and select Actor > Object Reference .
![Mod-NPC-TargetList-Actor.png]()
-
Click the blue sphere icon next to Actor selection and click the Array option, as shown below. Click the Instance Editable checkbox to enable it.
![Mod-NPC-TargetList-Array.png]()
![Mod-NPC-TargetList-Public.png]()
-
Drag the TargetList variable to the Event Graph and select the option Get TargetList .
-
Drag from the TargetList node, then search for and select Last Index .
![Mod-NPC-TargetList-LastIndex.png]()
-
Drag from the TargetList node and search for and select Get (a copy) .
![Mod-NPC-TargetList-GetCopy.png]()
-
Drag from the green pin of the Get node, then search for and select Random Integer in Range . Connect the green pin of the Last Index node to the Max pin of the Random Integer in Range node, as seen below.
![Mod-NPC-RandomInt.png]()
![Mod-NPC-RandomInt2.png]()
-
Drag from the Get node, then search for and select Promote to variable . Name the variable CurrentTarget and connect it to the MoveNPC node.
![Mod-NPC-CurrTarget.png]()
![Mod-NPC-CurrTarget2.png]()
-
Drag from the CurrentTarget node, then search for and select Is Valid . Connect the IsValid macro node to the Set CurrentTarget node.
![Mod-NPC-IsValid.png]()
![Mod-NPC-IsValid2.png]()
-
Drag the CurrentTarget variable to the Event Graph , then select Get Current Target . Drag from the CurrentTarget node, then search for and select Get Actor Location .
![Mod-NPC-GetLocation.png]()
-
Drag from the Return Value of the GetActorLocation node, then search for and select Get Random Reachable Point In Radius . Set the Radius value to 100 .
![Mod-NPC-GetRandomPoint.png]()
![Mod-NPC-GetRandomPoint2.png]()
-
Drag from the Random Location pin of the GetRandomReachablePointInRadius node and select Promote to variable . Name the variable RandomLocation . Connect the RandomLocation node to the IsValid node as shown below.
![Mod-NPC-RandomLocation.png]()
![Mod-NPC-RandomLocation2.png]()
-
Drag from the RandomLocation node, then search for and select AI MoveTo .
![Mod-NPC-AIMove.png]()
-
Drag from the Pawn pin of the AI MoveTo node, then search for and select Get a reference to self . Connect the yellow pin of the RandomLocation node to the Destination pin of the AI MoveTo node. Finally, set the Acceptance Radius of the AI MoveTo node to 50, as seen below.
![Get-Reference.png]()
![Mod-NPC-AIMove-Connected.png]()
-
Drag from the On Success pin of the AI Move To node, then search for and select Delay . Set the Duration of the node to 4. Drag from the Completed pin of the Delay node, then search for and select MoveNPC , as seen below.
![Mod-NPC-Delay1.png]()
-
Repeat the steps above to add the nodes to the On Fail pin of the AI Move To node. Set the Duration of the Delay node to 0.1.
![Mod-NPC-Delay2.png]()
-
Right-click the Event Graph , then search for and select Event Begin Play . Drag from the Event Begin Play node, then search for and select MoveNPC .
![Mod-Moving-Begin1.png]()
![Mod-Moving-Begin2.png]()
-
Compile and save the Blueprint.
-
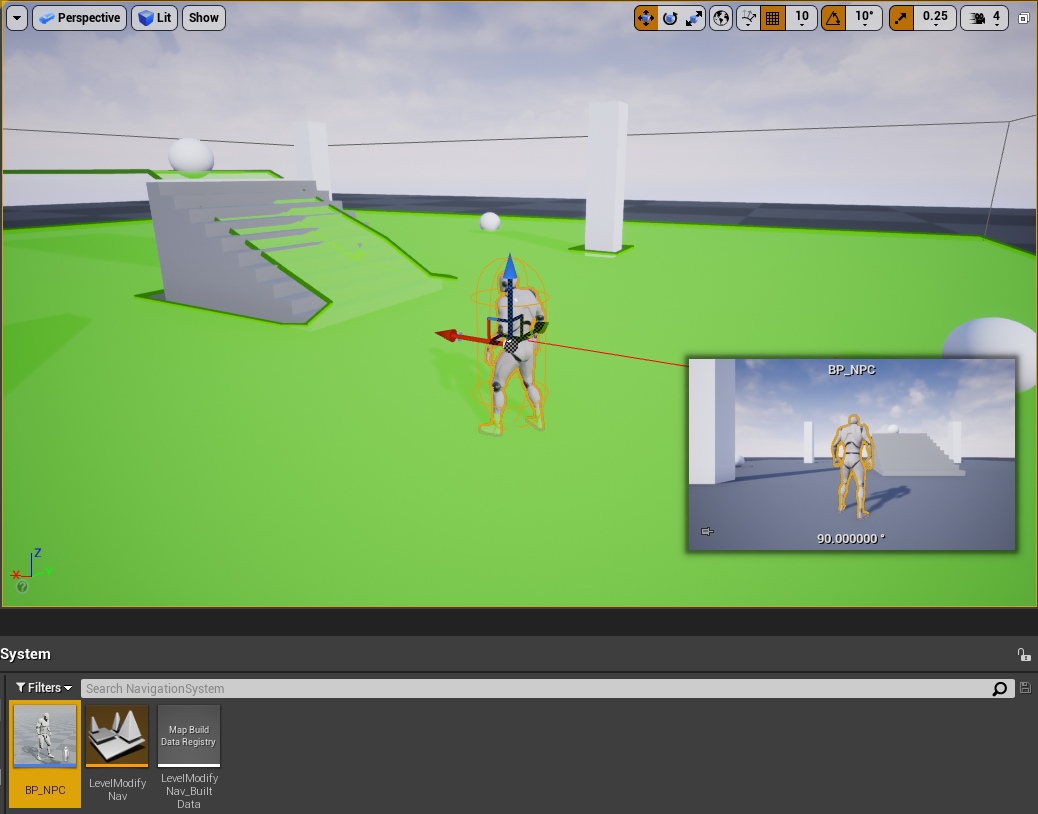
Drag your BP_NPC_ModNavMesh Blueprint into your Level and under the Details panel find the Target List and click the Add (+) button to add a new target Actor.
![Mod-NPC-Drag.png]()
![Mod-NPC-Targets1.png]()
-
Click the dropdown, then search for and select the Sphere Actor you created earlier.
![Mod-NPC-Targets2.png]()
-
Repeat the step above to add the remaining four Sphere Actors.
![Mod-NPC-Targets3.png]()
-
Click Simulate to see your Agent roam between goals in your Level.
![Mod-Prep-Demo.gif]()


Section Results
In this section you created an Agent that roams between a list of target Actors. You can now move on to learning about