Choose your operating system:
Windows
macOS
Linux
The instructions on this page provide a step-by-step guide to getting started with Switchboard . By the end of this tutorial, you'll know how to set up Switchboard to connect to multiple devices.
Step 1 - Set Up your Project for Switchboard
-
In the main menu of the Unreal Editor , select Edit > Plugins to open the Plugins window.
-
Navigate to the Virtual Production section and find the Switchboard plugin.
![The Switchboard plugin]()
-
Check the Enabled checkbox. Select Yes on the popup that appears.
![Enable switchboard warning]()
-
Select Restart Now to restart the Editor to have the changes take effect.
![Restart to enable Switchboard]()
Step 2 - Launching Switchboard
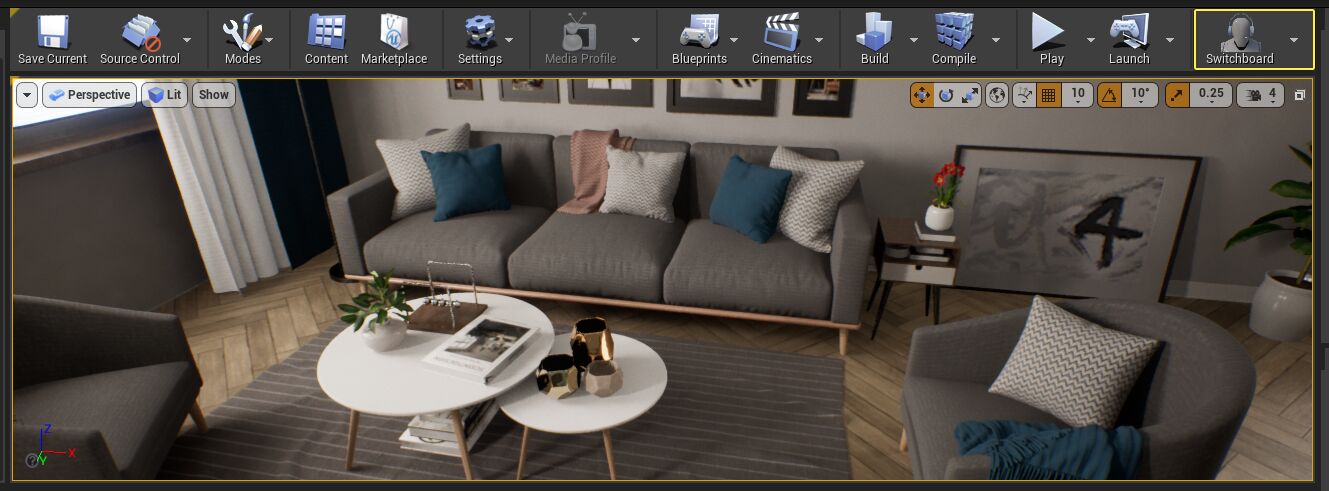
After you've added the plugin and restarted the engine, Switchboard and SwitchboardListener options appear in the Toolbar .
-
Select Launch Switchboard to run the Switchboard application.
![Switchboard toolbar icon]()
You can also launch Switchboard outside the Editor by running
Engine\Plugins\VirtualProduction\Switchboard\Source\Switchboard\Switchboard.bat. -
When you launch Switchboard for the first time, it will download all required dependencies including the Python interpreter.
![Installing Python]()
The default version of Python for Switchboard is 3.7.7. To change the Python interpreter used by Switchboard, see Switchboard Plugin Settings .
-
After all the dependencies are downloaded, the Add New Switchboard Configuration window appears when Switchboard is launched for the first time. You can fill out the fields and select OK , or select Cancel and update them later in the Switchboard Settings. Both options open Switchboard in a window.
![Switchboard configuration settings]()
Switchboard Configuration Parameters:
|
Parameter |
Description |
|
|---|---|---|
|
Name |
The name you want to use to identify your Switchboard project. |
|
|
uProject |
The local path to the uProject you want to control via Switchboard. |
|
|
Engine Dir |
The local path to the engine directory of the engine you want to use. It is possible to either specify a path to an engine you have built from source or an installed engine release. Example: "C:\Program Files\Epic Games\UE_4.26\Engine" |
|
|
Perforce |
Enable this checkbox to use Perforce as your source repository. |
|
|
P4 Project Path |
The depot path to the directory containing the uproject file specified above. |
|
|
P4 Engine Path |
The depot path to the engine directory specified above. May be omitted if you don't plan on building the engine from source. |
|
|
Workspace Name |
The name of the locally available perforce workspace that has the uproject directory mapped. |
Step 3 - Launching Switchboard Listener
If you built the engine from source, you will need to build SwitchboardListener before starting this step. You can either build it in Visual Studio or run the following command in the root directory of the engine source code:
Engine\Binaries\DotNET\UnrealBuildTool.exe Win64 Development SwitchboardListener
On each device you want to connect to Switchboard, you will need to launch SwitchboardListener. The table below describes the options for launching SwitchboardListener on your machine.

|
Menu Option |
Description |
|---|---|
|
Launch SwitchboardListener |
Launches the listener on the local machine with the default address 0.0.0.0:2980 or the address you specified in the Switchboard Settings . |
|
Install SwitchboardListener |
Adds the listener to Windows autostart so the listener will launch automatically during boot. |
|
Uninstall SwitchboardListener |
Removes the listener from the Windows autostart. |
The listener will minimize its window automatically on start to avoid issues with nDisplay devices. You can find the application in your OS's taskbar.

Step 4 - Adding a Device in Switchboard
Switchboard supports several types of devices. These devices are implemented as plugins for Switchboard. See Switchboard Settings for the list of device plugins available by default.
The following example shows how to add an Unreal Device in Switchboard, but you can follow these general steps for each type of device.
-
In Switchboard , select Add Device to expand the devices dropdown.
![Adding a device in Switchboard]()
-
Choose Unreal from the dropdown menu to open the Add Unreal Device window.
![Switchboard device menu options]()
-
In the Add Unreal Device window, assign a Name to the machine running Unreal Engine and the IP Address of the computer. Select OK .
![Switchboard device IP address]()
You can change the IP address and name of the device after it has been added. Click on the text field and update the text.
![Editing the device IP address]()
-
The device is added to the list of Unreal Devices in Switchboard.
![Switchboard device added]()
-
Press the button on the far right of the device's row to connect to the SwitchboardListener application running on the remote machine.
![Connecting to SwitchboardListener]()
-
The status icon on the left turns blue when the device is connected.
-
Press the start button to launch an Unreal instance.
-
Launching the Unreal instance from Switchboard automatically adds it to a Multi-User session.
![Switchboard device connected]()
![Switchboard multi-user startup]()
-
-
The status icon on the left turns either orange or green when the Unreal instance launches.
-
The green status indicates that the Unreal instance is connected through OSC so you can use Take Recorder from Switchboard.
-
The orange status indicates that it is not connected through OSC.
![Switchboard device not connected]()
-
You can remove a device by right-clicking on the device in the list and selecting Remove Device in the popup.
Step 5 - On Your Own
This quick start showed you how to start Switchboard and SwitchboardListener, connect to remote devices, and control them from Switchboard. See Switchboard Settings Reference for a complete list of options you can modify in Switchboard. Learn more about the following features to use in your project:
-
Sync and build your project and engine remotely.
-
Record a take remotely from Switchboard.
-
Launch and monitor your nDisplay cluster.


