UDN
Search public documentation:
BokehDepthOfField
日本語訳
中国翻译
한국어
Interested in the Unreal Engine?
Visit the Unreal Technology site.
Looking for jobs and company info?
Check out the Epic games site.
Questions about support via UDN?
Contact the UDN Staff
中国翻译
한국어
Interested in the Unreal Engine?
Visit the Unreal Technology site.
Looking for jobs and company info?
Check out the Epic games site.
Questions about support via UDN?
Contact the UDN Staff
UE3 Home > DirectX 11 in Unreal Engine 3 > Bokeh Depth of Field
UE3 Home > Post Process Effects > Bokeh Depth of Field
UE3 Home > Post Process Effects > Bokeh Depth of Field
Bokeh Depth of Field
Overview
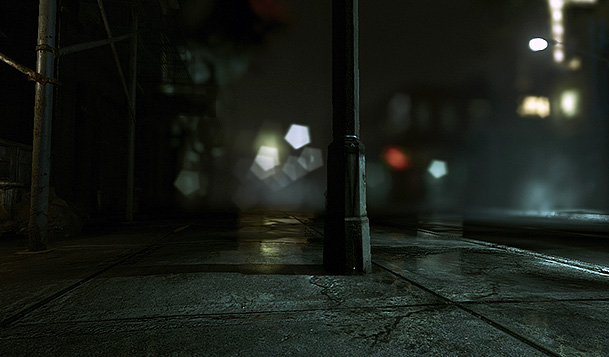
 The out of focus parts form a circular shape which is called Bokeh (Japanese). It can be seen more clearly with small bright objects that are heavily out of focus.
We want to simulate this effect and accept approximations that allow for a efficient real-time implementation. Like many other Depth of Field rendering methods we are doing this in a post process to an color image. By using per pixel depth information and the so called Circle of Confusion function we can compute how sharp or out of focus a certain image part should be.
 This real-time rendered image depicts objects that are in focus sharp and object that are out of focus blurred. The Bokeh shape mimics a 5 blades lens iris.
Activating Bokeh Depth of Field
 Make sure the Type is set to "BokehDOF".
 The Quality allows to trade quality over performance but the effect might be minor. Ideally the setting is left to Low and only raised if there is a visible difference and the performance is good enough.
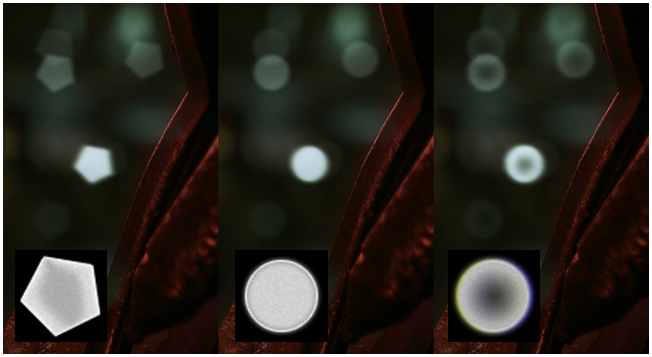
The BokehTexture can be any 2D texture but ideally it should:
- be grey scale (correct color fringe would be screen position dependent but adding a color shift to the image can look like color fringe)
- not bigger than 128 x 128 (more would be a memory waste)
- have a dark border (bigger quads render bigger textures and the Bokeh shape will be anti-aliased from the bilinear filtering)
- be uncompressed or luminance only
- have decent brightness (see samples)
The Bokeh Shape

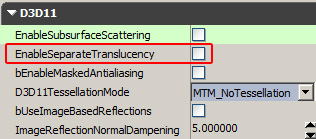
Translucency
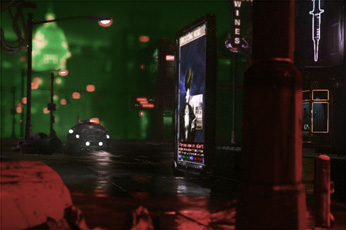
 Additionally there is a new material node called "DepthOfFieldFunction" that allows to adjust shading (e.g. fade out or blend to a blurry state):

Known limitations (low level details)
- As the technique uses a half resolution image as source there can be minor artifacts of bright pixels leaking into the wrong layer.
- The effect works with full scene anti-aliasing (MSAA) but very bright parts of a pixels can leak into the wrong layer. This could be prevented by making the upsampling in the uberpostprocesseffect MSAA aware.
- Occlusion within the layers is not handled. This can result in minor color leaking.
- All the out of focus effects are not affected by motion blur (This means either missing motion blur or hard silhuettes where the MotionBlurSoftEdge feature should soften the edge).
Optimizations (low level details)

