UDN
Search public documentation:
SettingUpWeapons
日本語訳
中国翻译
한국어
Interested in the Unreal Engine?
Visit the Unreal Technology site.
Looking for jobs and company info?
Check out the Epic games site.
Questions about support via UDN?
Contact the UDN Staff
中国翻译
한국어
Interested in the Unreal Engine?
Visit the Unreal Technology site.
Looking for jobs and company info?
Check out the Epic games site.
Questions about support via UDN?
Contact the UDN Staff
UE3 Home > Gameplay Elements > Setting Up Weapons
Setting Up Weapons
Modeling Weapons - Setup and Rigging
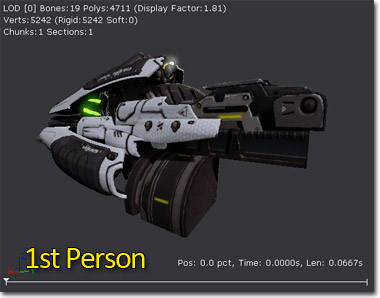
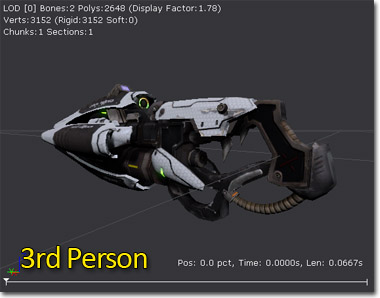 How you set up the skeleton for for the first person mesh of any particular weapon is dependent on what will be needed to setup the desired animations. In general, a weapon will have a root bone located where the player would grip the weapon and a child bone where the muzzle flash would be located. The bone is not used directly for attaching muzzle flashes and other effects, but sockets based on them will be used and having them in the right positions makes setting up the sockets that much easier.
For the third person mesh, the skeleton will probably be much simpler as most of the animation used when viewing the weapon in first person is skipped in third person as it isn't needed. The root bone shoud be placed where the weapon will be gripped with the dominant hand. A child bone may be placed where the off hand would grip the weapon if this is desired for the particular weapon or supported in your game in general. As with the first person mesh, a child bone can be placed where the muzzle flash will be located.
An example of a weapon skeleton is shown here:
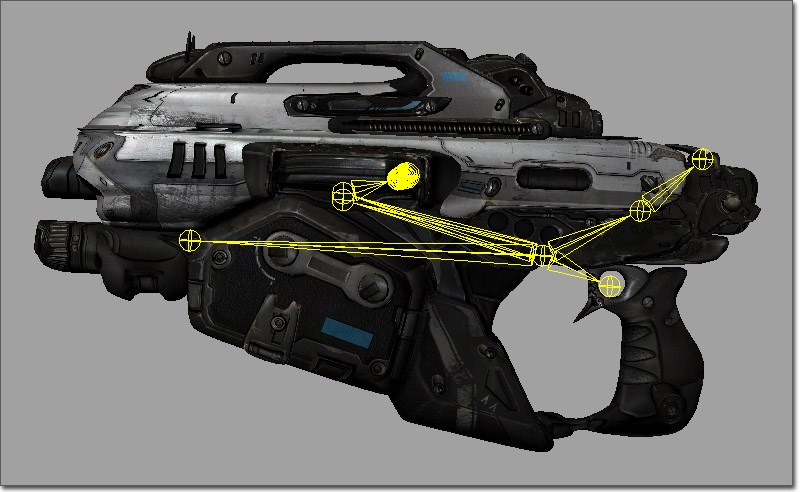 It will probably be desirable to decide upon a naming scheme ahead of time to use for any bones or sockets that will be accessed directly through script or make sure your programmers provide the ability to specify the names of the bones being used.
Weapon Export
Weapon Import and Setup
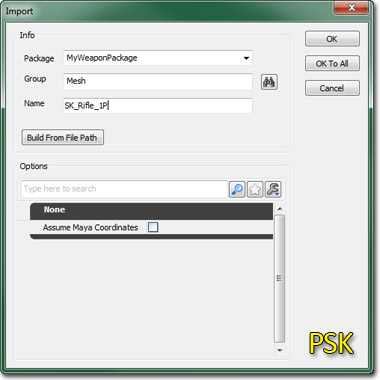
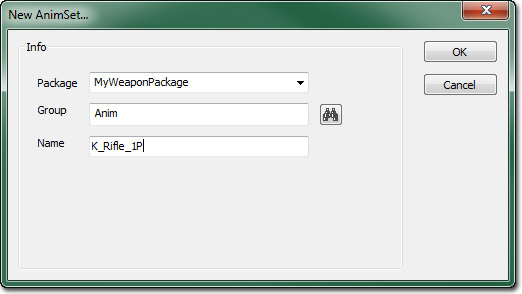
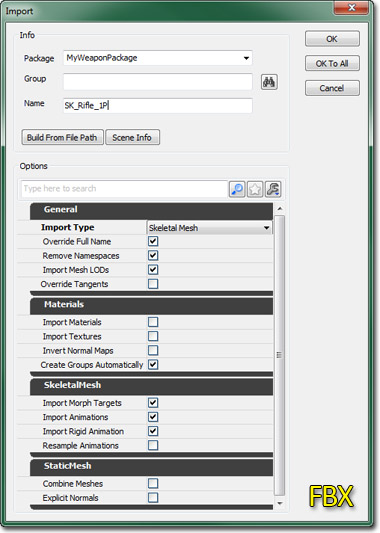 Textures and materials for the weapon should also be imported, set up, and assigned to the skeletal mesh. In the AnimSet Editor, you can create a new AnimSet for the weapon from the File menu by choosing New AnimSet... and then providing a Package, Group (optional), and Name.
 Then, the .PSA file containing any animations for the weapon should be imported into the weapons's AnimSet by choosing Import PSA..., again from the File menu in the AnimSet Editor.
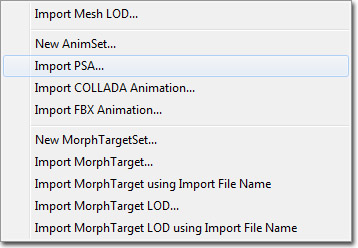 If you are using the .FBX file format, you would choose Import FBX Animation... here, instead, to import your animations.
Setting Up Sockets
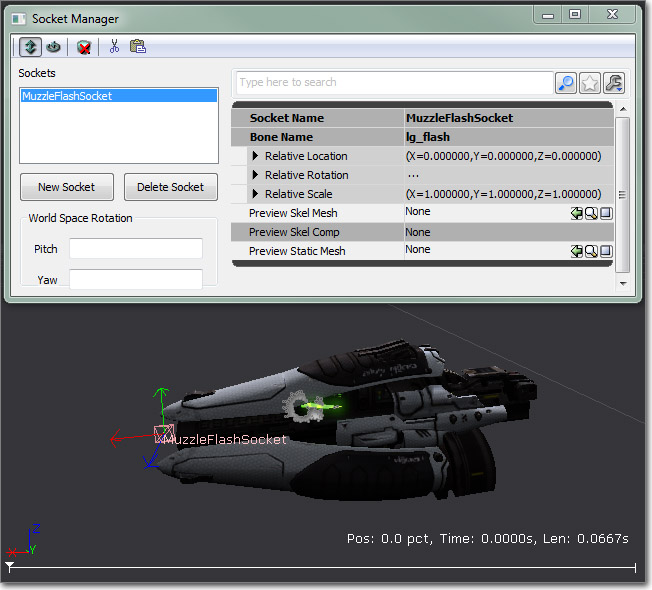
Sockets were mentioned previously as being used as attachment points for muzzle flashes as well as any additional effects the weapon may require. Sockets are essentially locators parented to a specific bone which can named and then be offset and given their own individual rotation. This provides an easy way to attach or spawn items at specific locations. Sockets are added to a skeletal mesh inside of UnrealEd through the AnimSet Editor. Press the button in the toolbar to open the Socket Manager.
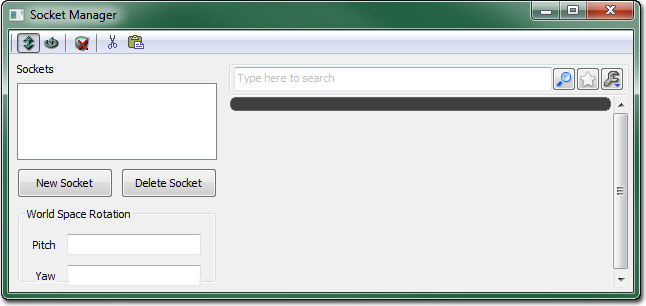 The
The  button will open a new dialog that lists all the bones available in the mesh.
 Select the bone that was added at the tip of the barrel of the mesh and then press OK. This will bring up another dialog where the new socket can be given a name that will be used to identify it in code.
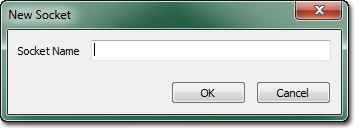 Once you've entered a name, press OK to add the new socket. It should appear in the Preview Pane of the AnimSet Editor and in the socket list of the Socket Manager.
Creating Projectiles
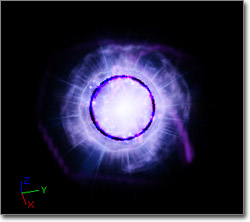
A projectile is the physical representation of the weapon fire. The visual component of Projectiles in Unreal are simply particle systems. Creating particle sytems for projectiles is a straightforward process similar to making any other particle system. Essentially, you want to set up a particle system that recreates how you want to the projectile to appear while in flight. The particle system can be made up of as many emitters as necessary to get the desired effect. Some examples of projectile particle systems are shown below: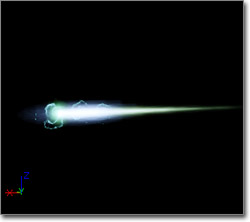
Setting Up Muzzle Flashes
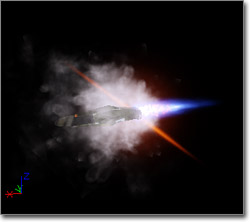
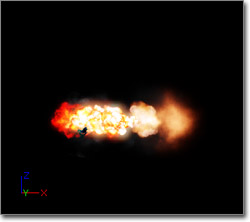
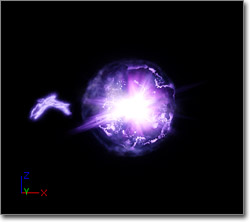
Muzzle flashes are used to simulate the projectile being expelled from the barrel of the weapon, like the flash you would see when a gun is fired in real life. The weapon system in Unreal uses a particle system as the visual component of a muzzle flash. As with projectiles, the particle system for a muzzle flash can be made up of as many emitters as necessary to get the desired look. Some examples of muzzle flash particle systems are shown below: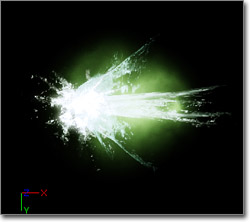
For Programmers
- The name of the 1st Person Mesh.
- The name of the Animation Set.
- The name of the Pickup Mesh.
- The names of the Pick up, Equip, Put down, and Firing Sounds.
- The names of the Projectile Particle Systems (if firing projectiles).
- The names of the Muzzle Flash Particle Systems.
- The name of the Crosshair Texture and Coordinates.
Creating The Script File
Here is how you would enter all of the needed information into a very basic UnrealScript .uc file for your weapon: MyWeapon.uc
class MyWeapon extends UTWeapon;

defaultproperties
{
   Begin Object class=AnimNodeSequence Name=MeshSequenceA
      bCauseActorAnimEnd=true
   End Object

   // Weapon SkeletalMesh
   Begin Object Name=FirstPersonMesh
      SkeletalMesh=SkeletalMesh'WP_LinkGun.Mesh.SK_WP_Linkgun_1P'
      AnimSets(0)=AnimSet'WP_LinkGun.Anims.K_WP_LinkGun_1P_Base'
      Animations=MeshSequenceA
      Scale=0.9
      FOV=60.0
   End Object

   // Pickup SkeletalMesh
   Begin Object Name=PickupMesh
      SkeletalMesh=SkeletalMesh'WP_LinkGun.Mesh.SK_WP_LinkGun_3P'
   End Object

   WeaponFireTypes(0)=EWFT_Projectile
   WeaponProjectiles(0)=class'UTProj_LinkPlasma'

   WeaponEquipSnd=SoundCue'A_Weapon_Link.Cue.A_Weapon_Link_RaiseCue'
   WeaponPutDownSnd=SoundCue'A_Weapon_Link.Cue.A_Weapon_Link_LowerCue'
   WeaponFireSnd(0)=SoundCue'A_Weapon_Link.Cue.A_Weapon_Link_FireCue'
   WeaponFireSnd(1)=SoundCue'A_Weapon_Link.Cue.A_Weapon_Link_AltFireCue'
   PickupSound=SoundCue'A_Pickups.Weapons.Cue.A_Pickup_Weapons_Link_Cue'

   MuzzleFlashSocket=MuzzleFlashSocket
   MuzzleFlashPSCTemplate=ParticleSystem'WP_LinkGun.Effects.P_FX_LinkGun_MF_Primary'

   CrosshairImage=Texture2D'UI_HUD.HUD.UTCrossHairs'
   CrossHairCoordinates=(U=384,V=0,UL=64,VL=64)
}
Tuning Weapons
There are many parameters which control how a weapon functions, found within several classes including the weapon class itself as well as classes for any projectiles being used. An explanation of many of the commonly used parameters as well as how weapons function on the code side is available on the Weapons Technical Guide page.Useful Console Commands
One feature of the Unreal Engine which is very useful for tuning weapons is theeditactor console command. While using the weapon you can type editactor class=weapon at the console, and a property window should pop up. This allows you to tune almost all of the parameters as you use the weapon, making iteration very quick.
